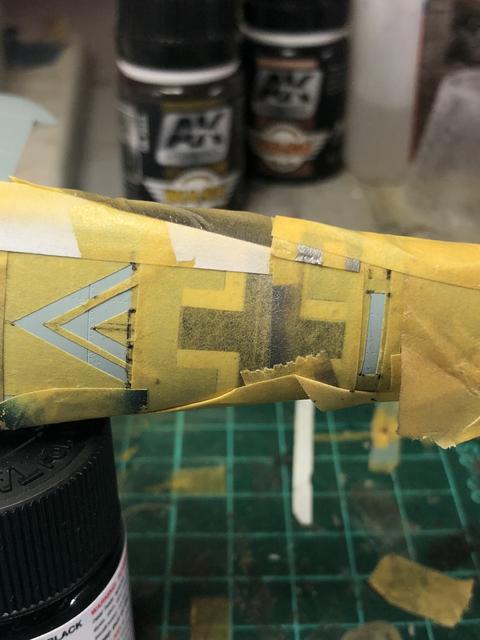
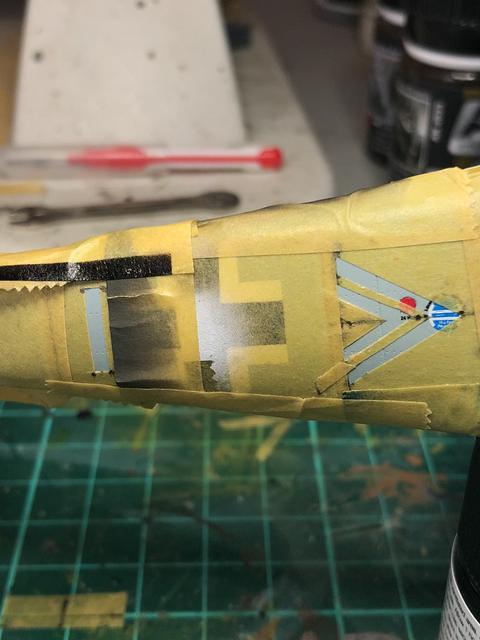
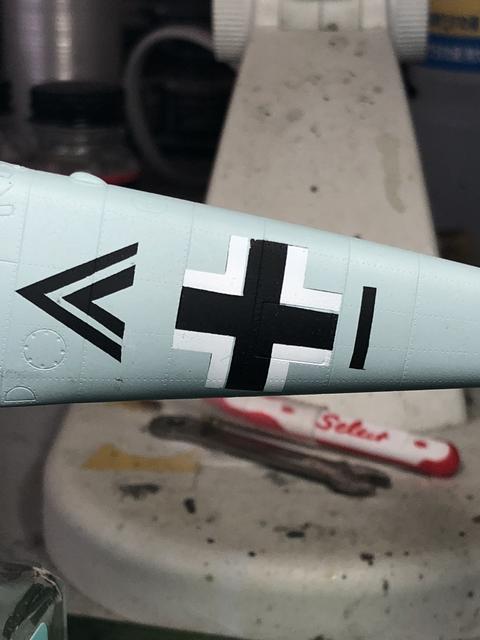
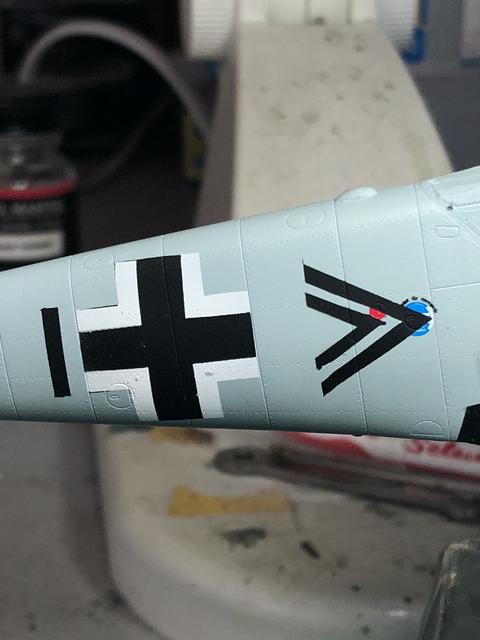
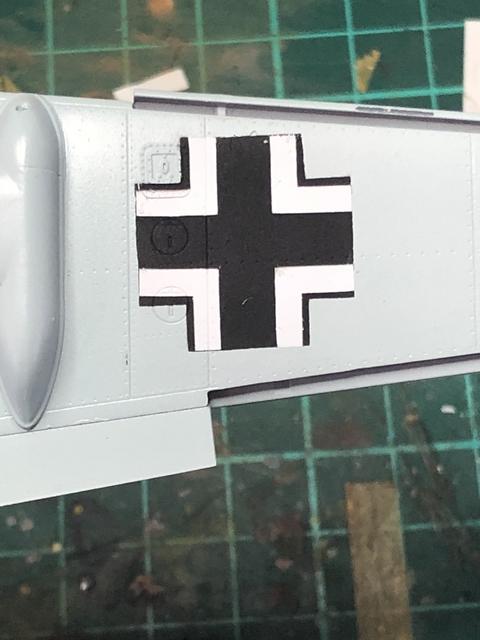
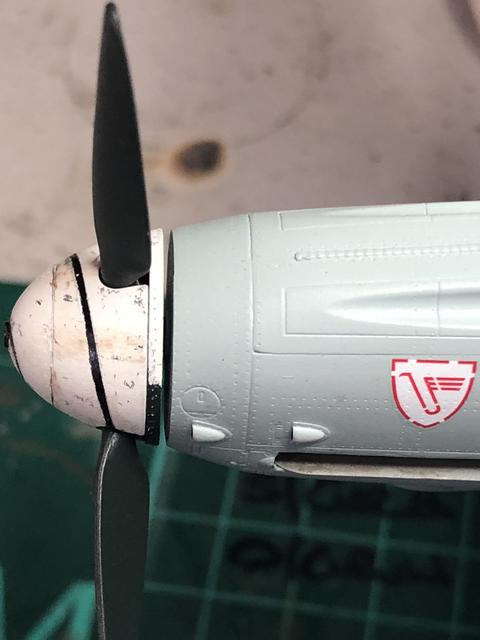
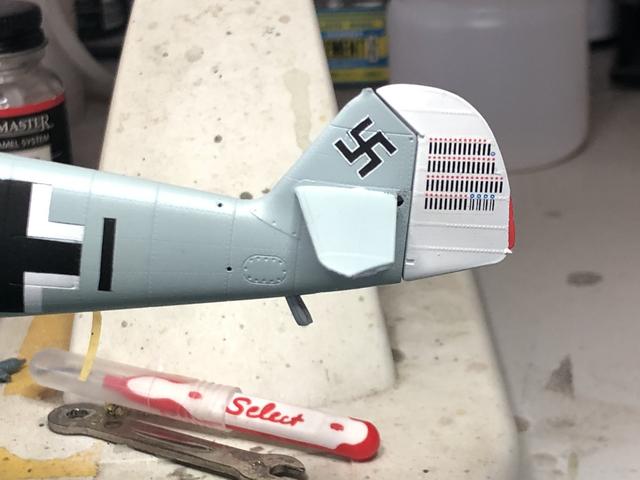
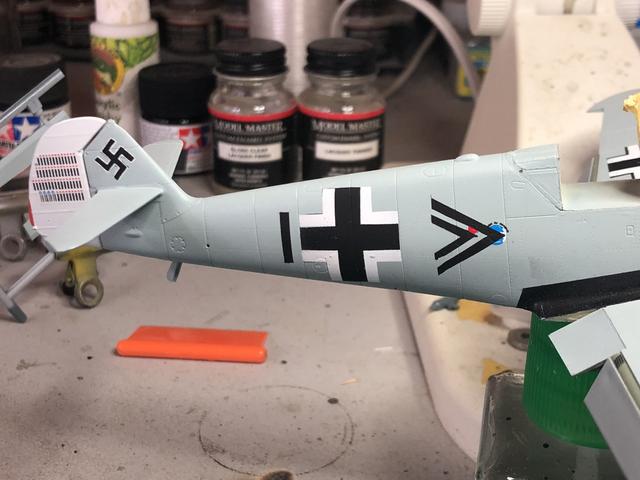
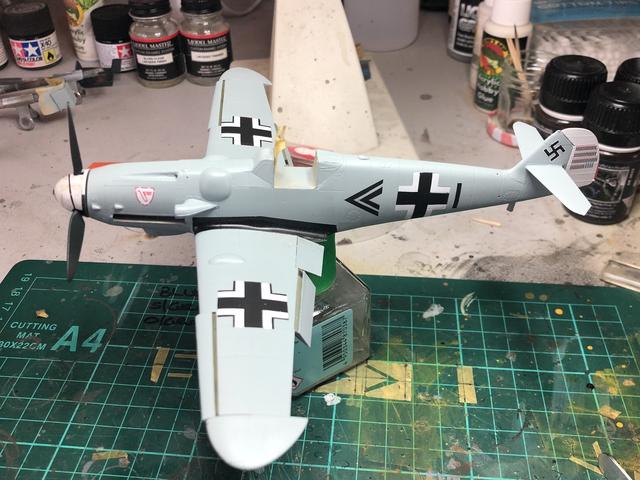
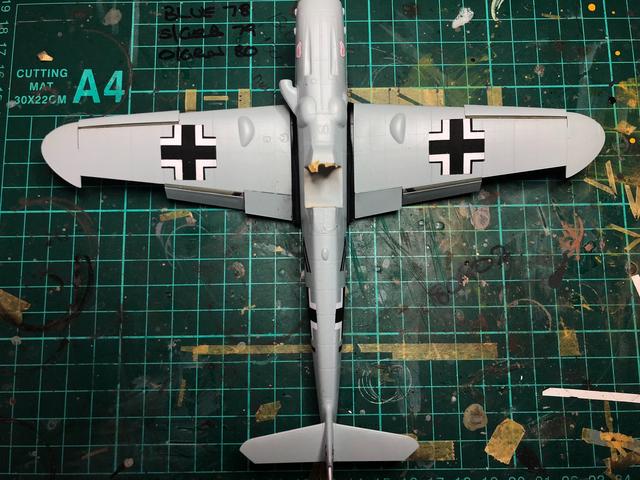
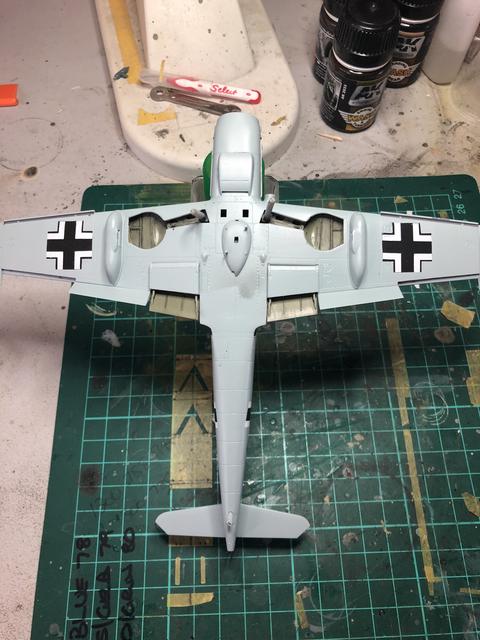
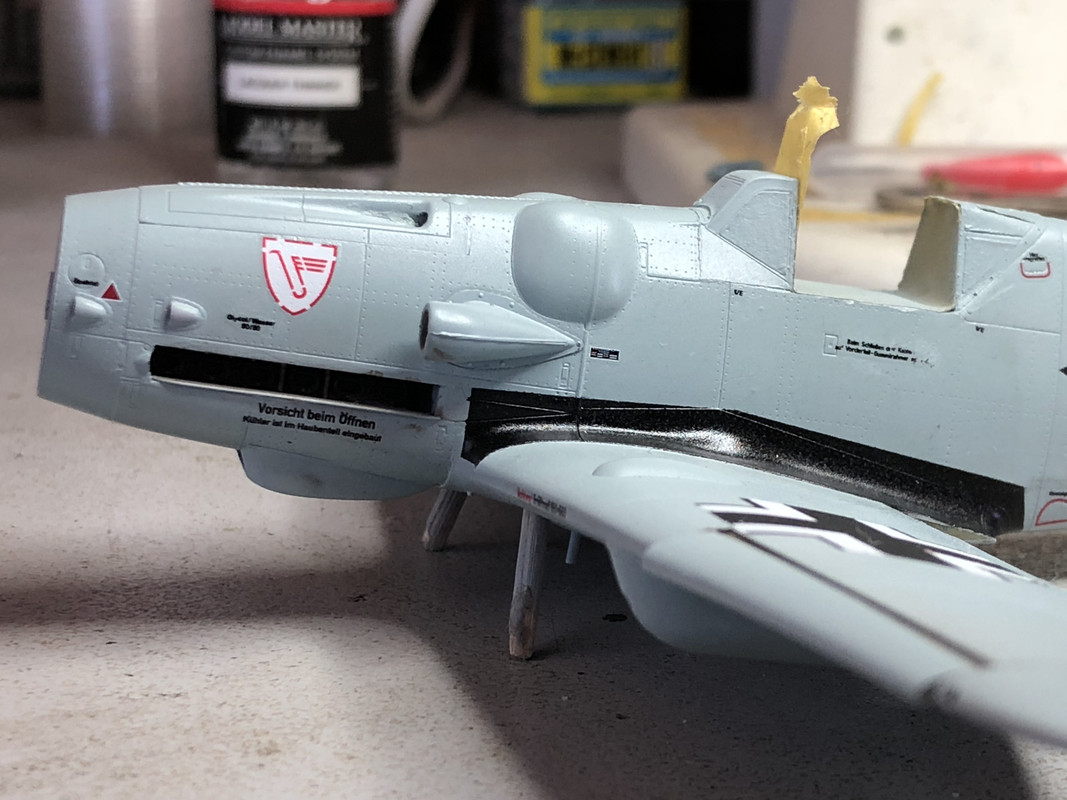
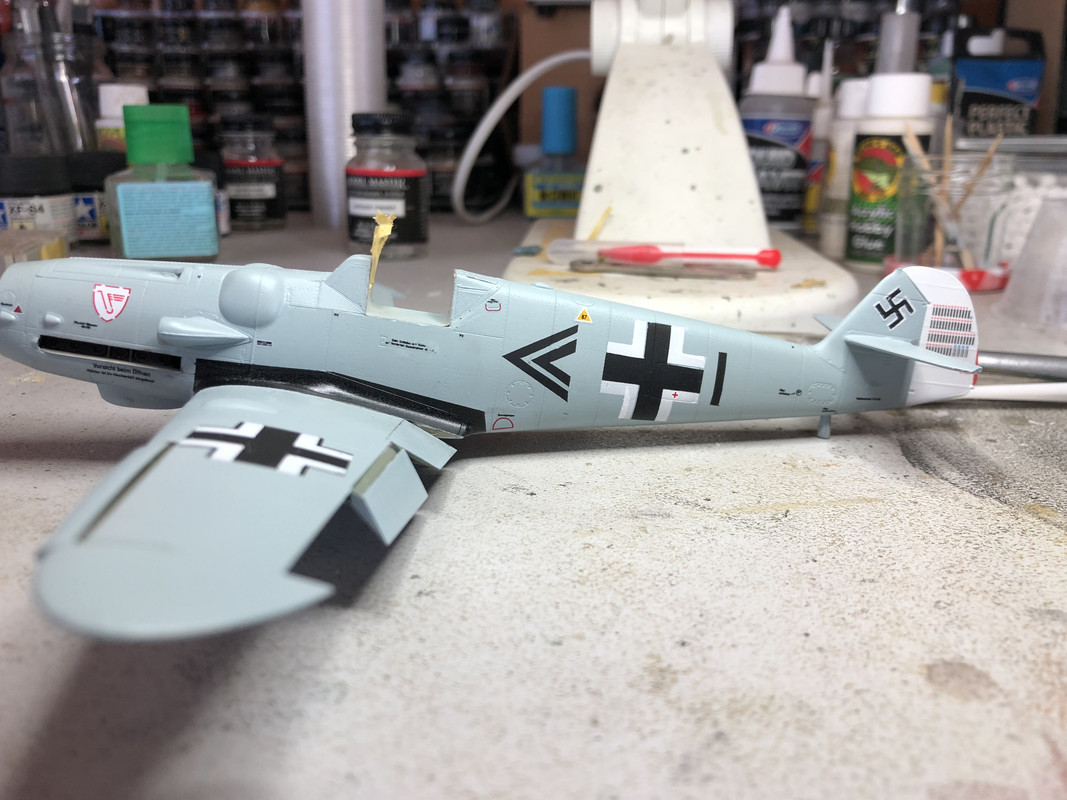
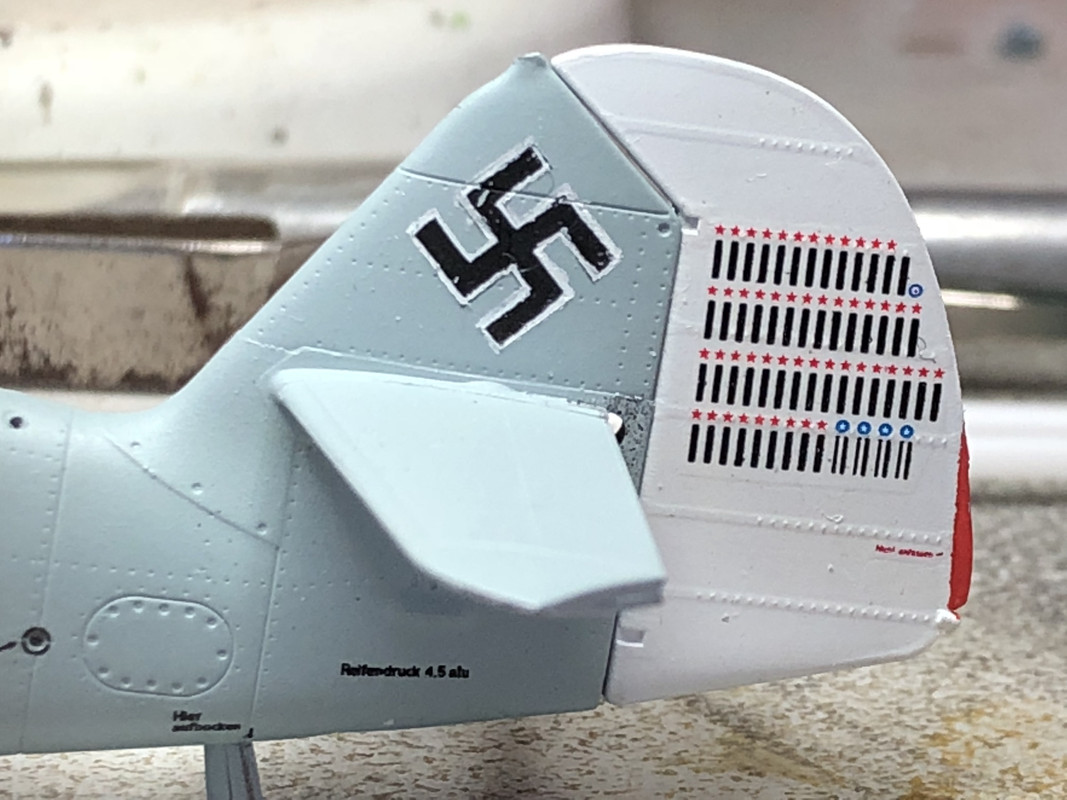
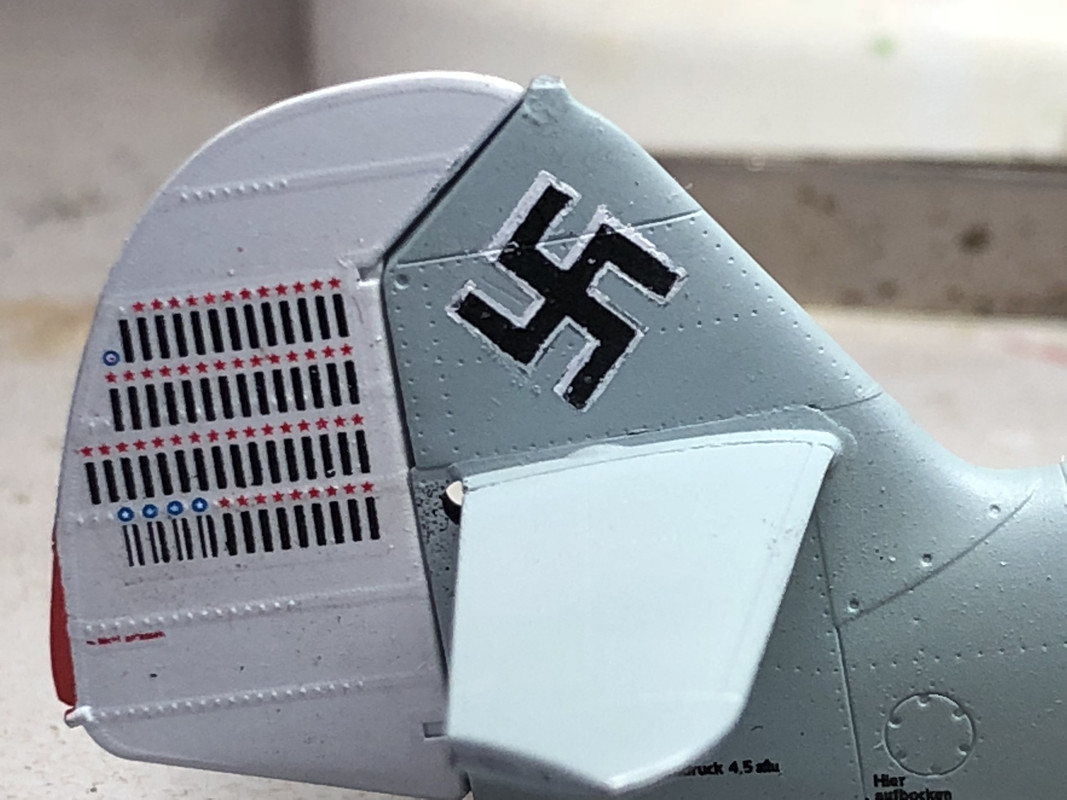
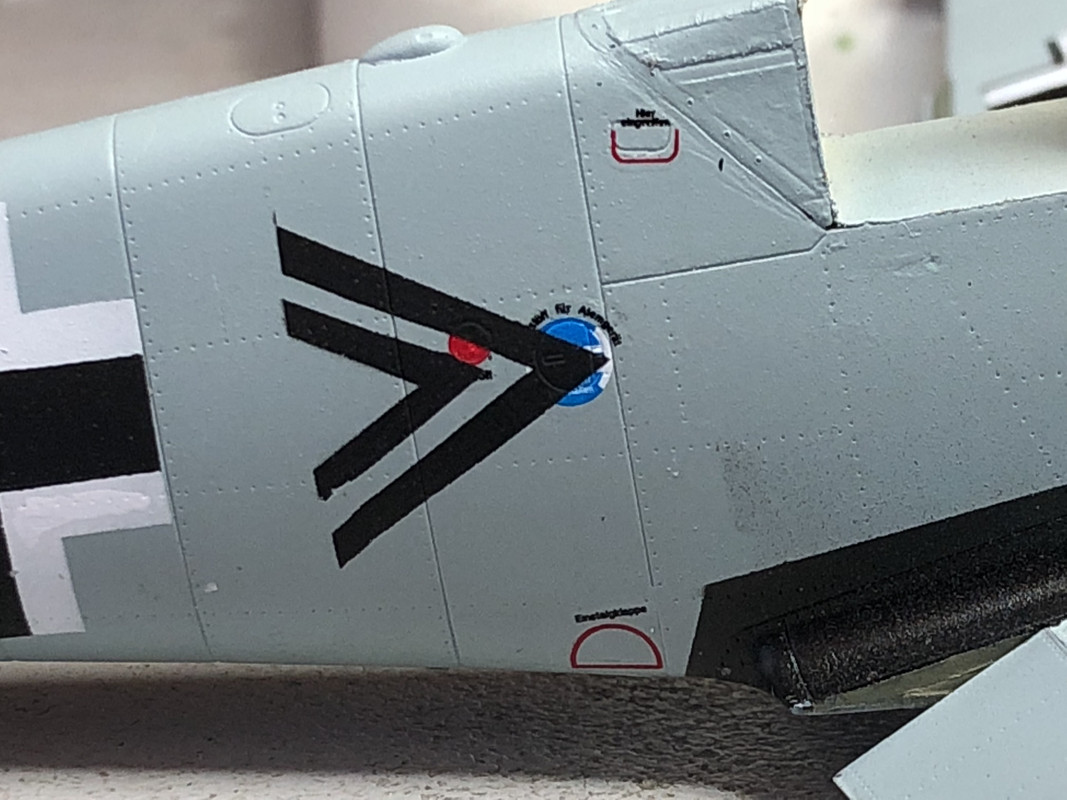
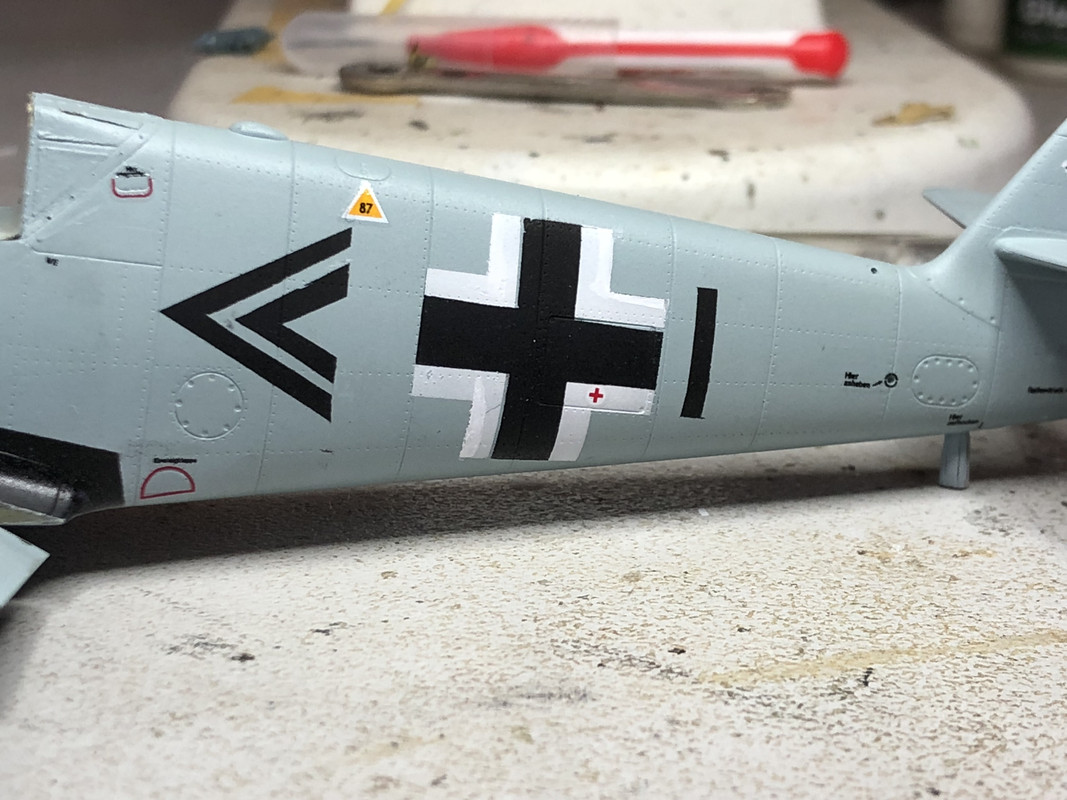
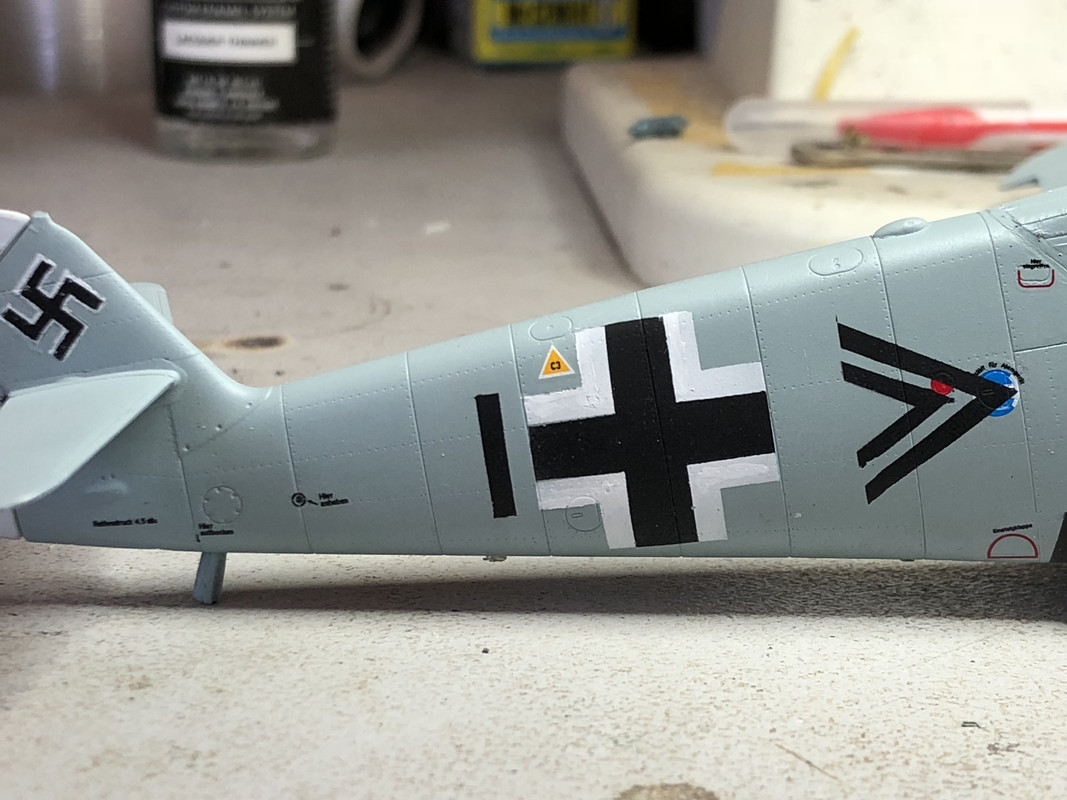
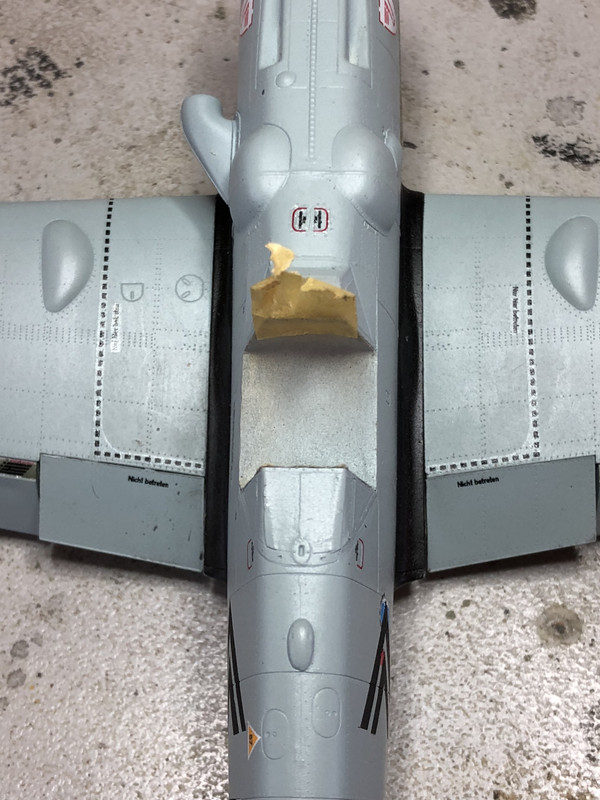
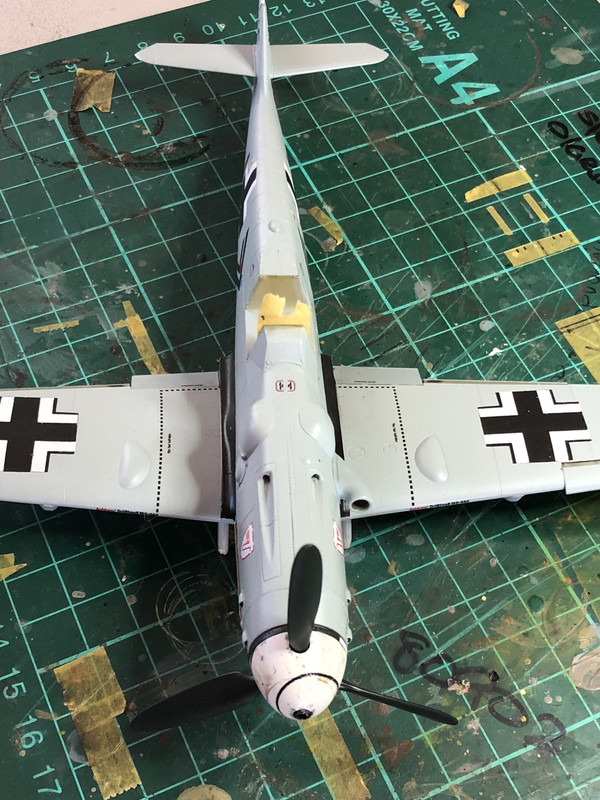
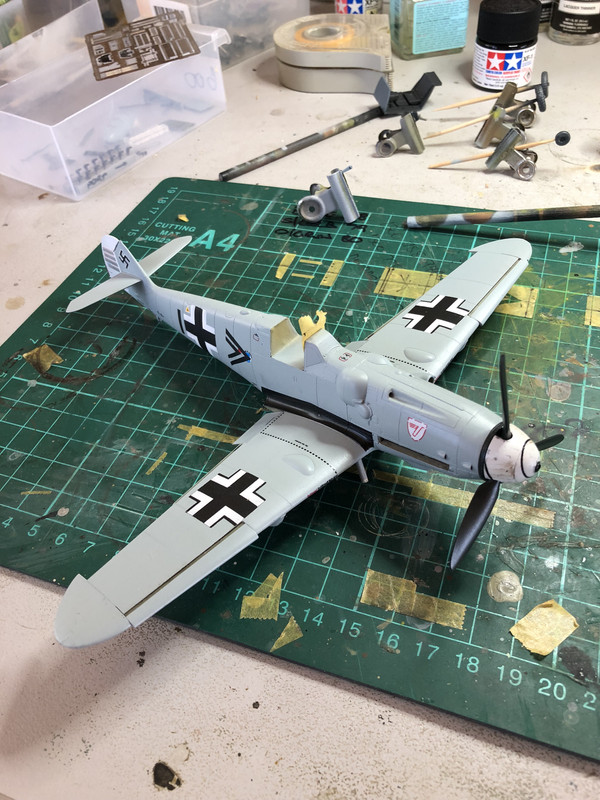
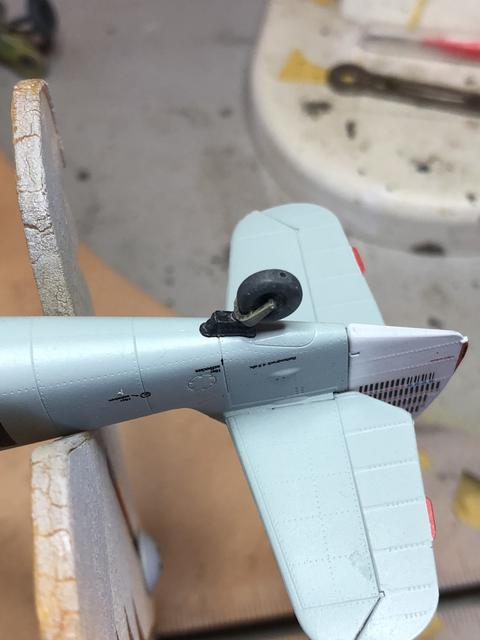
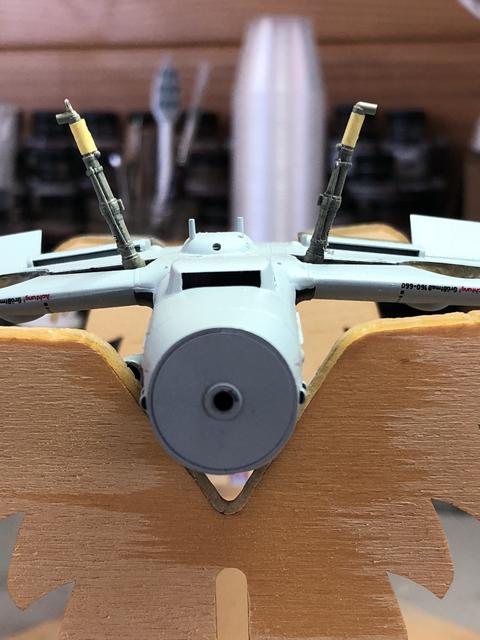
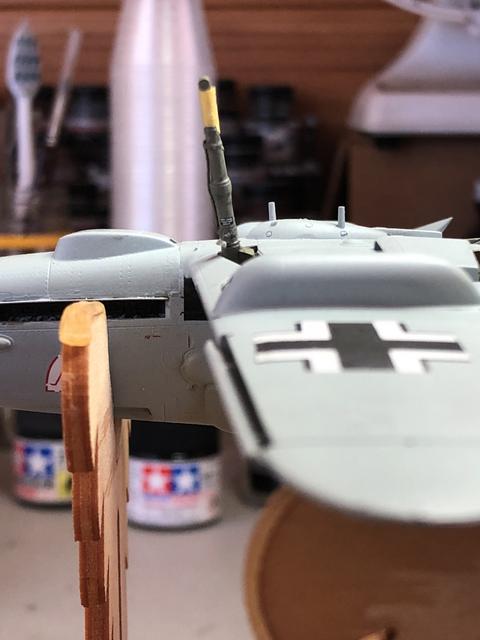
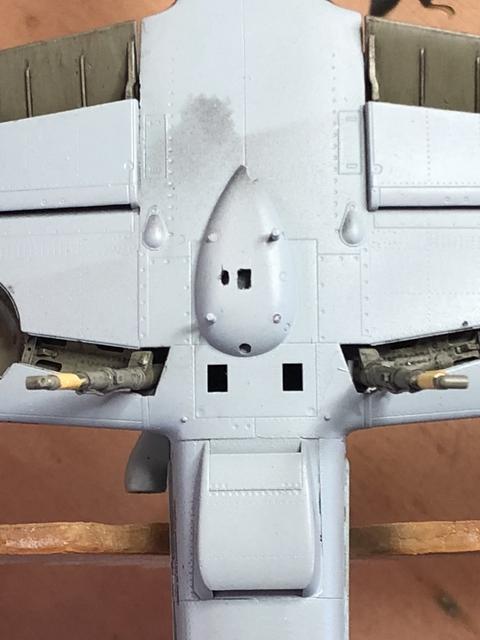
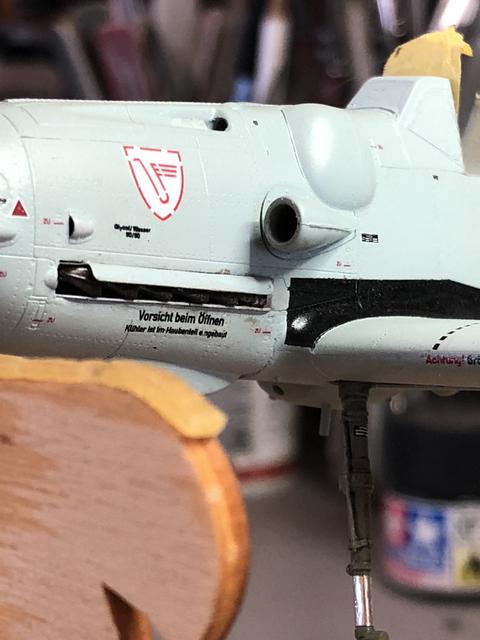
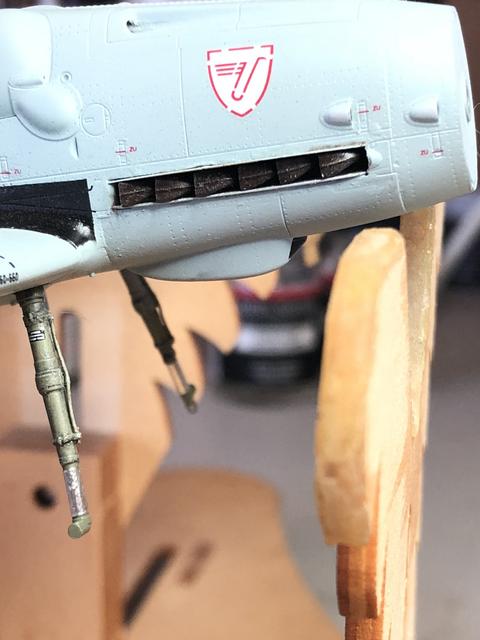
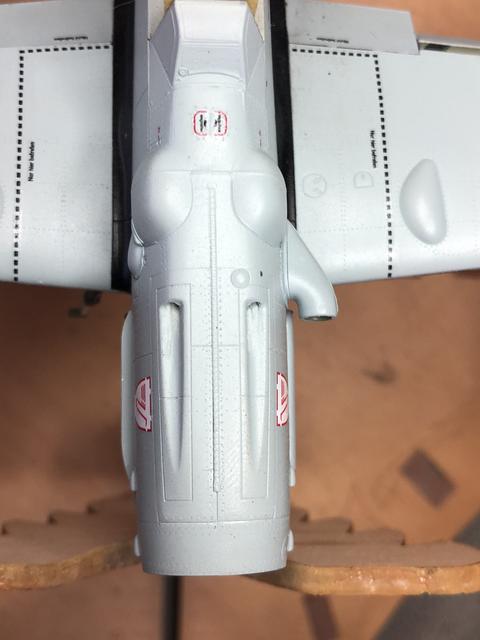
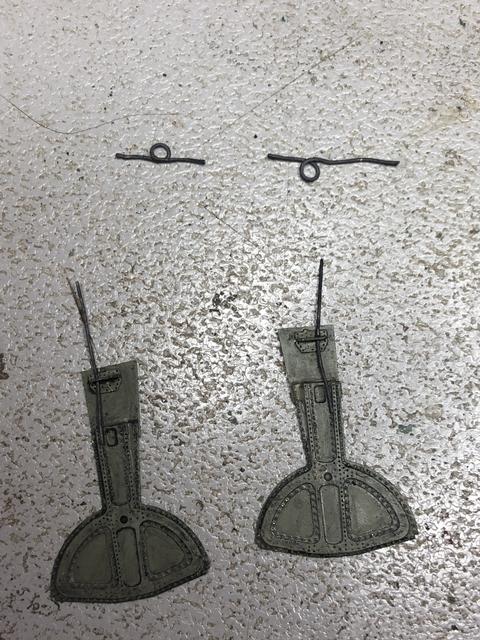
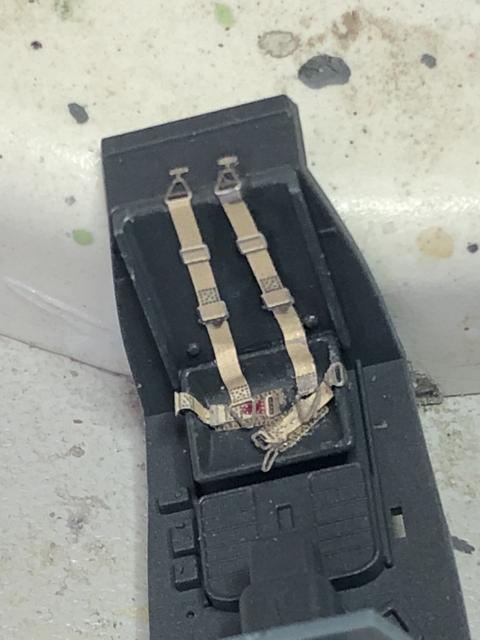
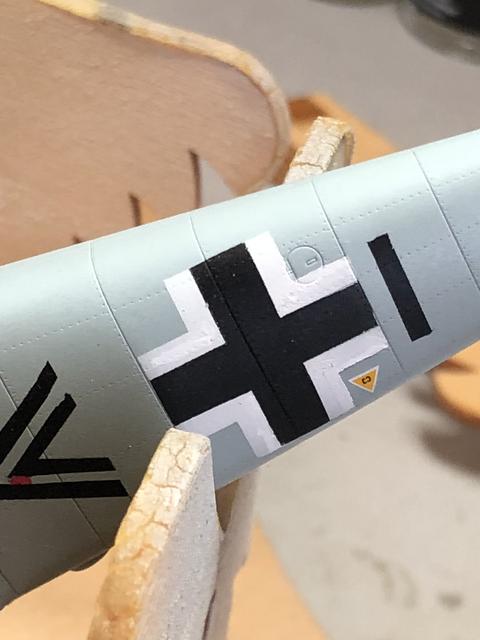
And I’m spent. For a first effort, I am pretty happy. I can see some touch ups to be done. Learned a few do’s and don’ts but it is all learning. A couple of days and the remainder of the stencils can go on:
"Surely I have made my meaning plain? I intend to avenge myself upon you, Admiral. I have deprived your ship of power, and when I swing 'round, I intend to deprive you of your life."
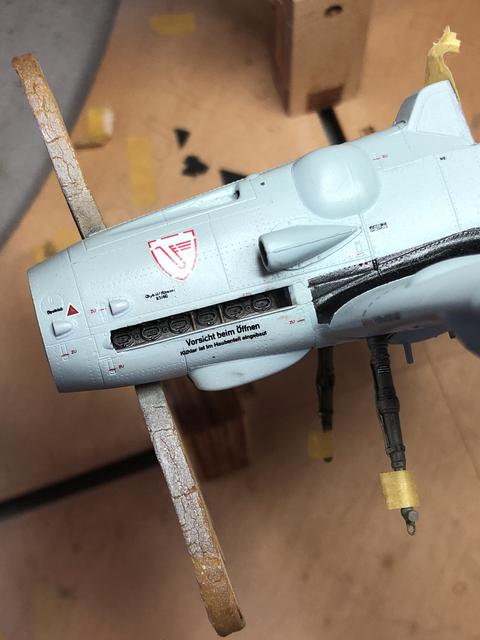
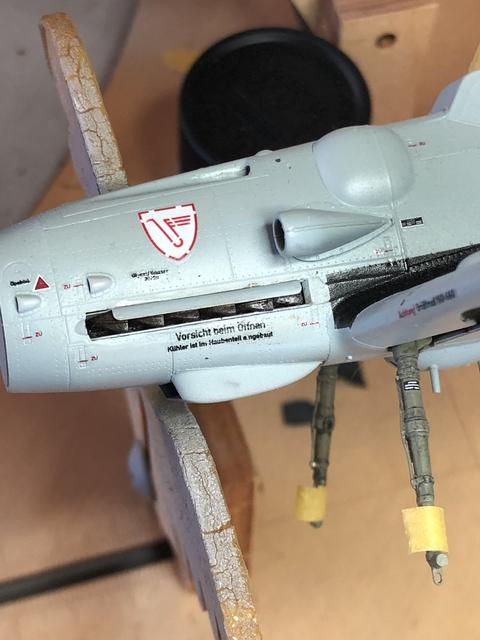
The stencilling continues as does the touch up work. Having painted the markings in Tamiya XF acrylics, I have found if you VERY CAREFULLY scratch away at any offending paint goofs with a toothpick, you can remove the misaligned paint. Do not use a really sharp item such as a pick or scalpel but a medium hard pointed object will work. The aim is to carefully remove the acrylic top coat from the lacquer coat below. There were some areas were it was a matter of mask and repaint, leaving a slight ridge but I shall 5ake to them with some Micromesh. Onto the pictures:
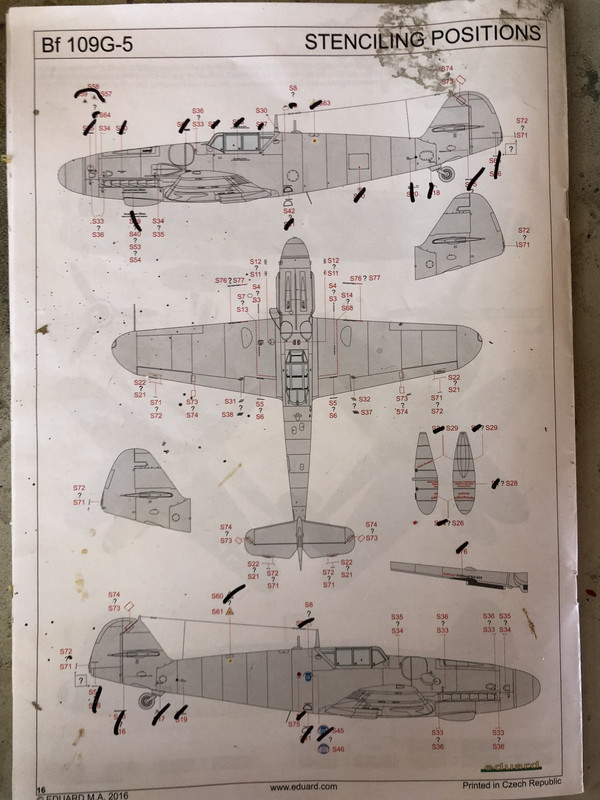
I use the stencil instructions and mark off the ones that I have been applied to help me keep track. Probably not really necessary for a WWII build but for some modern jets maybe an idea:
Work also continues on the wheels and peripheries which are being weathered as well prior to adding them.
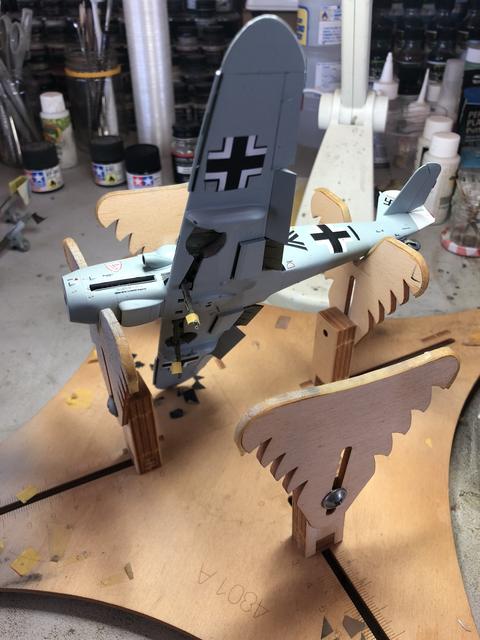
School holidays here at the moment so my time is spent refereeing my two children and generally ensuring each of them sees another day and doesn’t kill the other or cause actual bodily harm. I have managed some sporadic bench sessions for minimal gain. My beloved wife did get them some time with friends today so I kicked on. The stencils have been completed and the majority of the control surfaces have been added. It was time to give my creation legs! The tail wheel has been attached as has the MLG at that jaunty angle favoured by the Messerschmitt designers. The oleos have been coated in Bare Metal Foil chrome and then covered with Tamiya tape for preservation:
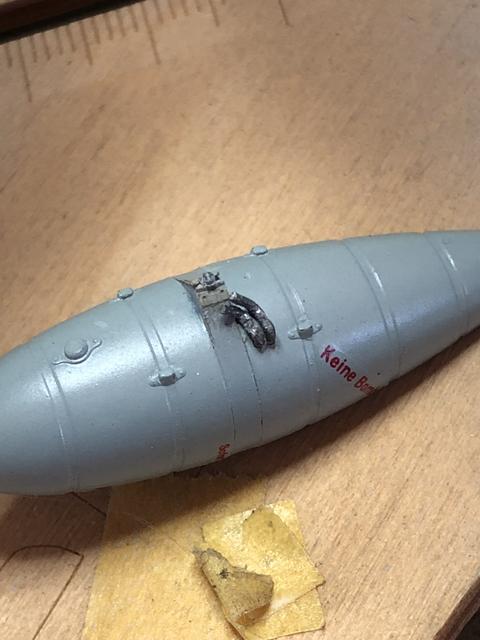
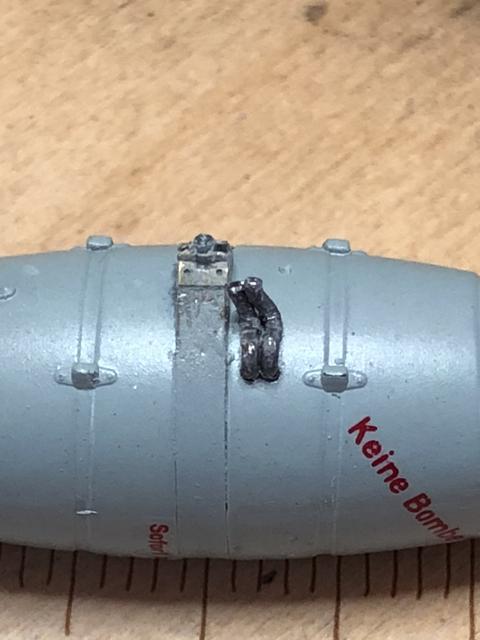
The drop tank has some plumbing and a breather tube that needed to be added. Some lead wire and a couple of holes:
That saw me up until this morning when it was time to attach the Brassin exhausts. Each was cut carefully from the moulding blocks, one side at a time as they are handed. Three hours and a lot of swearing later, both sides were installed with the PE shields hiding a lot of misadventures:
In between sides, I made the upper and lower brake lines and added the uppers to the MLG covers:
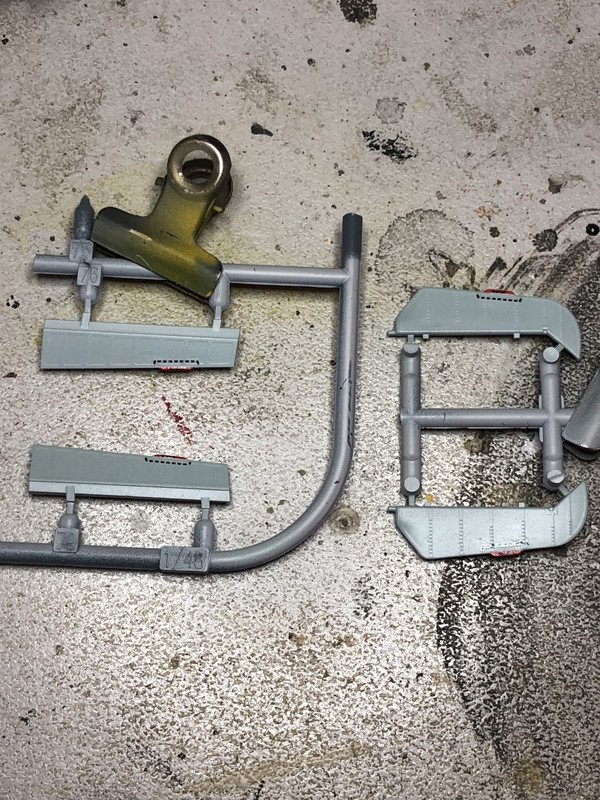
I also started prepping a little side project out of left over pieces from this build:
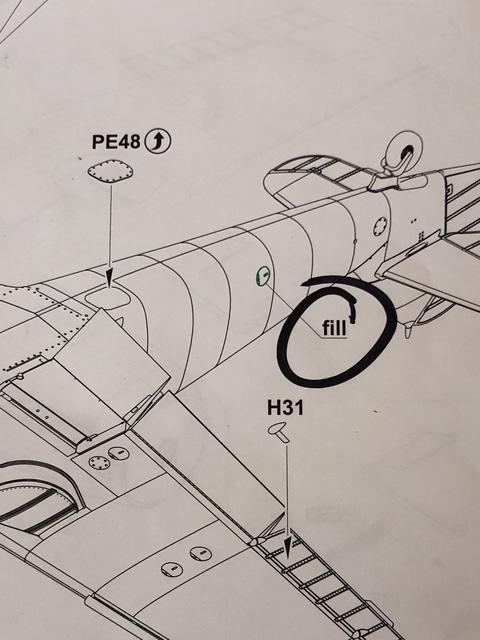
Sometimes it just pays to slow down and re read the instructions, you did it once for a reason, right? Marked some things that you need to pay attention to? Then just got all excited and ditched the instructions, becoming complacent in your knowledge of the build sequence:
Enough said. Perfect Plastic Putty should resolve this easily enough, I hope.
I was curious where the instruction to fill was so I pulled down a PDF from Eduard via Scalemates; the fill instruction is on page 8 of 10 assembly instructions, right? I am always forgetting to read or re-read instructions, but I do think that placing a fuselage fill on page 8 is a bit late in the sequence, as in, "Why wasn't this on page 4?" That is where the major assembly for the fuse is at least on the pdf I found.
There is a shot of Dahl's aircraft you took on the stand which is absolutely incredible! It looks like the aircraft is in flight. The photo is in your previous post. I must be slipping a bit because I did not see this earlier—and believe me that is one heck of an angle and your work is very convincing.