Yes yes yes yes yes, Kent I was worried... now I am relieved! Great save, Lil’ Kahuna!
Eduard 1/48 Bf 109G-5 Maj. Walter Dahl, December 1943
- speedgraflex
- Moderator
- Posts: 11401
- Joined: Fri Feb 10, 2017 11:08 pm
- Contact:
Re: Eduard 1/48 Bf 109G-5 Maj. Walter Dahl, December 1943
Yes yes yes yes yes, Kent I was worried... now I am relieved! Great save, Lil’ Kahuna!
Make more models!
-
kahunaminor
- Advanced Member
- Posts: 375
- Joined: Thu Jul 07, 2016 4:53 am
Re: Eduard 1/48 Bf 109G-5 Maj. Walter Dahl, December 1943
Thanks buddy, I appreciate the support!
Regards,
Regards,
Kent in Oz
Re: Eduard 1/48 Bf 109G-5 Maj. Walter Dahl, December 1943
Very nice repair work, Kent! The hole location is good too since that hatch probably needs to be rescribed anyway.
John aka JKim
-----------<><

-----------<><

Re: Eduard 1/48 Bf 109G-5 Maj. Walter Dahl, December 1943
Touché !!
- Kari
- Kari
---
On the bench:
MiniArt 1:48 - Junkers F13 Float Plane
https://www.facebook.com/GrundAsk-Scale ... 721218708/
On the bench:
MiniArt 1:48 - Junkers F13 Float Plane
https://www.facebook.com/GrundAsk-Scale ... 721218708/
Re: Eduard 1/48 Bf 109G-5 Maj. Walter Dahl, December 1943
That’s fantastic work Kent! Nice save!
Kenny X
Head Mother Trucker In-Charge @ Kenny X’s Reichs Winzigkleines Flugzeugewerks *and now* Airboat Records, too!
-
kahunaminor
- Advanced Member
- Posts: 375
- Joined: Thu Jul 07, 2016 4:53 am
Re: Eduard 1/48 Bf 109G-5 Maj. Walter Dahl, December 1943
Thanks guys,
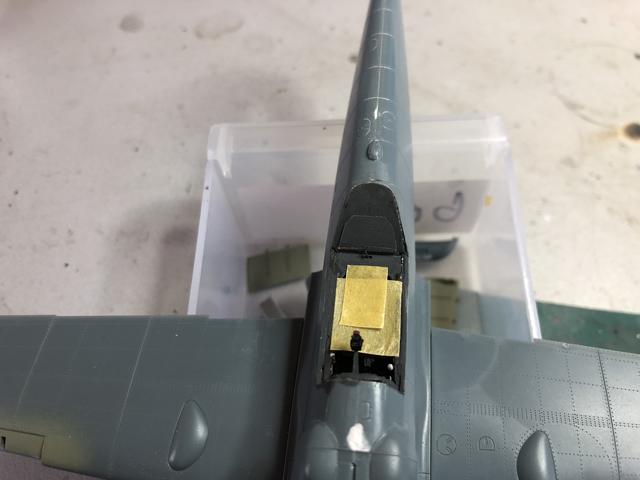
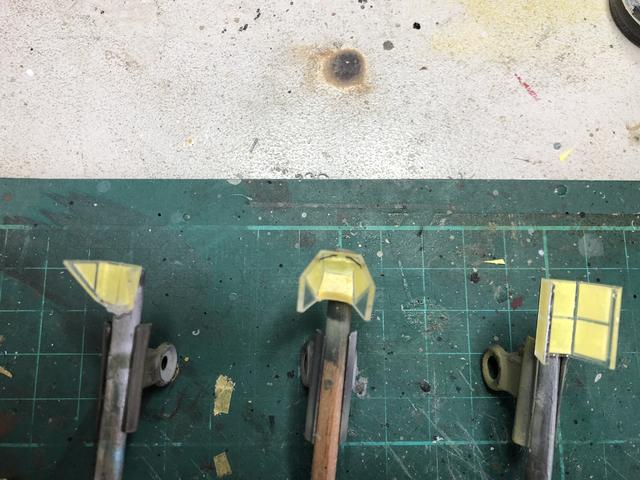
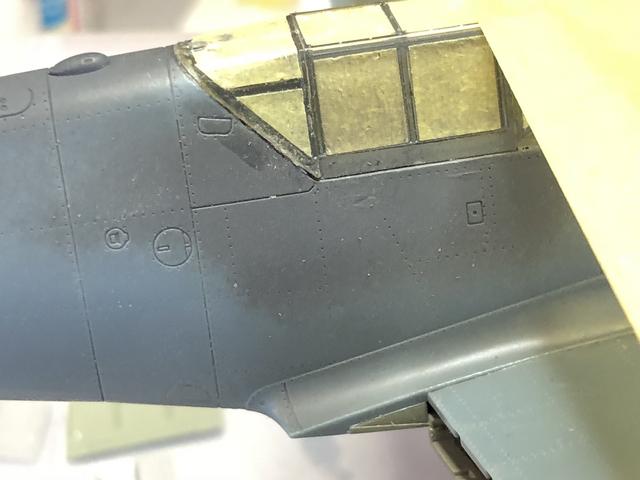
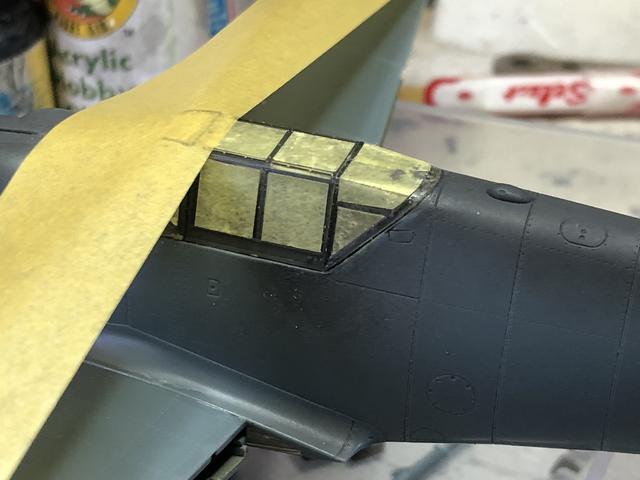
Some progress. The rear cockpit area has been repaired and resprayed RLM66. The canopy interiors have also been masked and sprayed with RLM66 allowing me to fit almost all the final cockpit pieces before fixing the front and rear canopies to their respective positions. I did accidentally leave out the fuel observation tube and the two side lights but they can still be inserted with ease (I hope). I had to sand down the rear end of the rear canopy to get a better fit of the central canopy piece. Happy with that, just some minor beautification and blending:


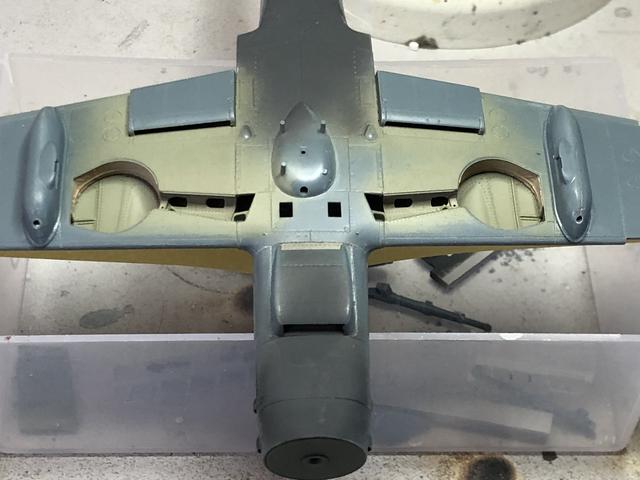
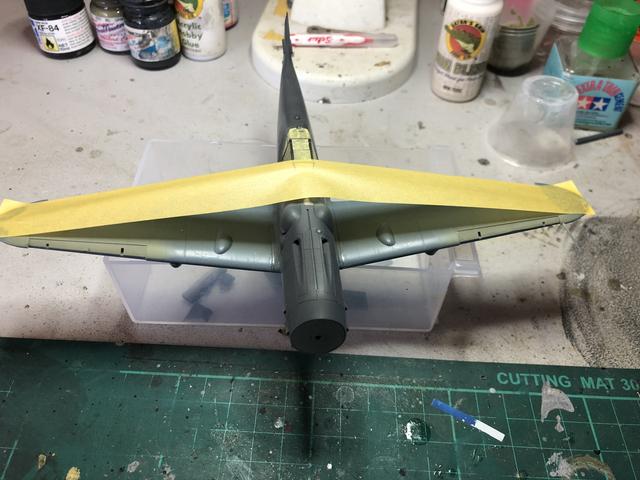
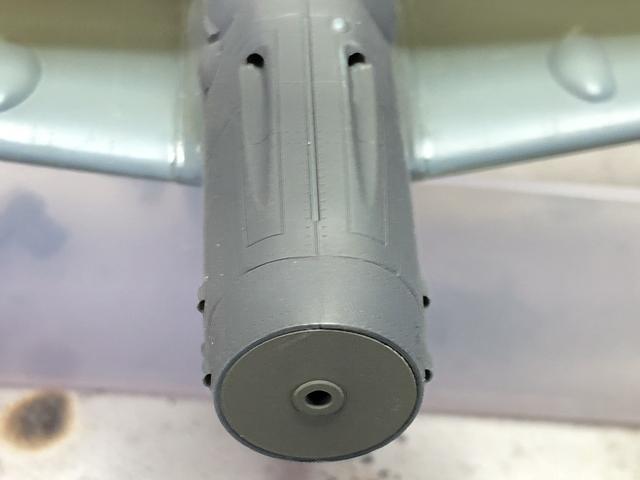
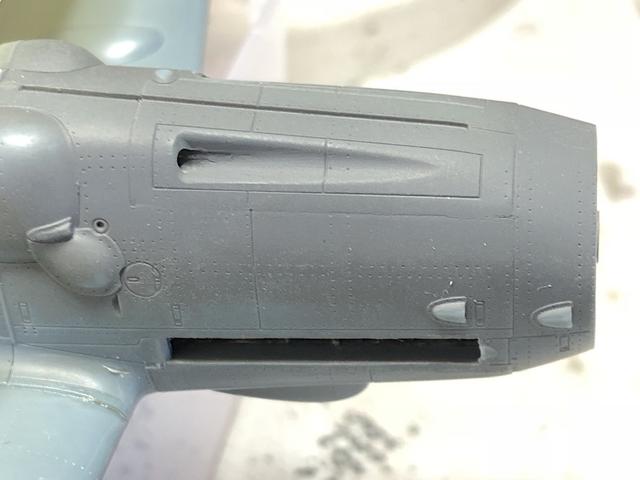
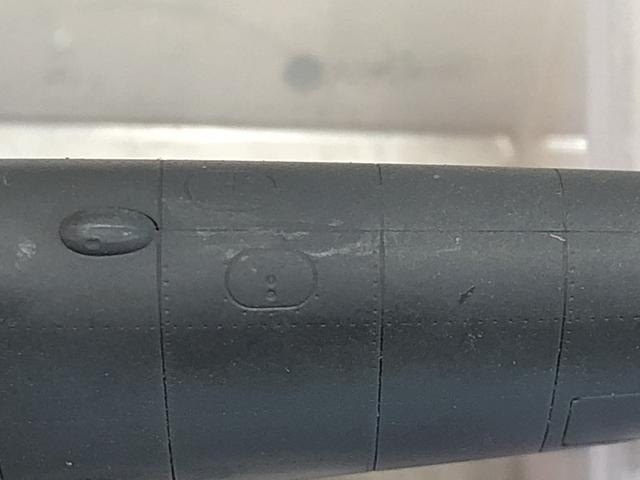
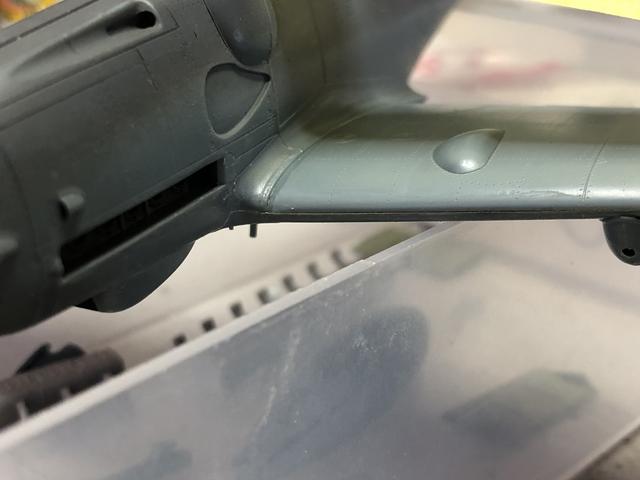
The gun pods have been attached to their positions under the wings and the wings set using tape to address the minor gap at fuselage wing joint. Hopefully after 24 hrs that should hold it all. The left over 66 was used to check my seam work on the fuselage joins and engine area. The beauty of photography is it slows you to check your work, exposing flaws like the port wing leading edge seam:


Thanks for stopping by and regards,
Some progress. The rear cockpit area has been repaired and resprayed RLM66. The canopy interiors have also been masked and sprayed with RLM66 allowing me to fit almost all the final cockpit pieces before fixing the front and rear canopies to their respective positions. I did accidentally leave out the fuel observation tube and the two side lights but they can still be inserted with ease (I hope). I had to sand down the rear end of the rear canopy to get a better fit of the central canopy piece. Happy with that, just some minor beautification and blending:


The gun pods have been attached to their positions under the wings and the wings set using tape to address the minor gap at fuselage wing joint. Hopefully after 24 hrs that should hold it all. The left over 66 was used to check my seam work on the fuselage joins and engine area. The beauty of photography is it slows you to check your work, exposing flaws like the port wing leading edge seam:


Thanks for stopping by and regards,
Kent in Oz
Re: Eduard 1/48 Bf 109G-5 Maj. Walter Dahl, December 1943
Cleaned up very nicely, Kent! I definitely rely on photography to check my work so high quality close-up photos of the build are a must!
John aka JKim
-----------<><

-----------<><

Re: Eduard 1/48 Bf 109G-5 Maj. Walter Dahl, December 1943
Kent, I think you’re gonna be fine with that fuel tube. It may be ticklish getting it seated properly into the floor but take your time with it and it’ll be okay. Looking great my man. Looking great!
Kenny X
Head Mother Trucker In-Charge @ Kenny X’s Reichs Winzigkleines Flugzeugewerks *and now* Airboat Records, too!
- speedgraflex
- Moderator
- Posts: 11401
- Joined: Fri Feb 10, 2017 11:08 pm
- Contact:
Re: Eduard 1/48 Bf 109G-5 Maj. Walter Dahl, December 1943
Just a teensy weensy minor note amongst much sincere appreciation for your recovery and clean up from that last moment, I notice some flocking sticking to the exterior plastic in your close shots. I assume that this is gonna be wiped down somehow and I am curious what you do to prepare for painting. I am going to have this problem 'in spades' with the P-51D because of the riveting and paneling work, so I accept my finish is going to need some major TLC before priming and painting.
Also the wide shot is chilling! So good! That is one profile that is hard to forget. A real war machine.
Make more models!
-
kahunaminor
- Advanced Member
- Posts: 375
- Joined: Thu Jul 07, 2016 4:53 am
Re: Eduard 1/48 Bf 109G-5 Maj. Walter Dahl, December 1943
Hello Bruce,
Sorry for the delay (again). I normally give the whole airframe a good brush with an old soft chisel edge brush and careful inspection before I prime. I also use an old toothbrush on the panel lines and then, if need be, a scriber to clean them out. I have even been known to use an empty airbrush and “power clean” the frame. I try and remove any oils etc from handling with carefully applied iso alcohol and a clean cloth. As an alternative, I have taken to wearing disposable non latex gloves as that avoids oil and negates the loss of dexterity issues I have from an old C spine injury (which is why I switched to a Greg trigger operated AB). Anyway enough of my waffle, I should have an update through shortly.
Regards,
Sorry for the delay (again). I normally give the whole airframe a good brush with an old soft chisel edge brush and careful inspection before I prime. I also use an old toothbrush on the panel lines and then, if need be, a scriber to clean them out. I have even been known to use an empty airbrush and “power clean” the frame. I try and remove any oils etc from handling with carefully applied iso alcohol and a clean cloth. As an alternative, I have taken to wearing disposable non latex gloves as that avoids oil and negates the loss of dexterity issues I have from an old C spine injury (which is why I switched to a Greg trigger operated AB). Anyway enough of my waffle, I should have an update through shortly.
Regards,
Kent in Oz