This is a late start on this tour due to some issues that came up, but now we can start. I know these tours are pretty long, but I do hope that the pics at least should be enough to look at, even if you don't read the 'tour notes'.
There's a lot to see so let's board the trams and get started!
Here in the Hangar, there's a few things that got done finally. In this first bay, we painted the F-15C Eagle in the grey camouflage pattern seen on these jets:
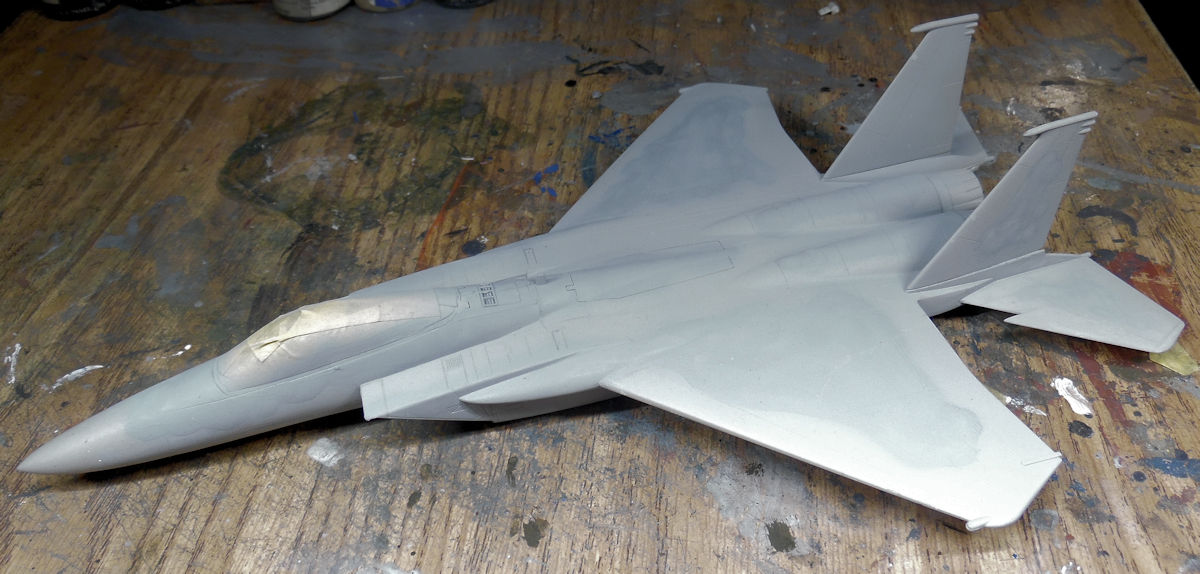
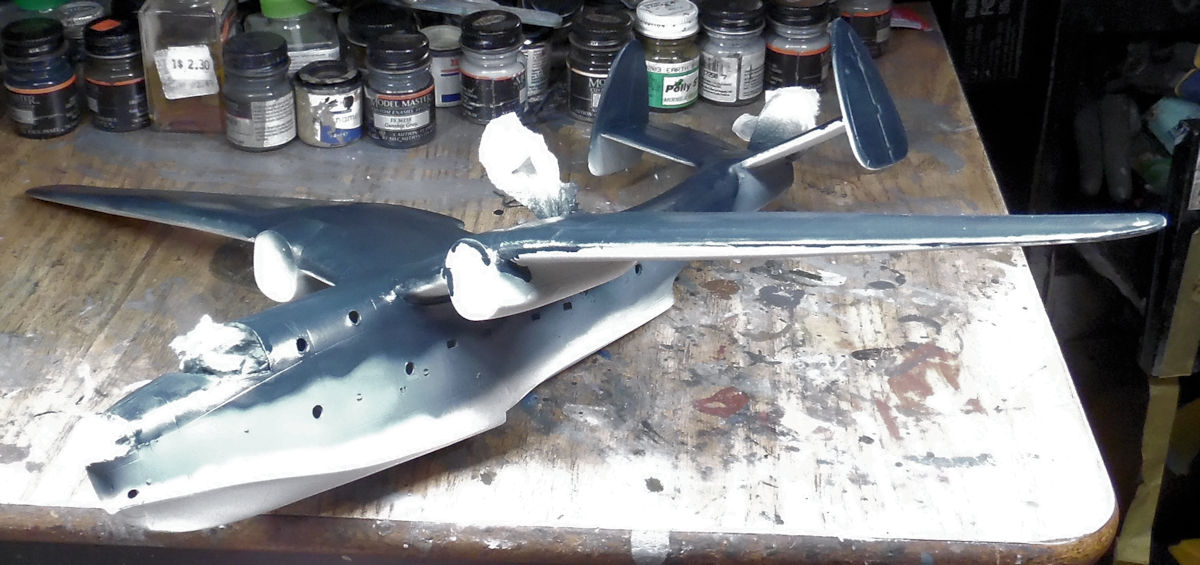
Now to let that dry before moving on. While the airbrush was out, the PBM Mariner also got it's three-tone paint pattern on it. It's a bit crude but my airbrush was acting up and I feel lucky to have gotten this much done:
Aside from some detail work on the Colt, there's nothing else that happened here, so now we can move on to the Shipyards.
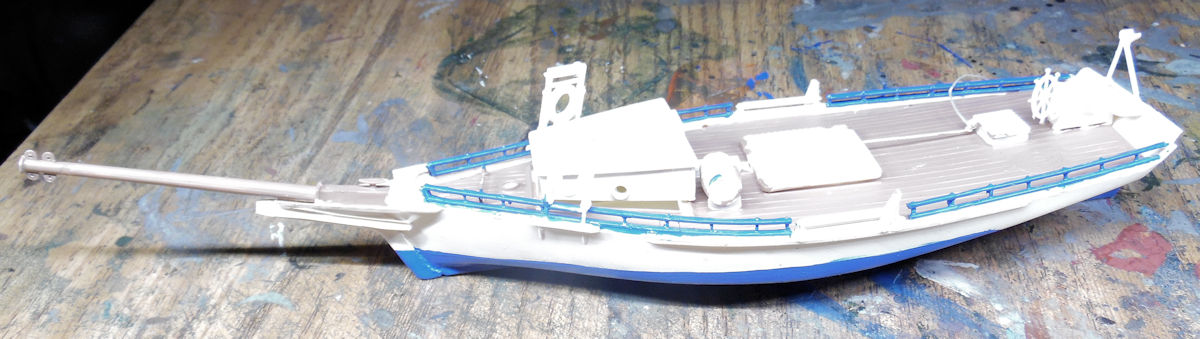
In this first slip we did some detail painting on the little oyster boat, starting with the deck:
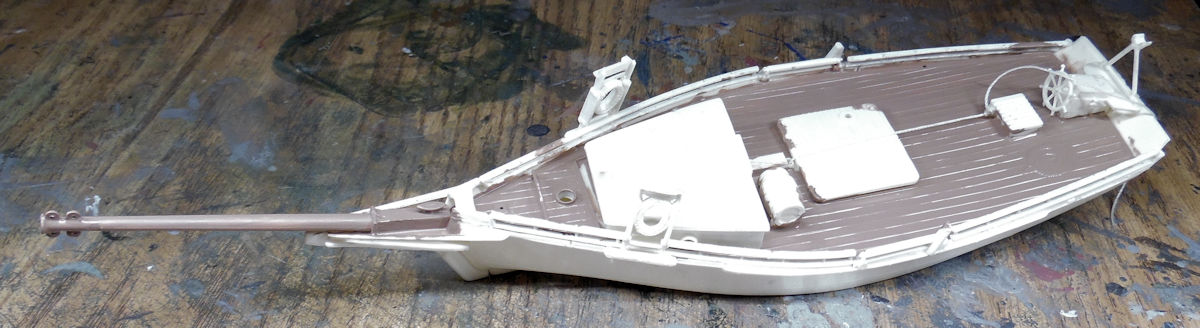
Later the railings and lower hull got painted:
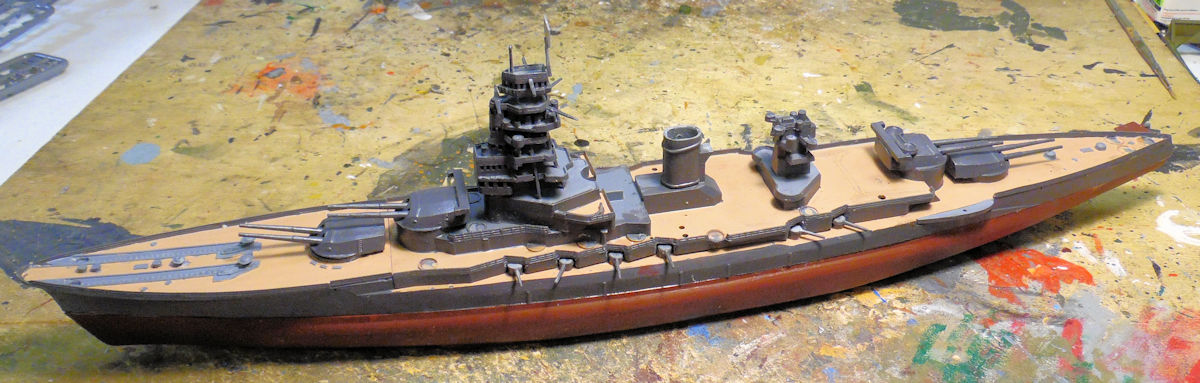
In the next slip, more painting was done to the battle ship Mutsu before adding more parts:
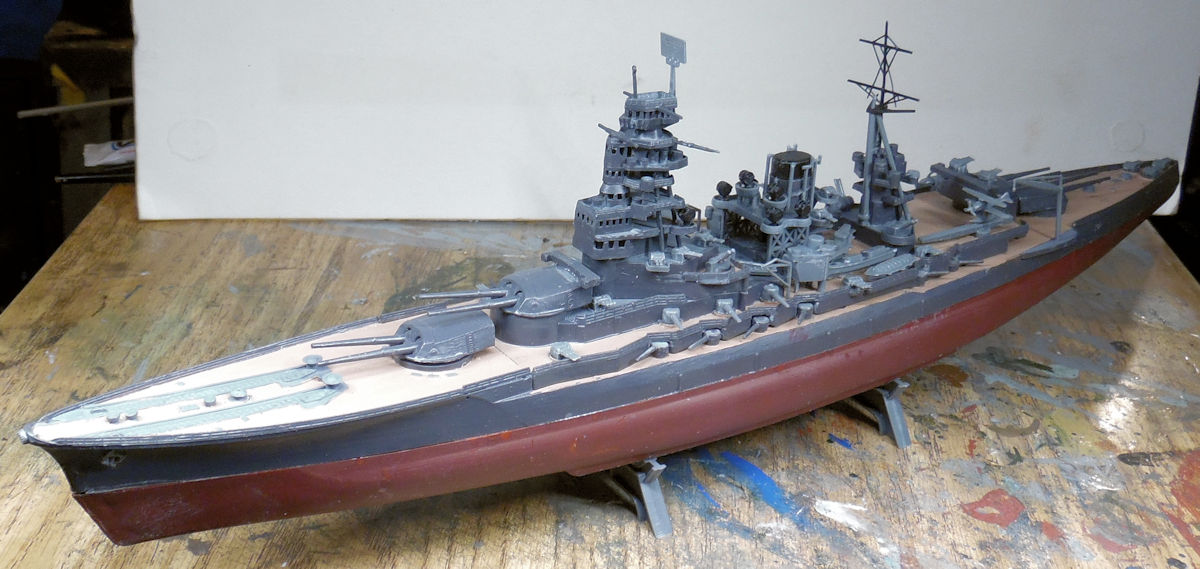
Finally the rest of the parts were added and the construction was finally completed. All that's left is the painting of the details and this ship will be ready for launch:
We were working on two German Z-class destroyers, but apparently the construction crews got done with them before work could be documented. We'll catch up to them at the launching slips. So, without further ado, let's move on to the Motor Pool.
Here in the first bay of the Motor Pool, we have the US Sherman with the Dozer Blade. You can see that the gap on the glacis plate is too big, so adjustments were made using strip styrene:
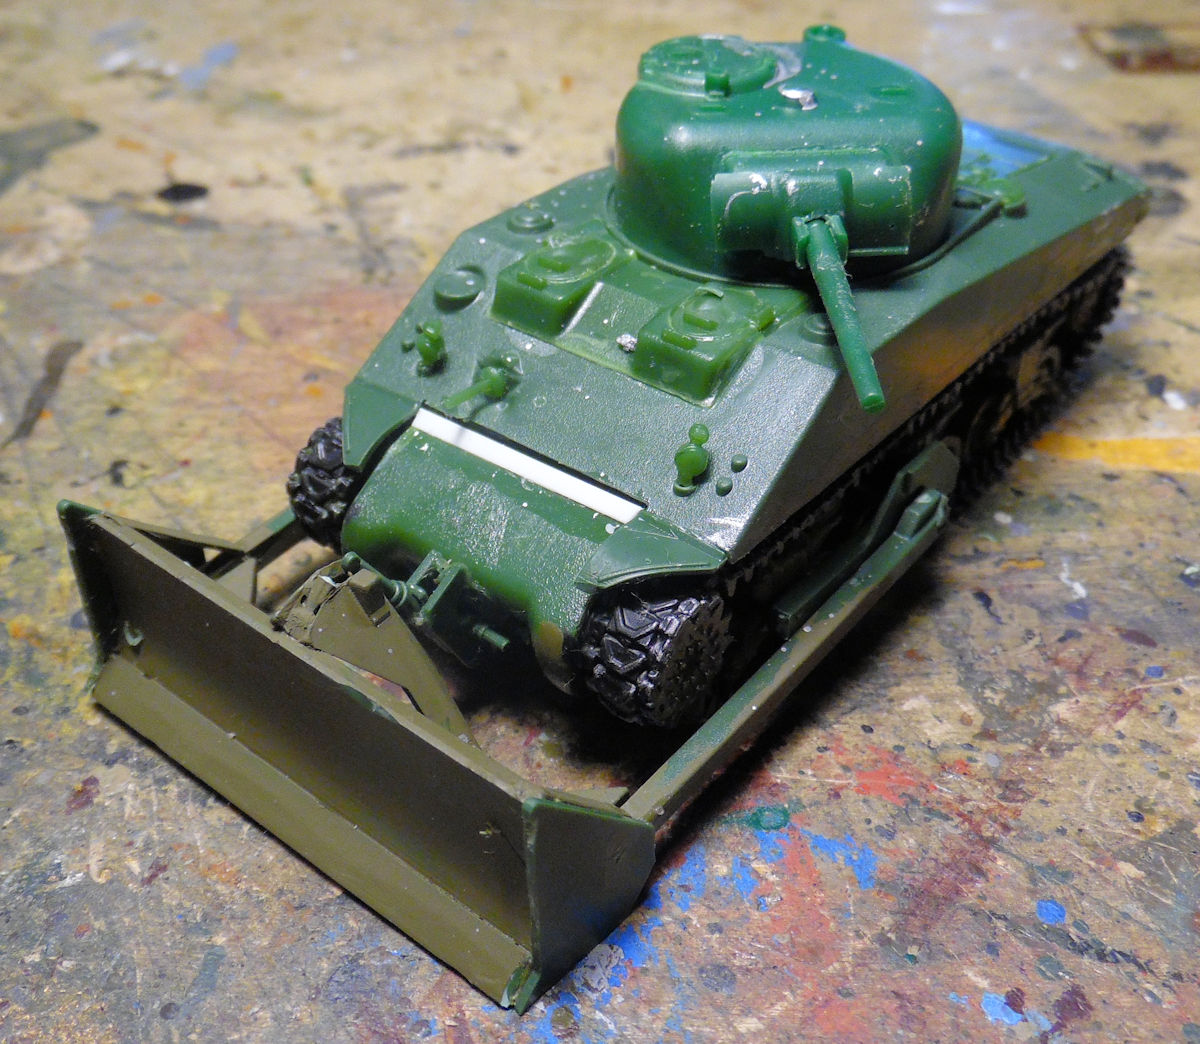
Later the P/E strip of bolts was added:
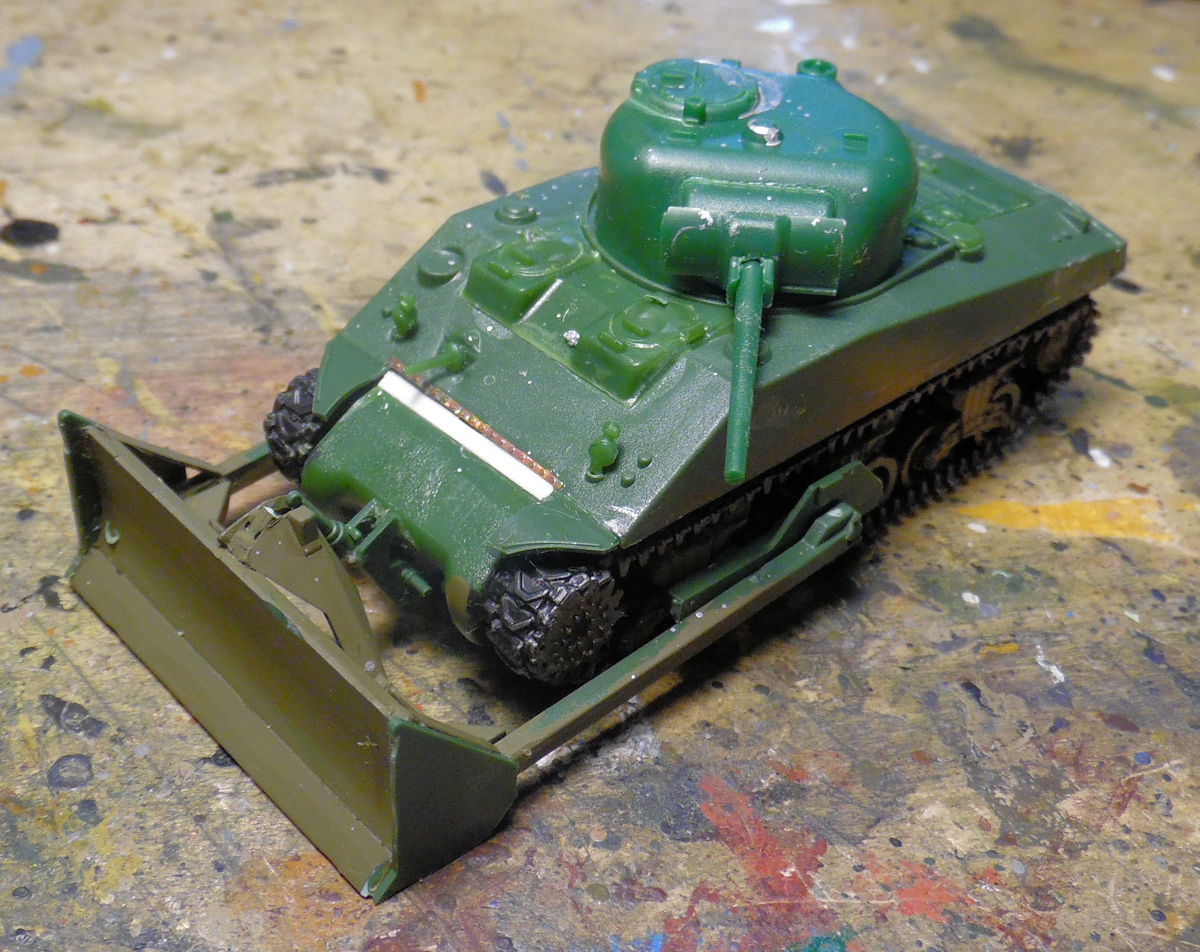
Problem solved, and now paint and decals were able to be applied:
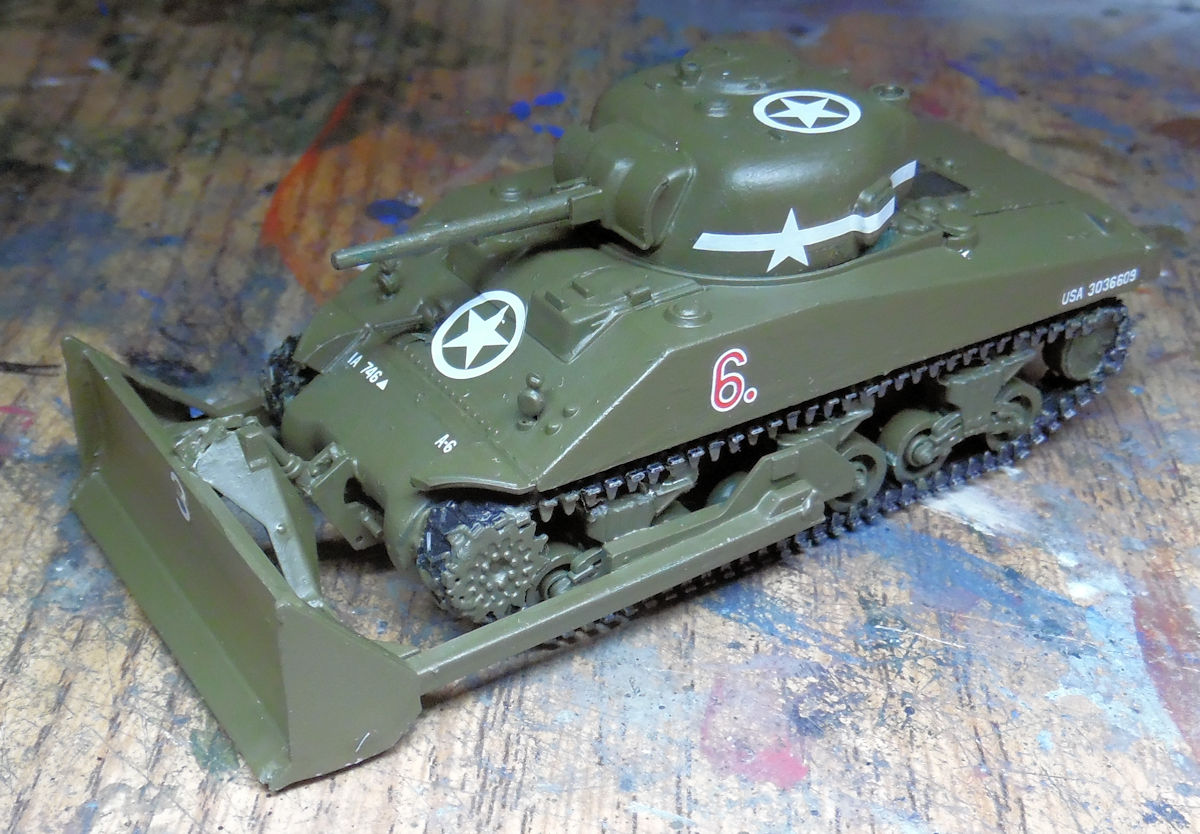
This is now so close to being finished.
In the next bay, the M19 that had been giving me fits was given a coat of paint. Despite this Humbrol color saying it's matt; it never lost it's shine:
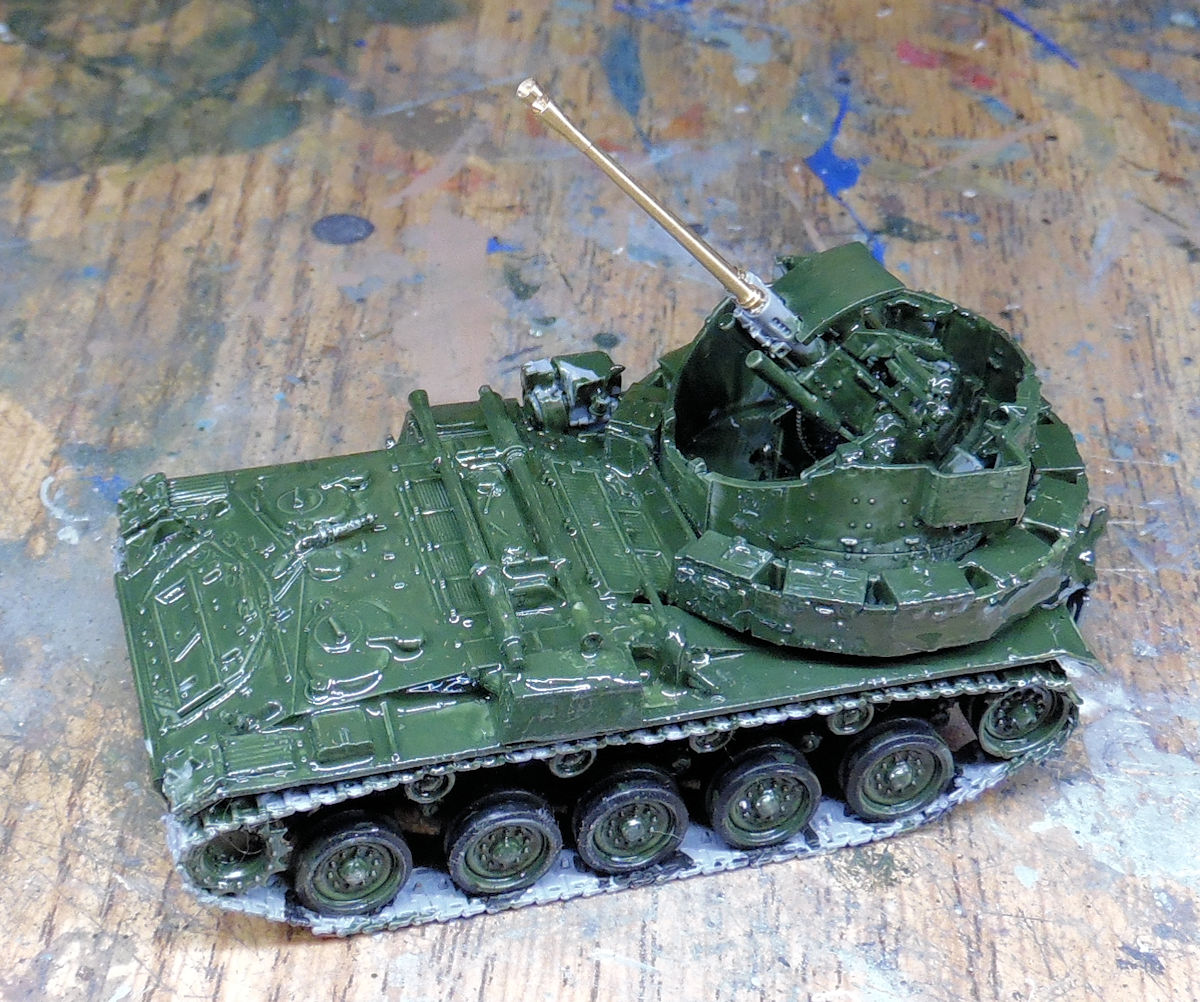
The rests of the details were painted up after it had dried and the decals were added:
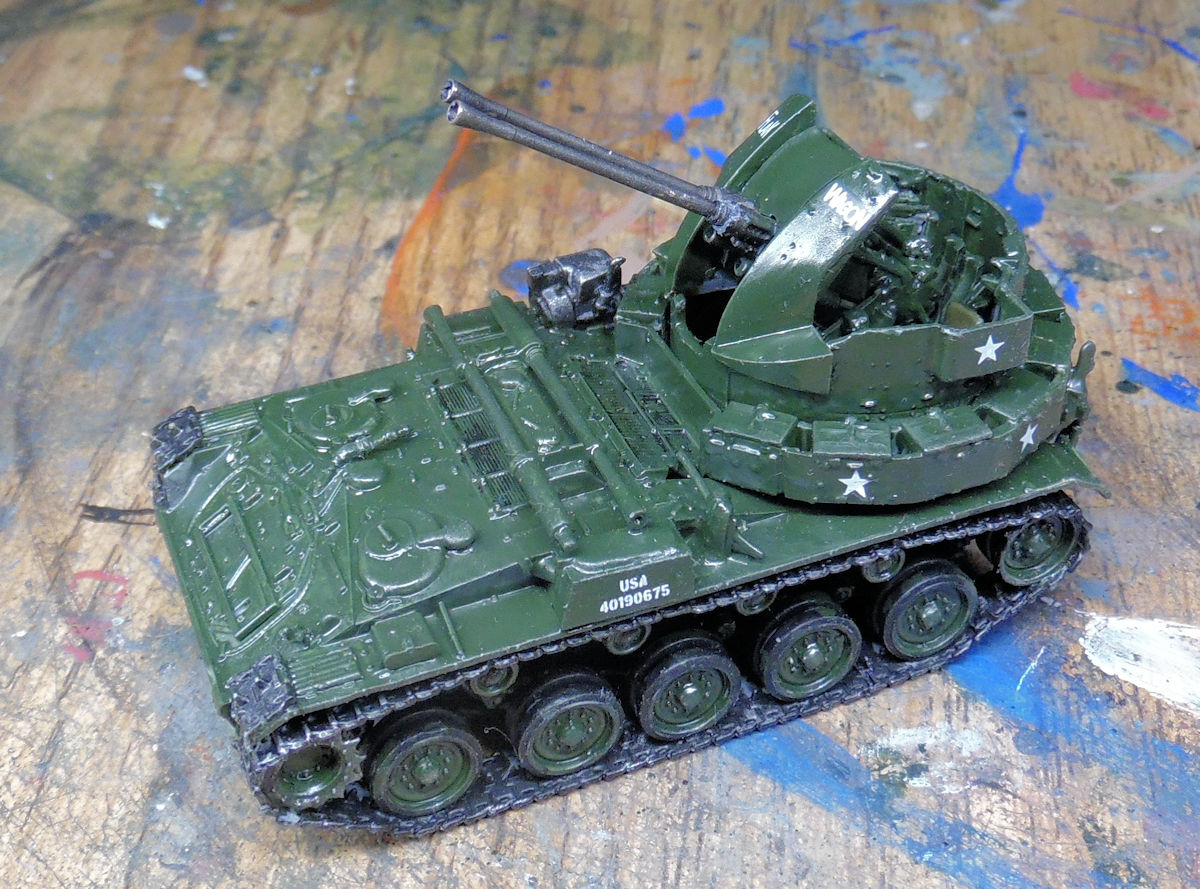
I then realized I hadn't added the photo-etch parts, so they went on next:
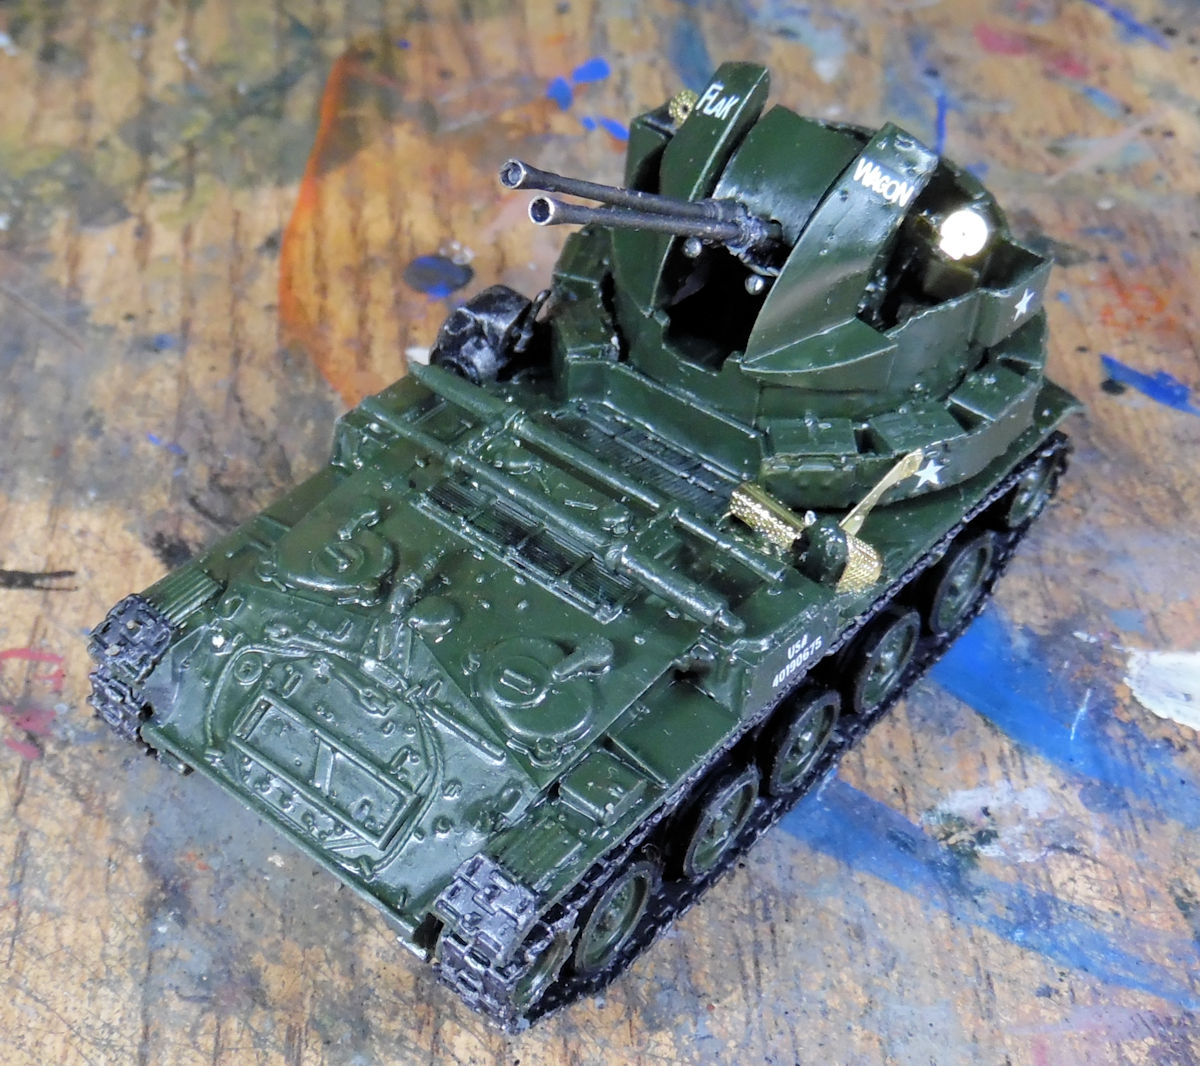
I do love the name on the blast shield.
During all this time, the guns had been giving me hassles because they would not stay in the mount. So, I pulled it off, removed the one mounting pin that was left (the other having broken off) and added brass pins to this to better facilitate staying in the mounts and allowing this to elevate:
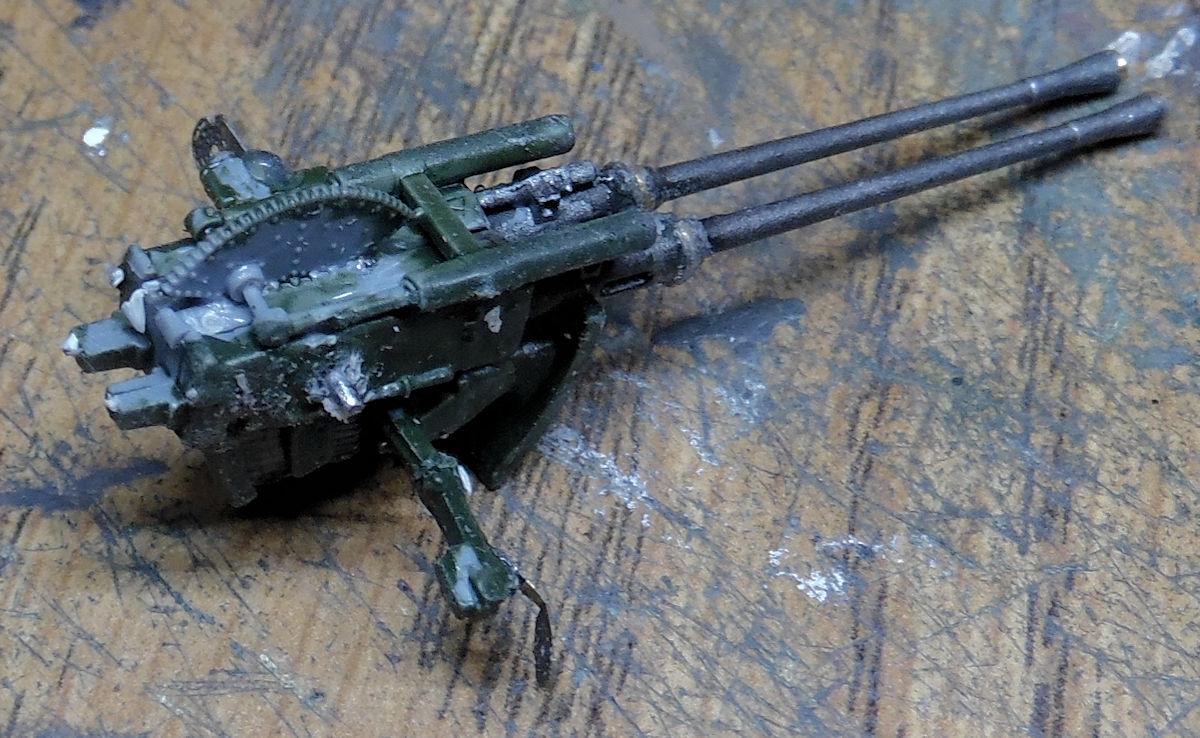
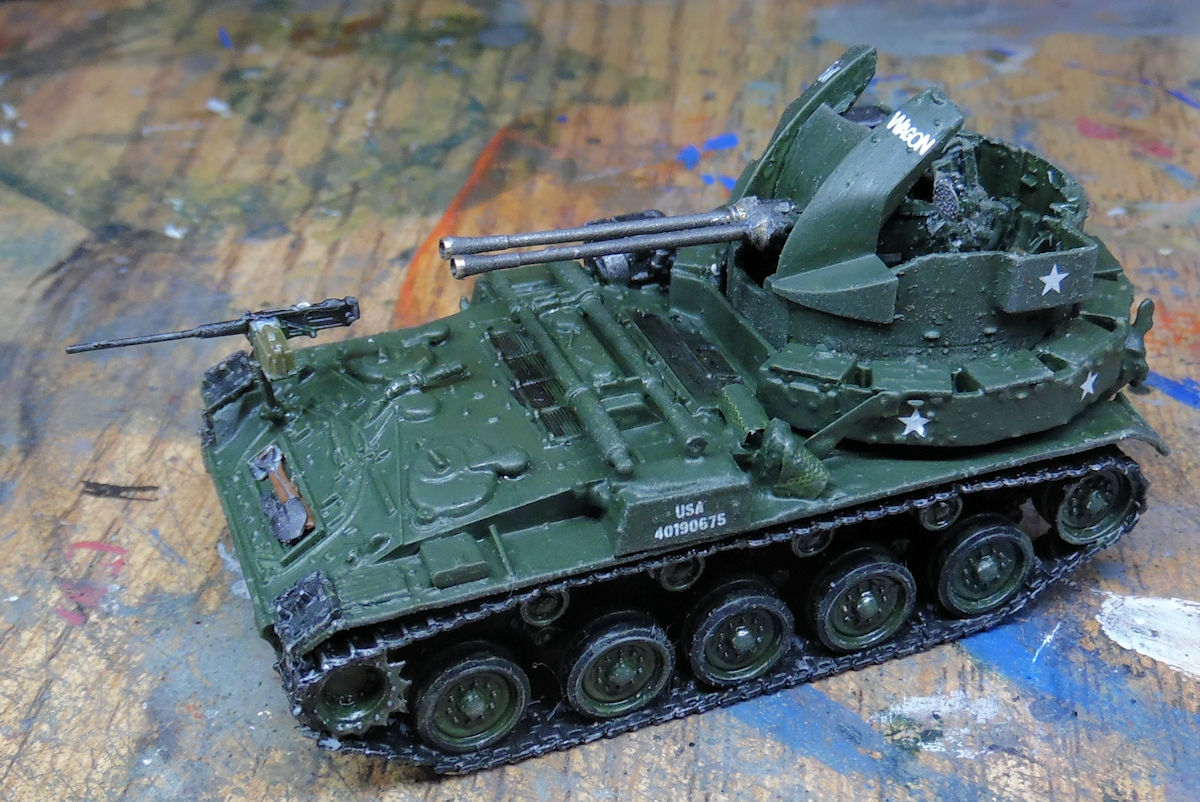
Finally this beast got it's final parts and Ma Deuce on the front, so it's ready for finishing....
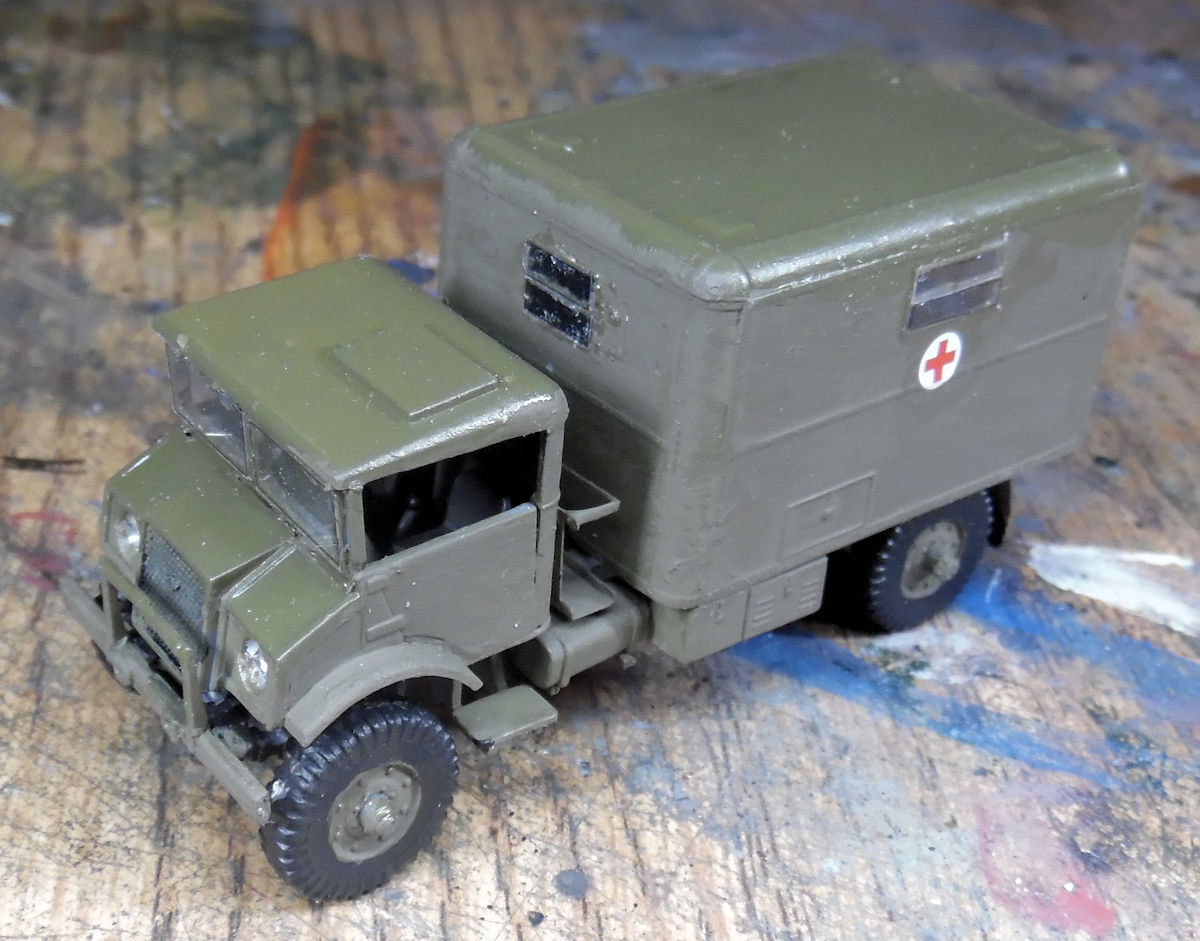
Moving on to the next slip, the Canadian ambulance got it's decals on:
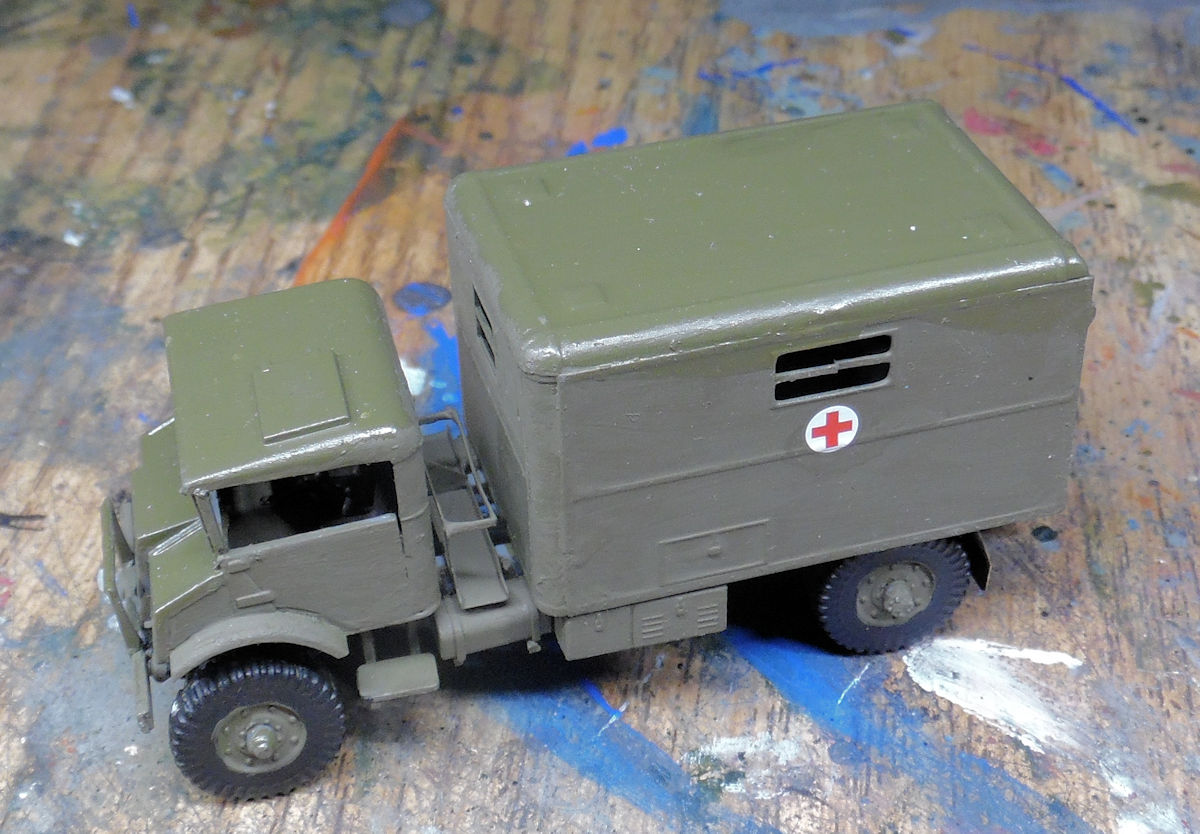
Later, the windows were all installed and this one is almost done:
In the next bay, the two Japanese tracked APC's got their main coat of paint:
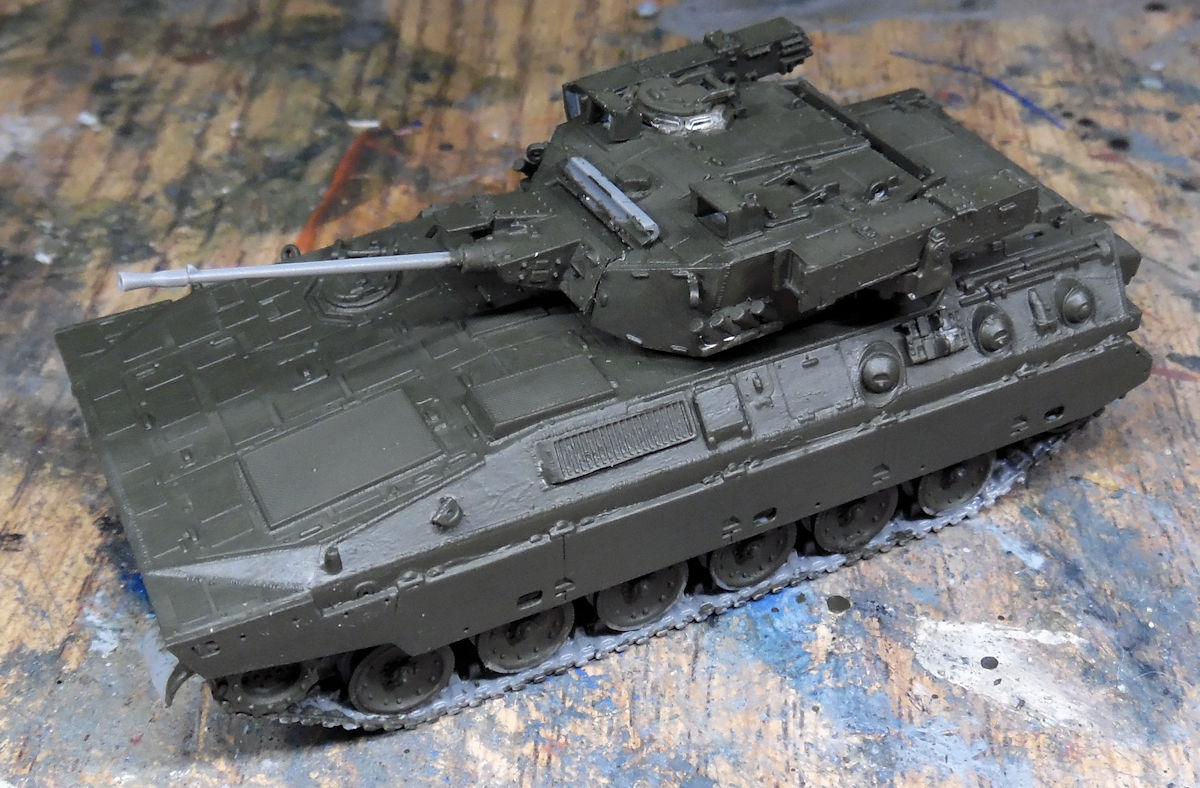
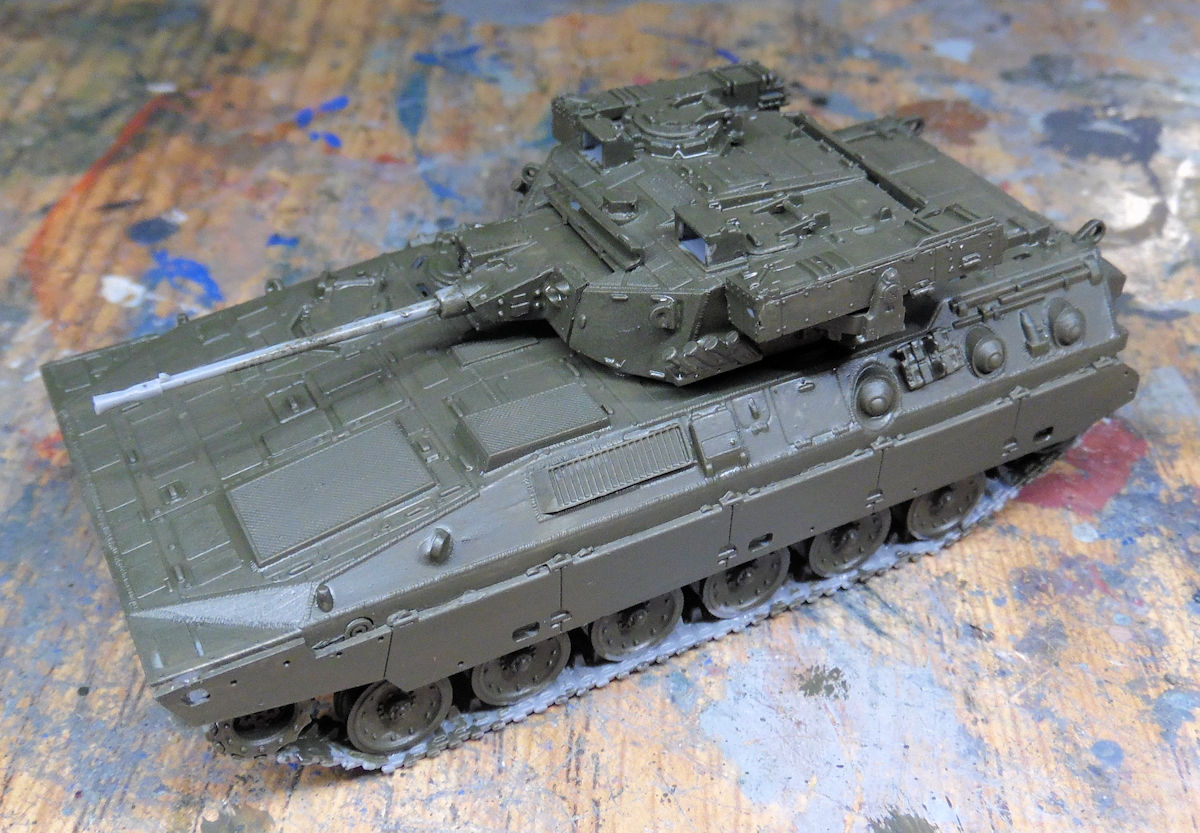
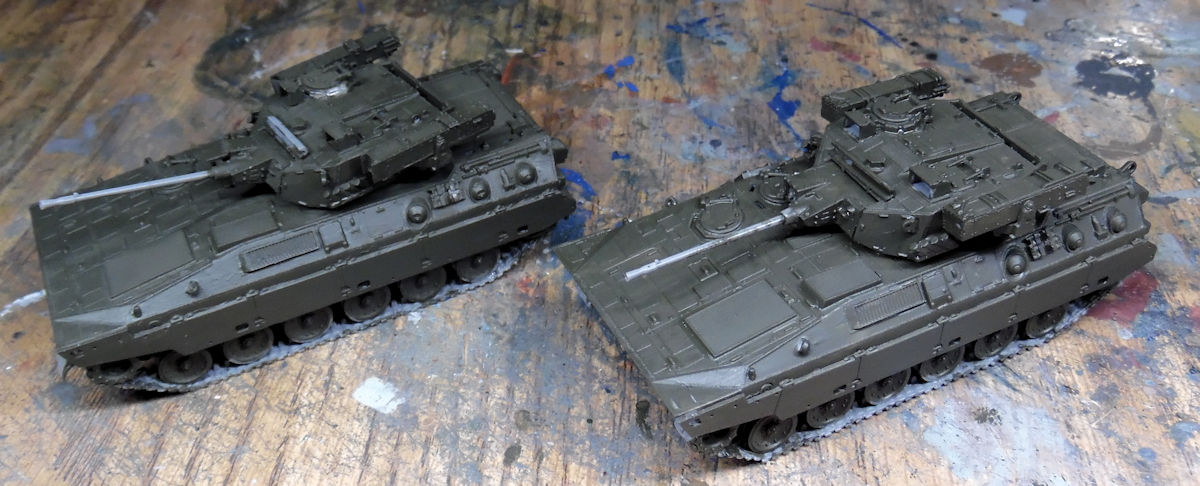
These are coming a long very nicely, unlike a couple previous models...
And that concludes this tour of the facilities, thank you all who came in to enjoy it; comments are always welcome.