Once the main mask is secured into place, the white is sprayed.
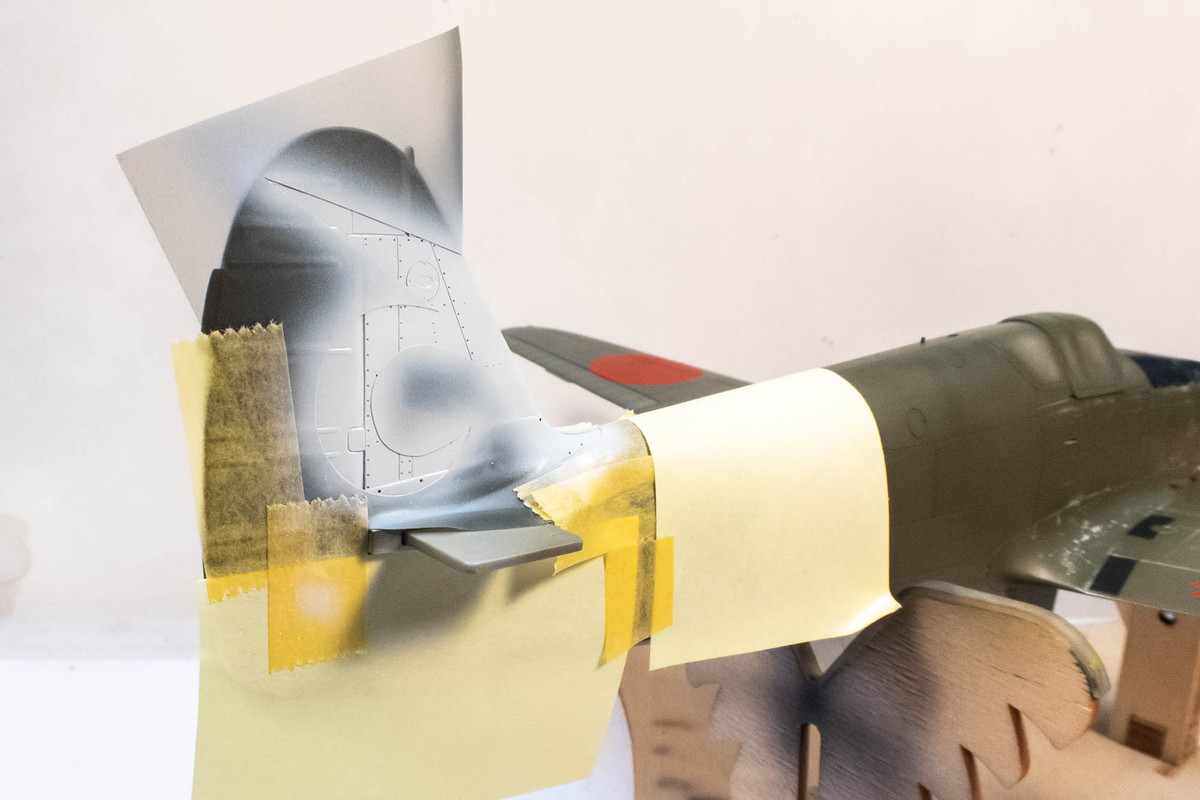
The thin outline mask is then put into position. The inner mask has two parts and I use tape to keep those two parts together. It's easier to place these two into place than the skinny border only. After positioning the two parts within the outline mask, the inner mask is removed, leaving just the border piece. Micro Mask is used to seal any gaps between the two mask parts.
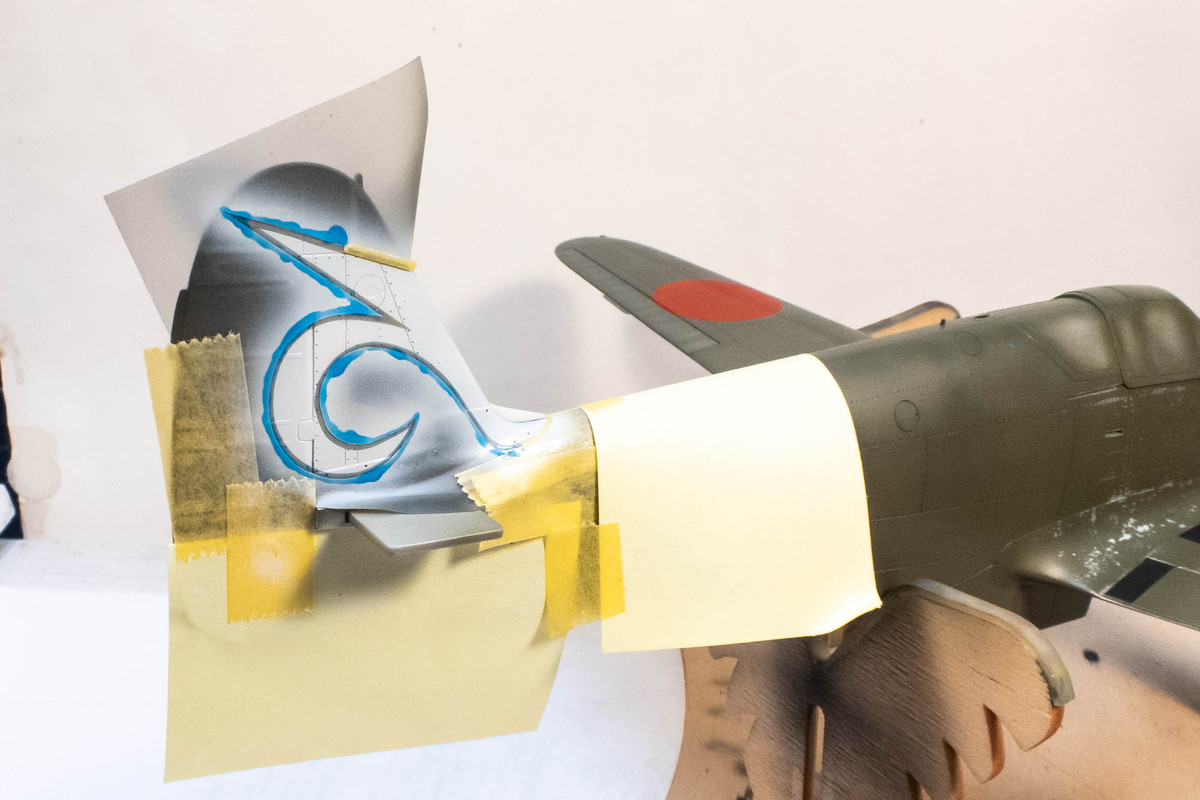
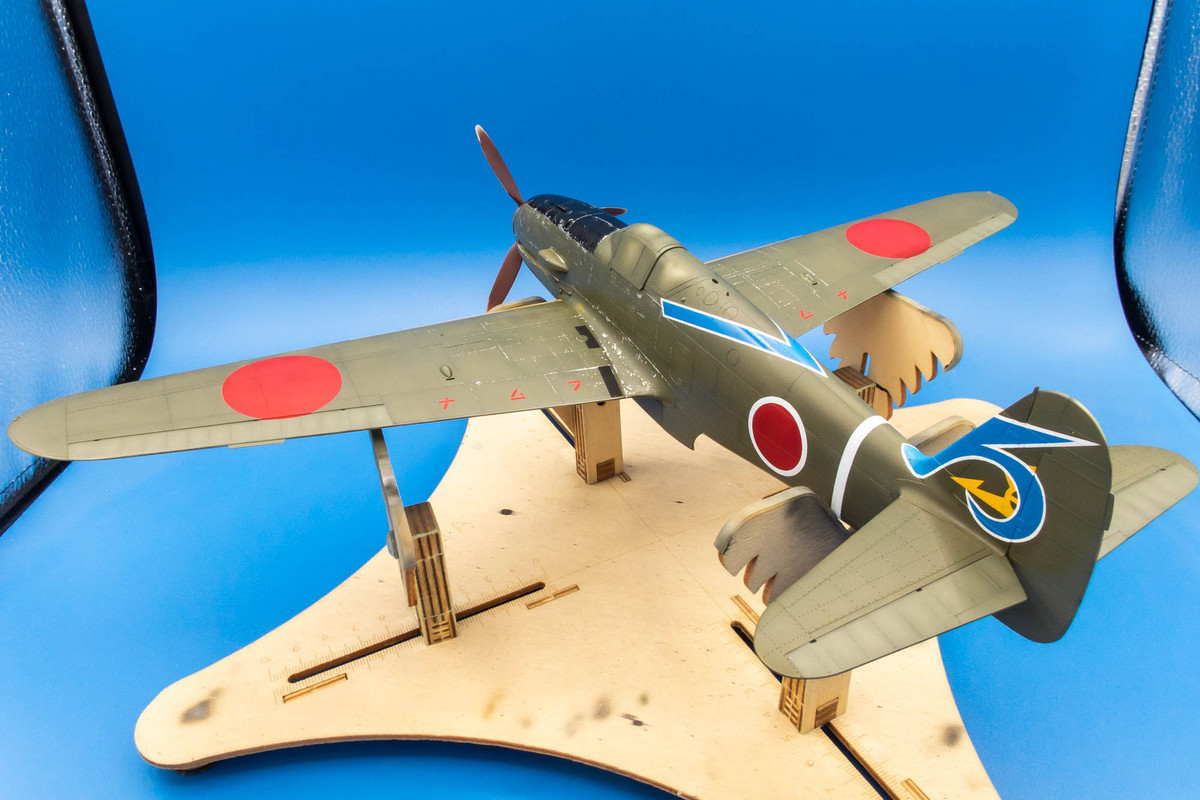
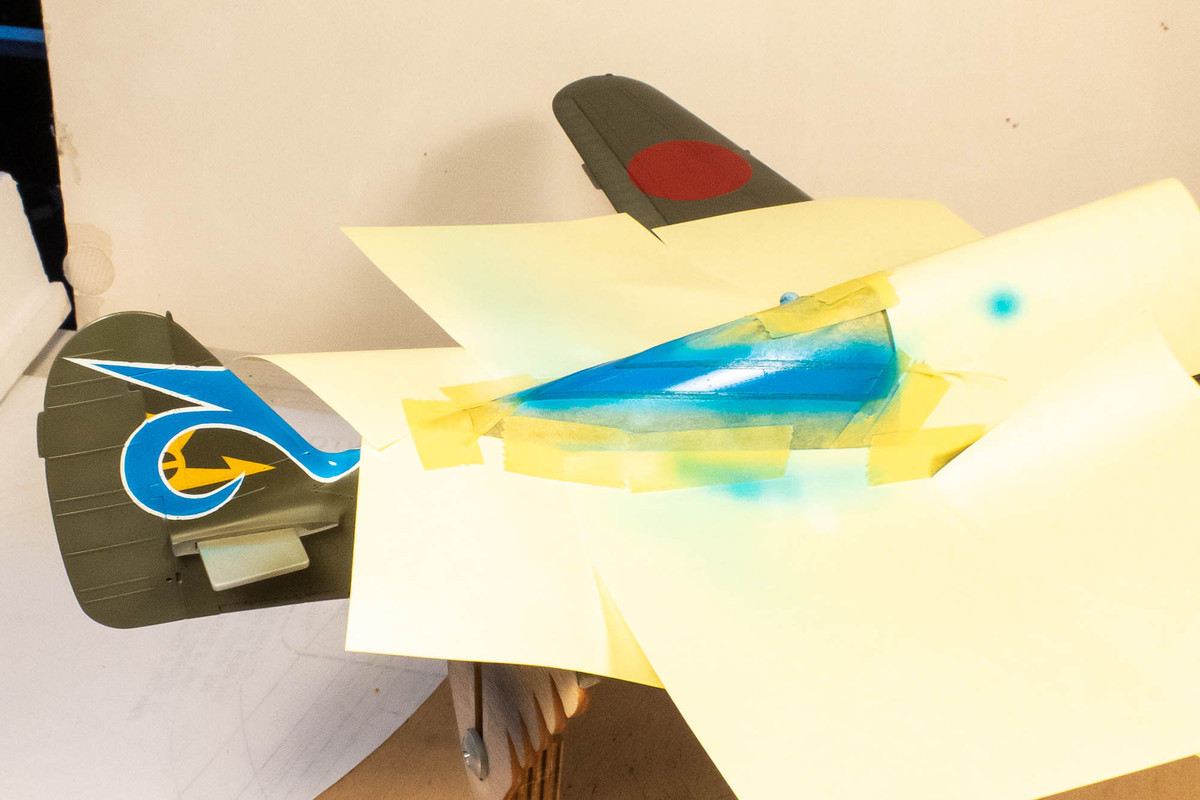
Then the blue is sprayed. It's important to give adequate time for the paint to dry between mask applications. That was probably one of the reasons the port side came out a little ragged. I'm always fighting my inclination to move quickly but luckily, these acrylic-lacquers dry quickly.
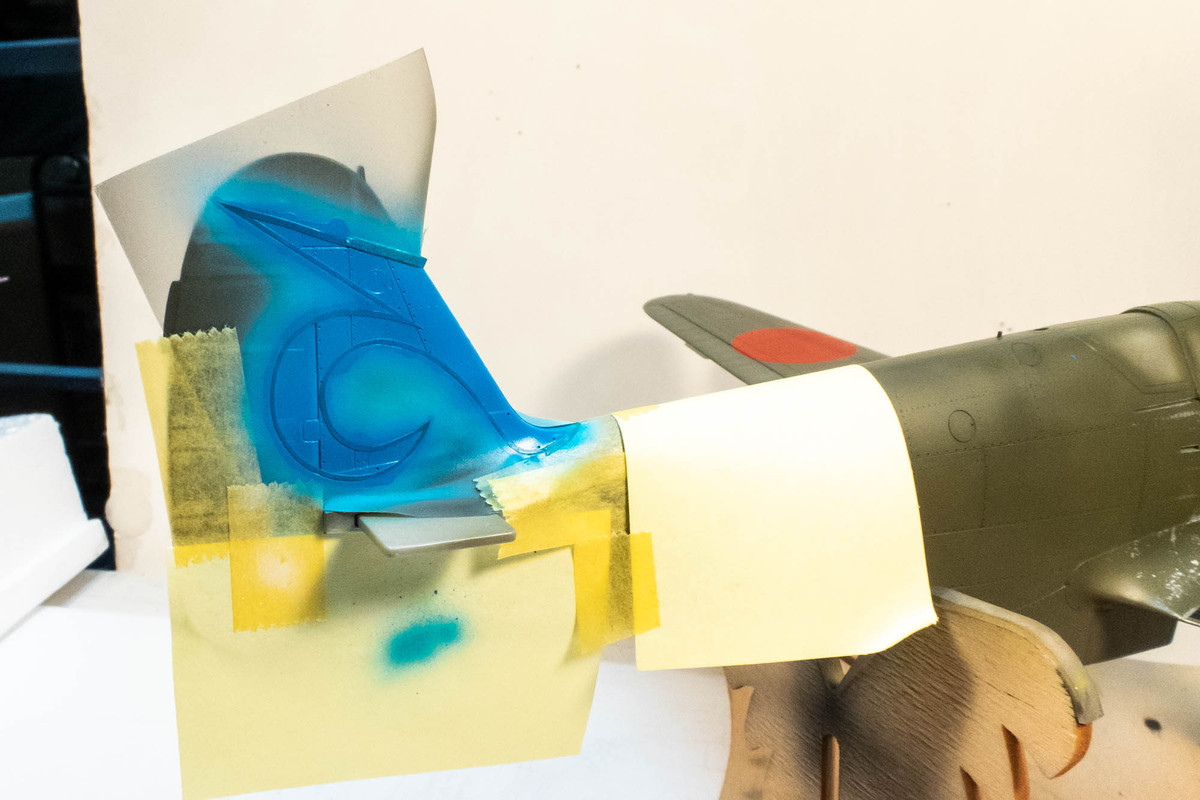
Patience netted a much cleaner result on the starboard side.
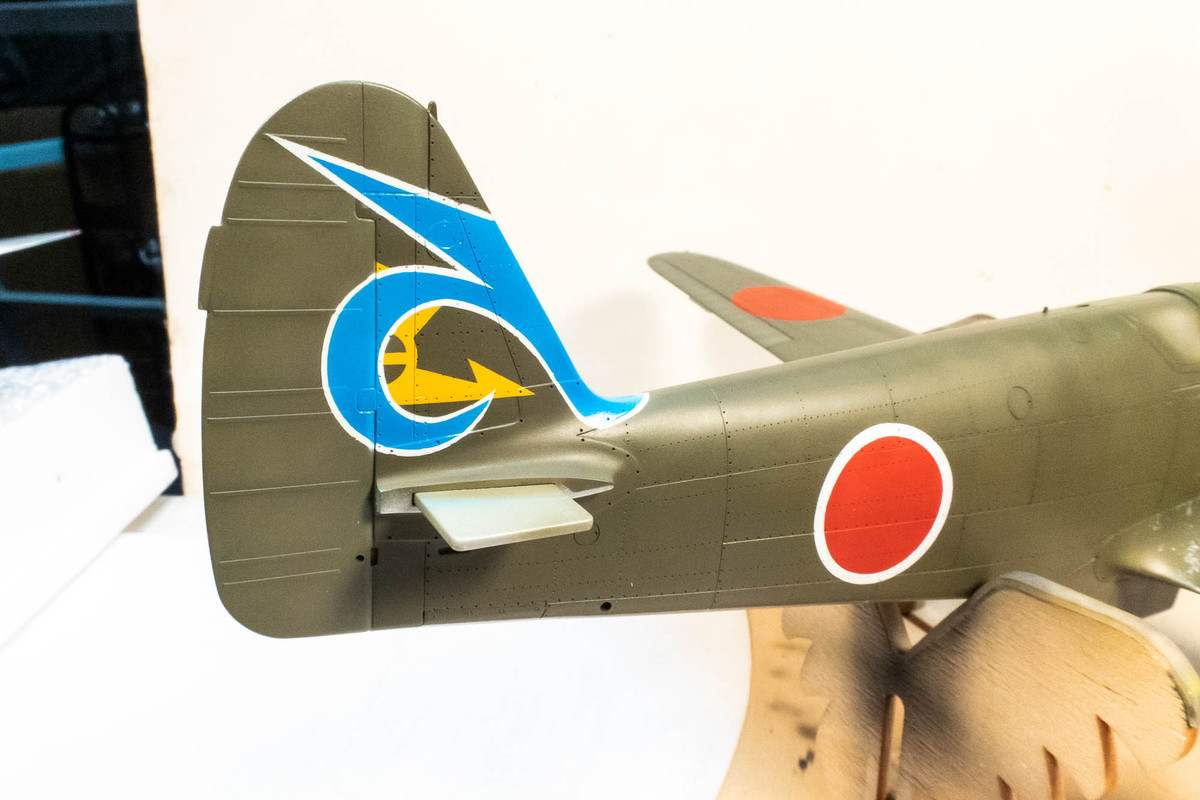
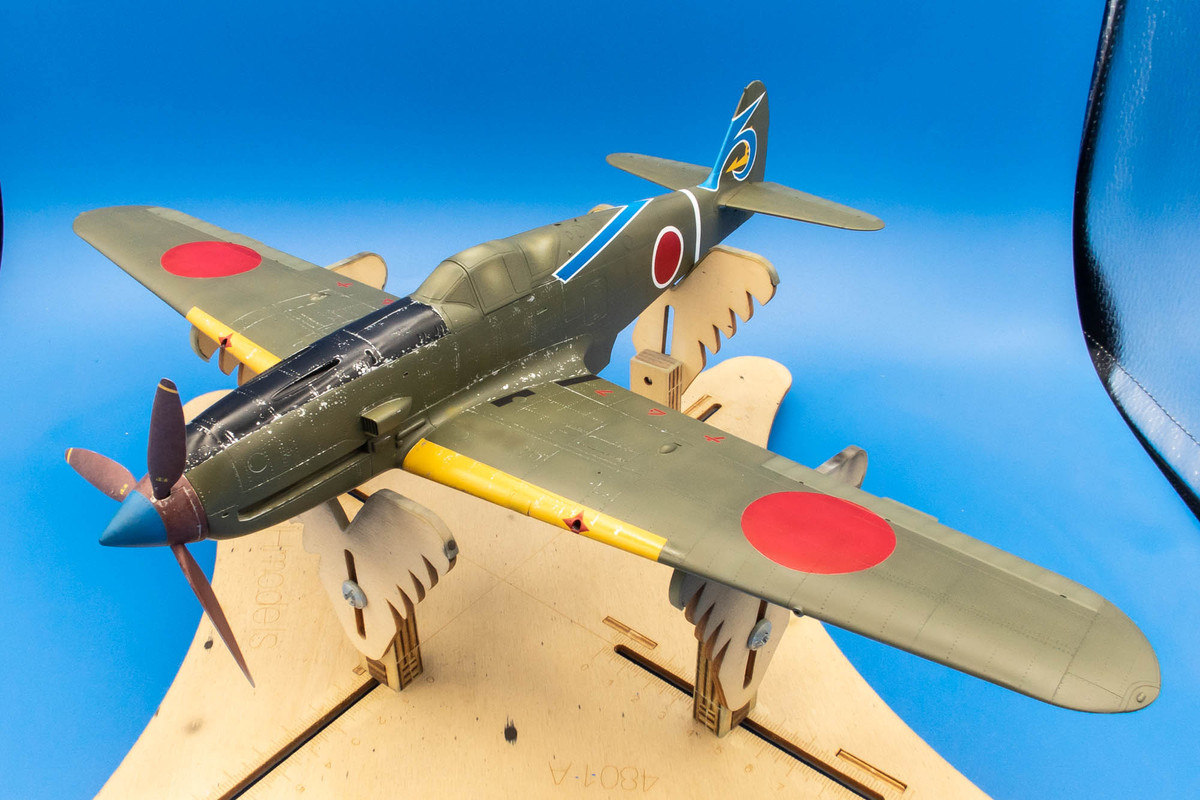
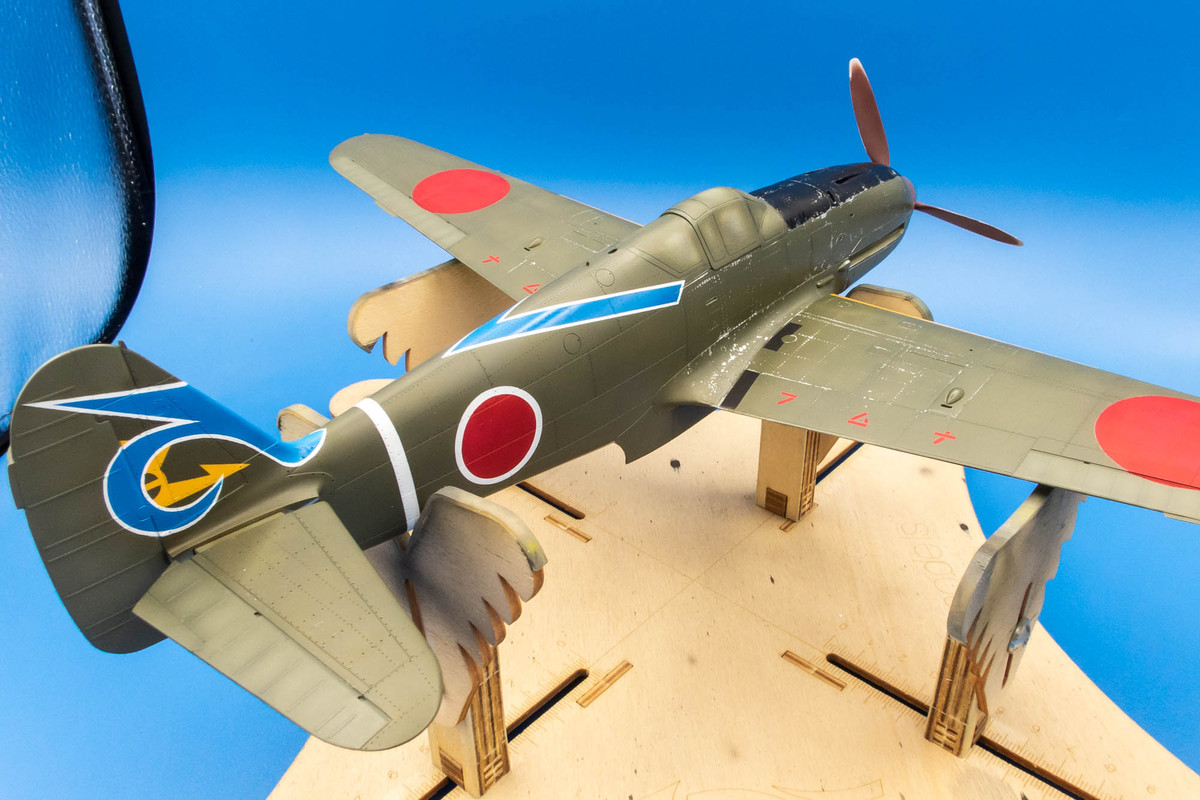
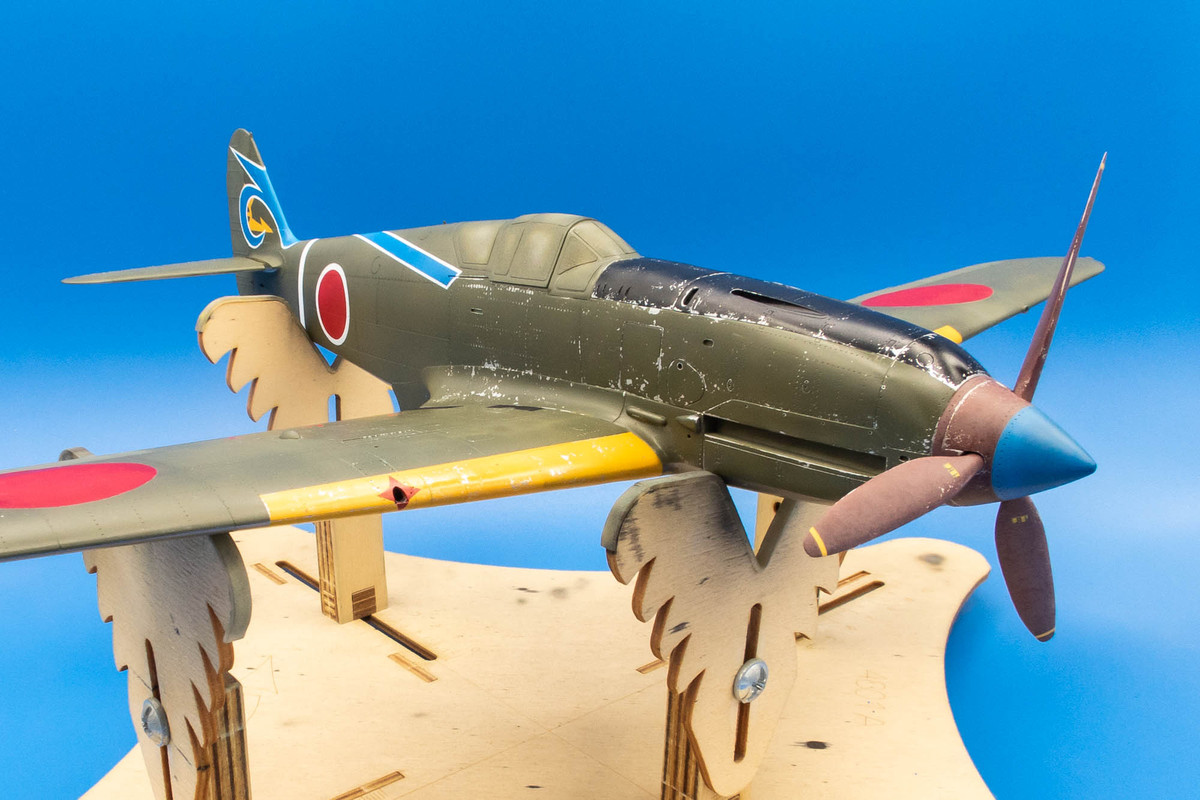
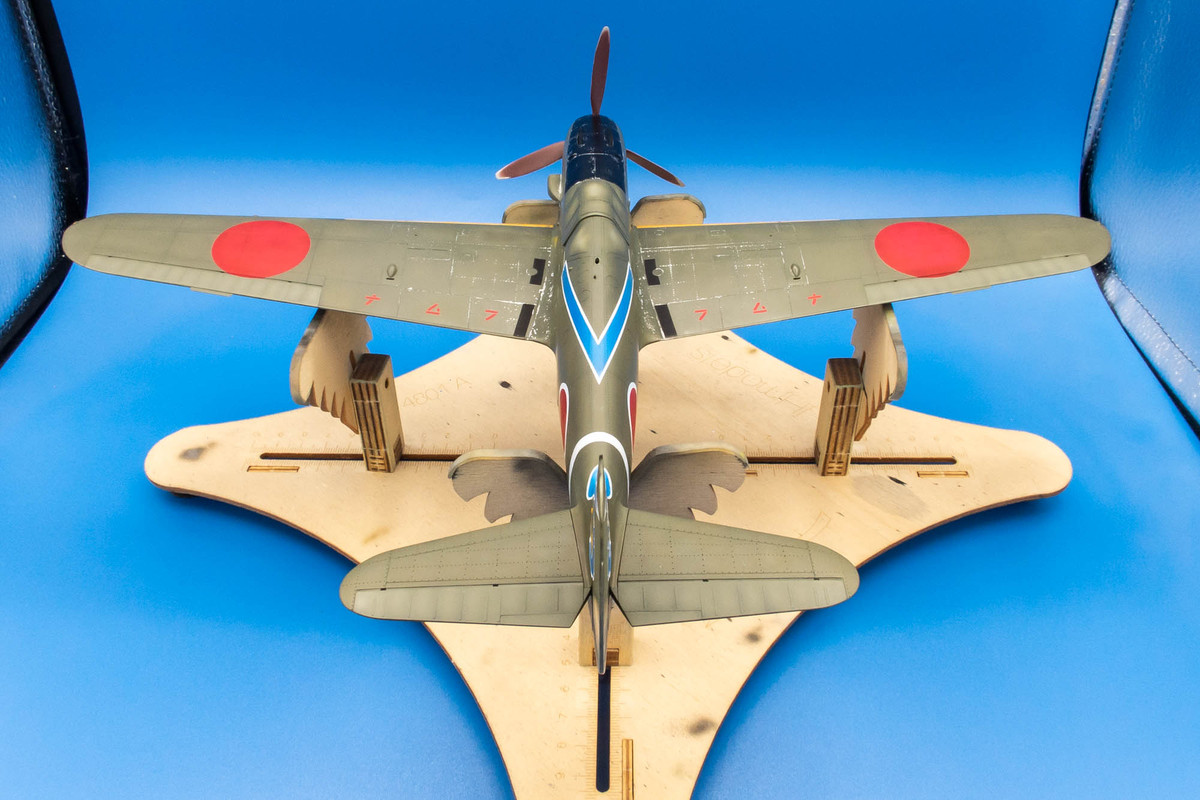
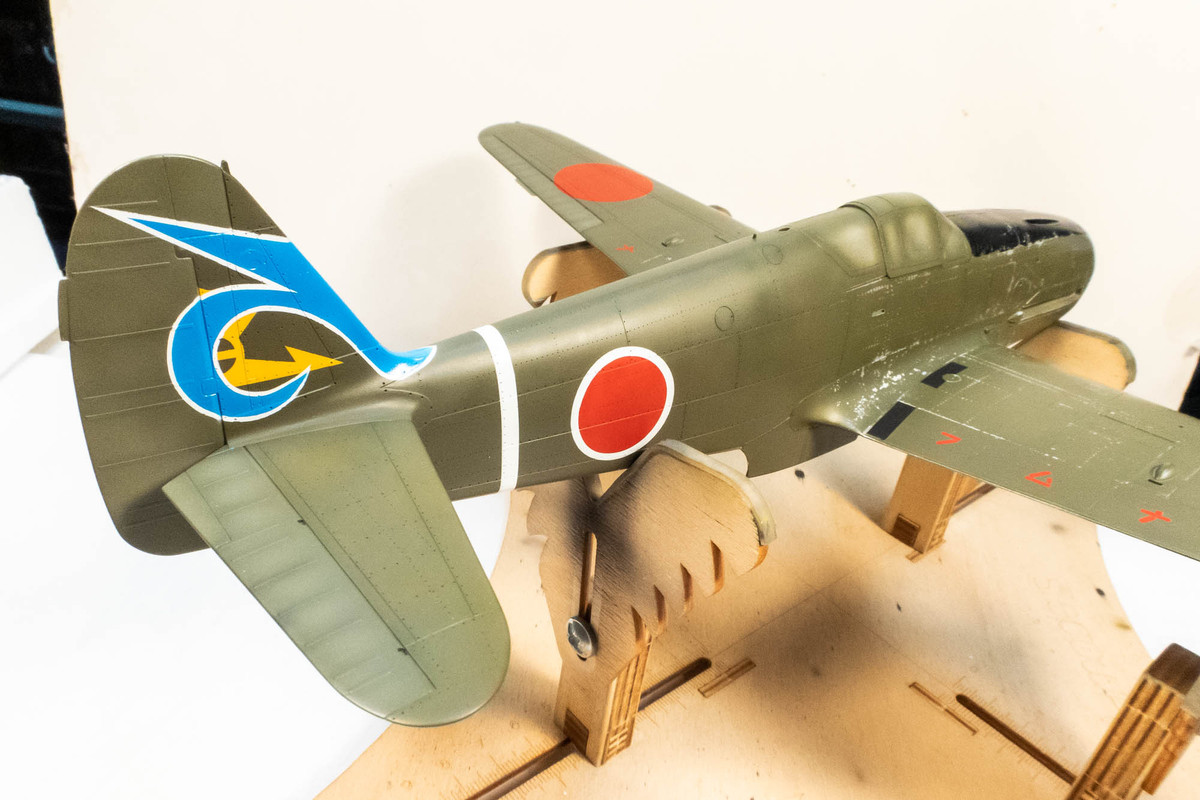
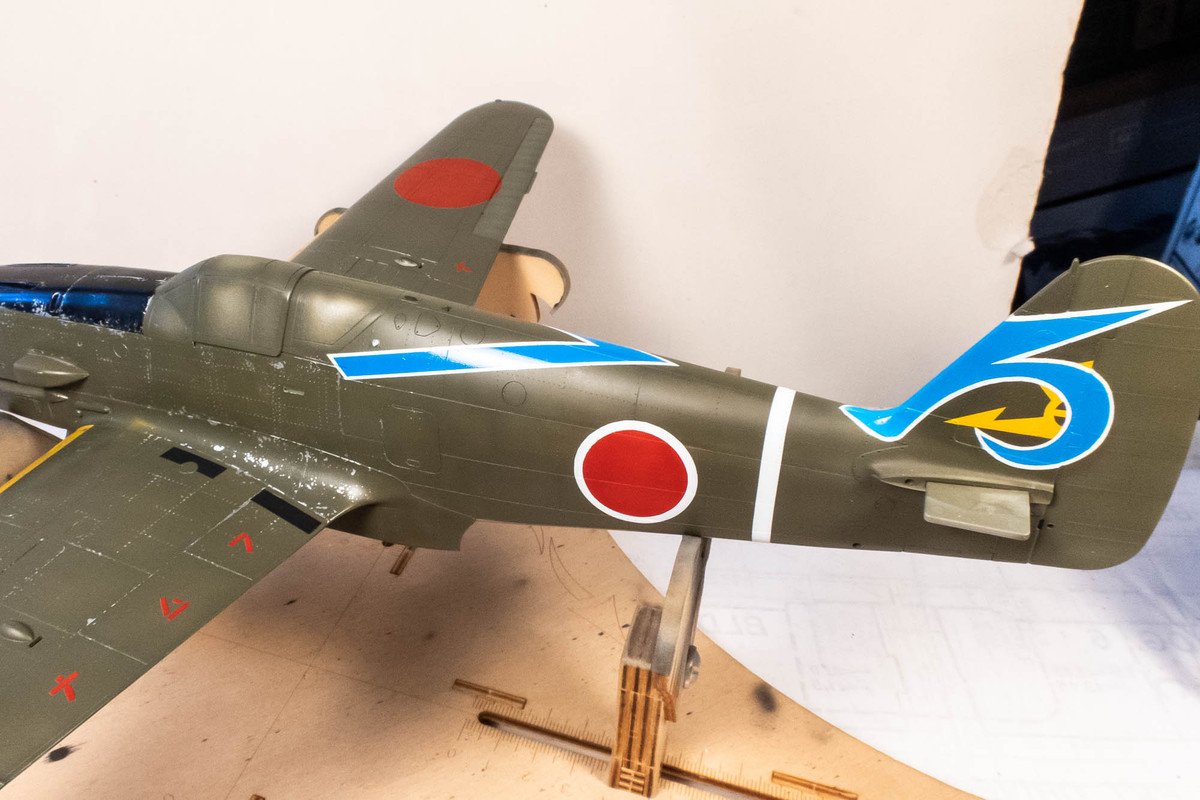
A white stripe was added between the tail and hinomaru.
The last major marking to be painted is the blue/white diagonal sash. Instead of pre-cut masks, I used strips of Tamiya tape to establish the outline of the sash. This is painted white.
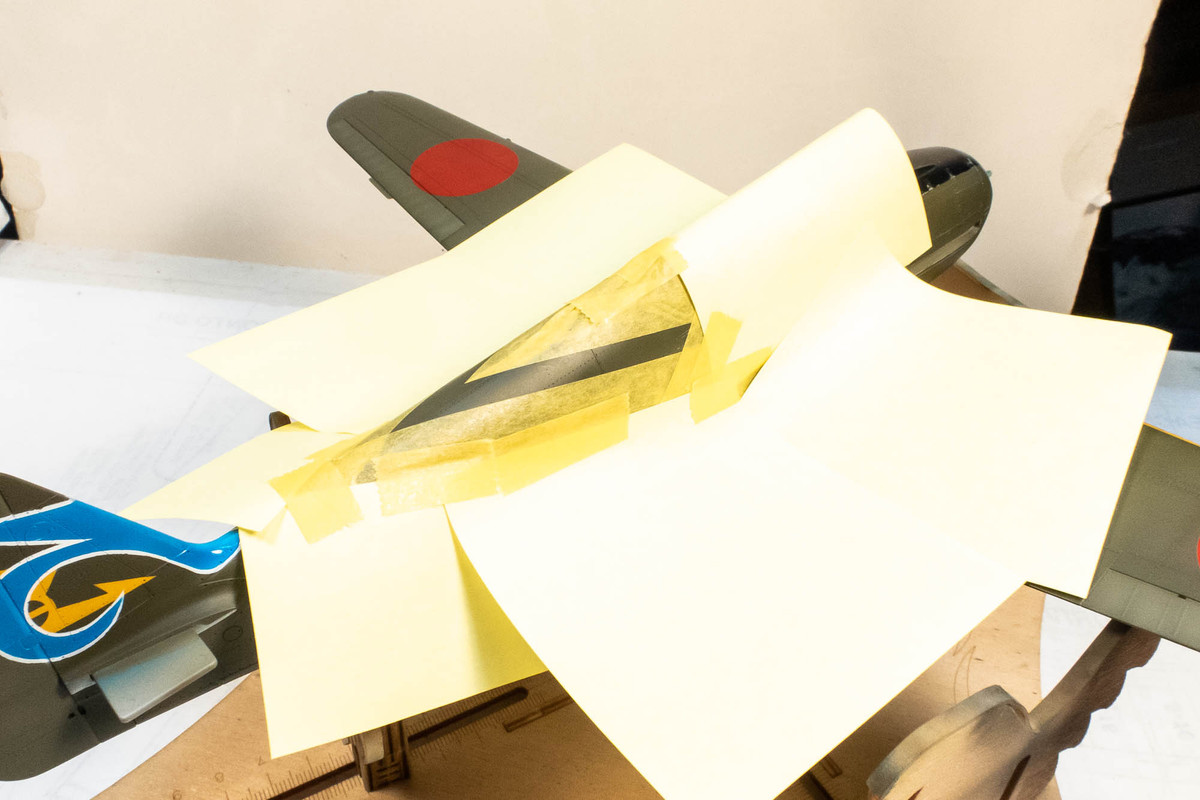
After the white is dry, I cut thin strips of Tamiya tape and masked the borders of the stripe. Instead of Micro Mask, it was easier to seal the joints with more strips of tape. The blue is then sprayed.
Ok... so the major markings are just about done.
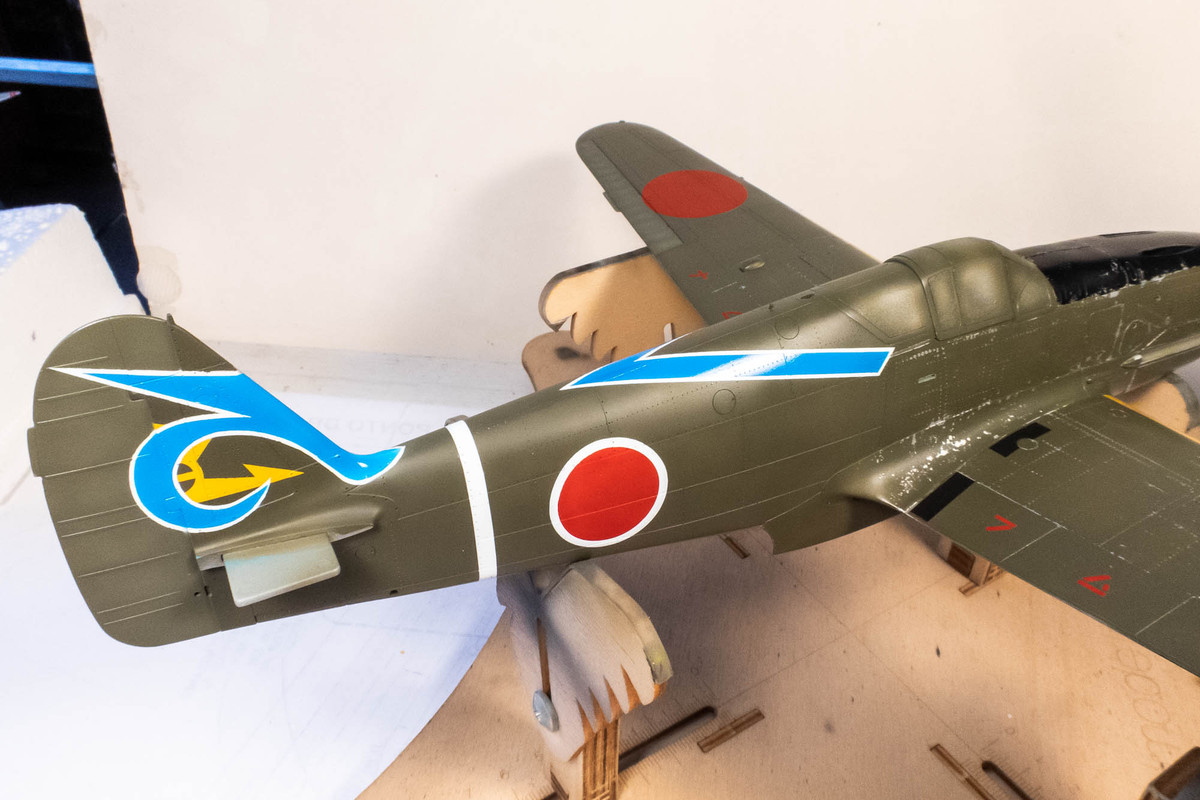
I'm going to do some touch-up work and then we'll seal the markings with a gloss coat and apply some small decals.