Thank you guys! I apologize for the late reply. Here's my latest tour....
It's July now and Happy Birthday America and Happy Anniversary to me. It's time for another tour of Maddog Manufacturing so all aboard the trams to see what's happening now.
Our first stop is the Hangar which only had one project going this time, but it's a big one! I got started on the AN-225 transport, starting with assembling some of the wheels:
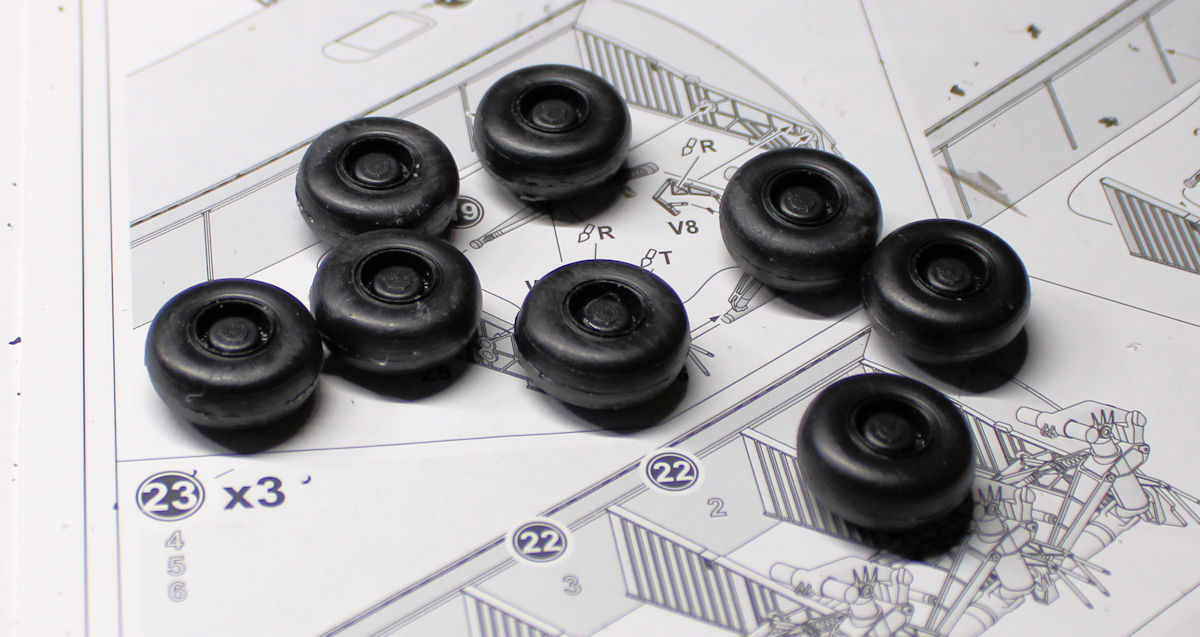
Granted that's about 1/5th of the wheels this beastie has, and each wheel consists of five parts. I'll be working through these gradually as this progresses. Next I started with the main landing gear bay. The first part was easy:
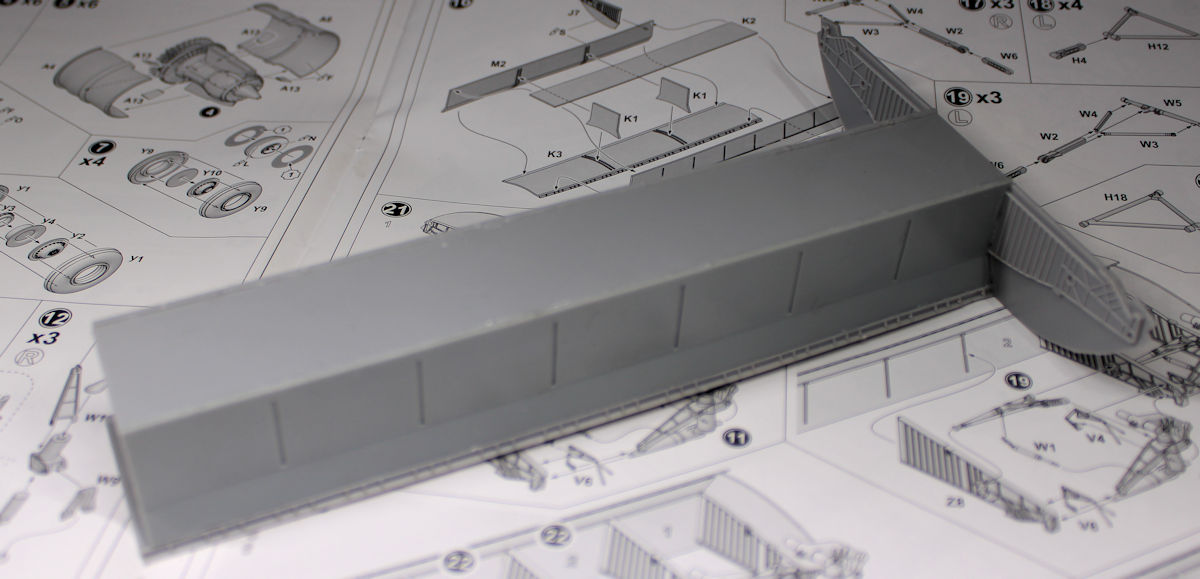
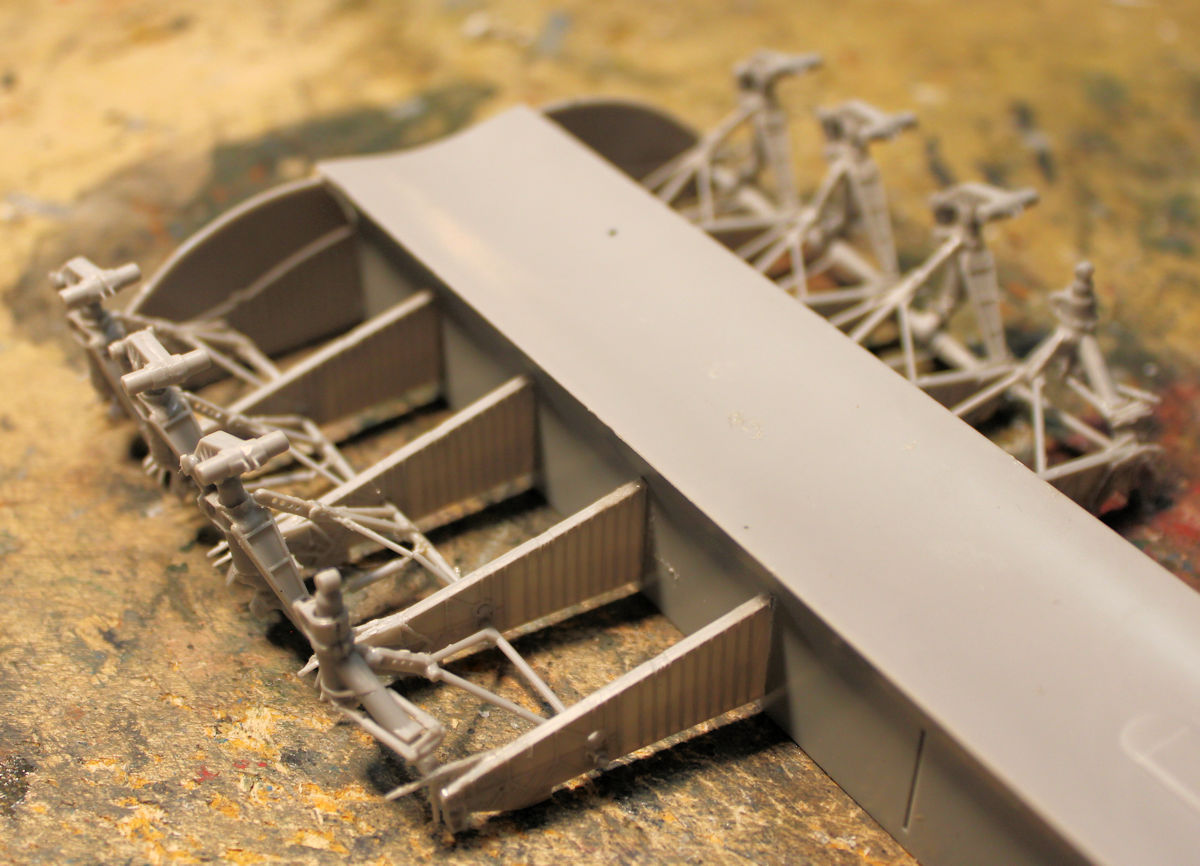
After that, every landing gear assembly needed to be built and installed one at a time. Each landing gear sub-assembly has 17 parts in each one and there are two types of main landing gear. Here's the first one installed into place:
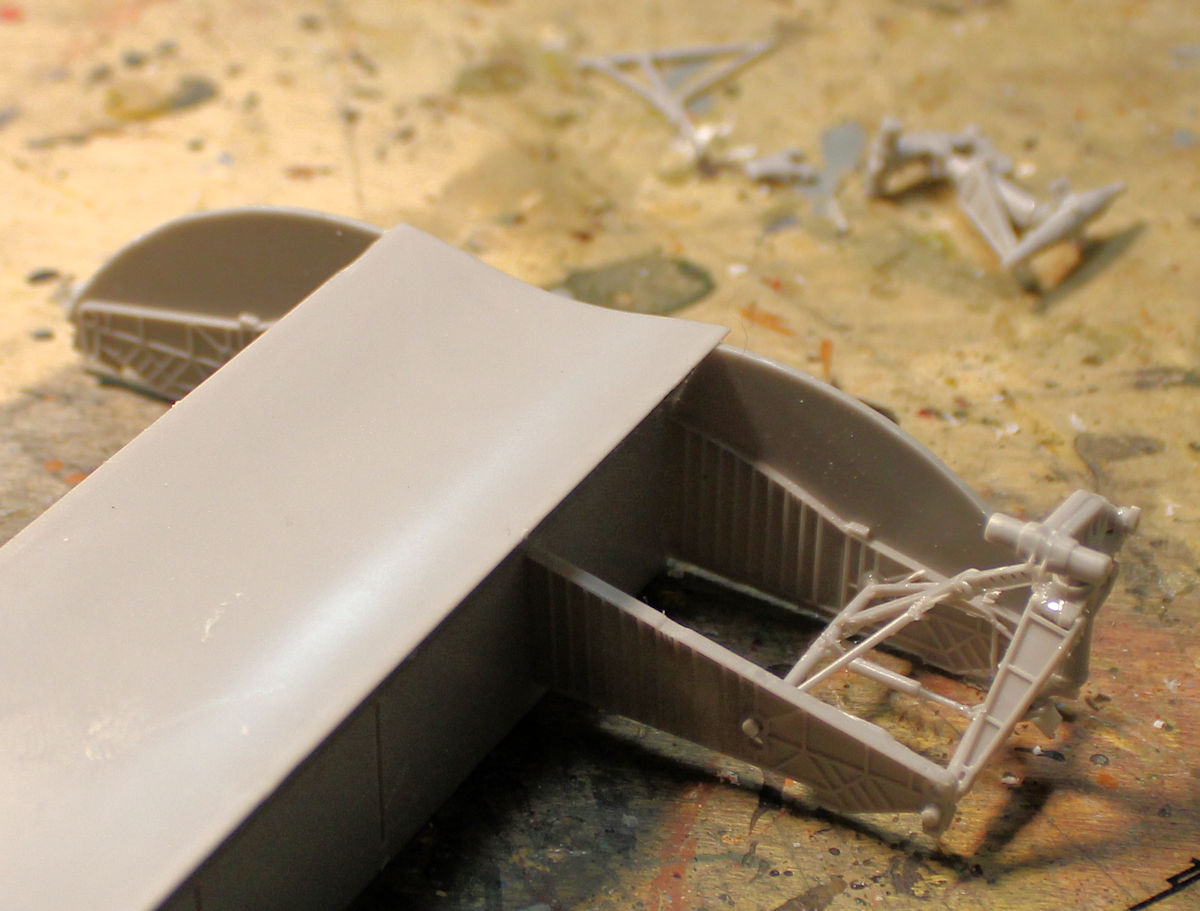
Later I got the rest of this first type of landing gear installed. This is still only one-third of the total landing gear assemblies:
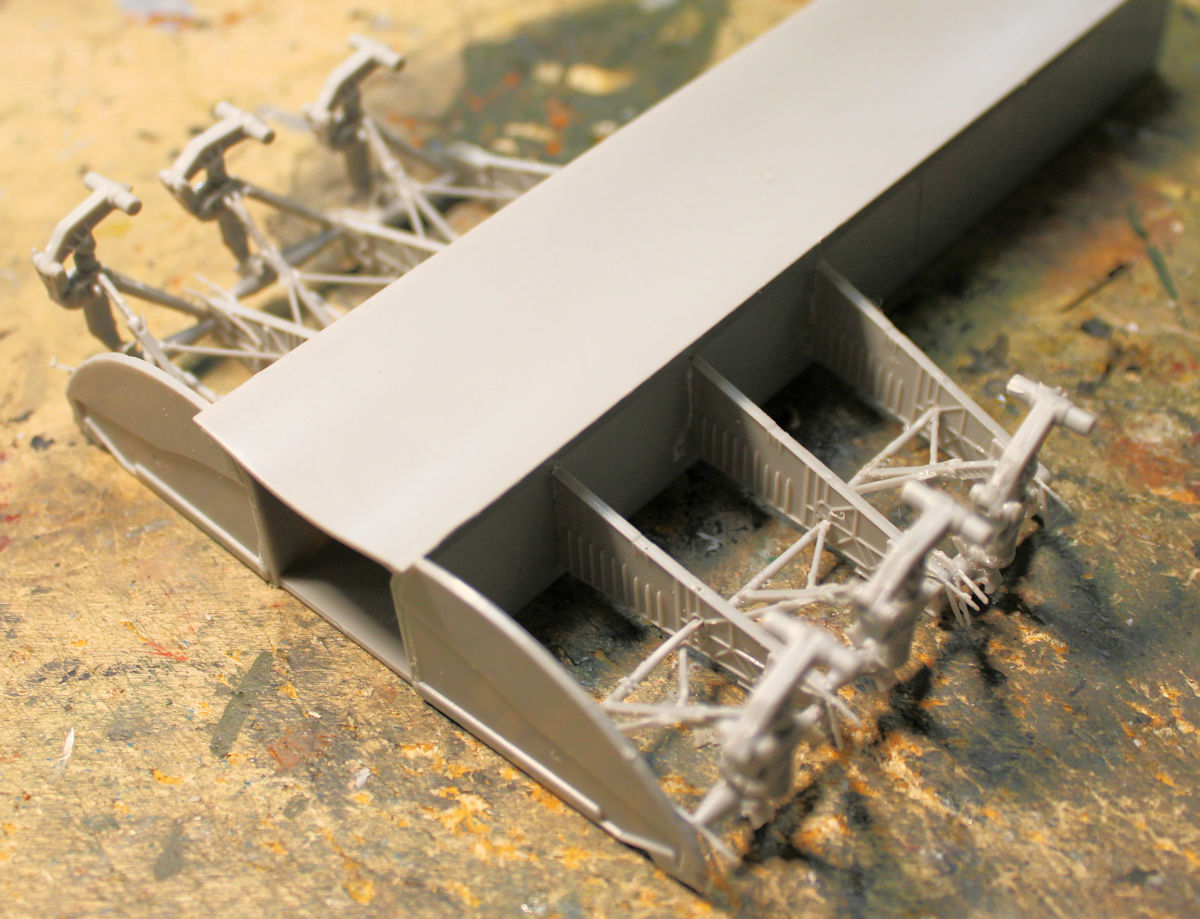
Once that was sufficiently dry, I installed two of the second type of landing gear to get them started:
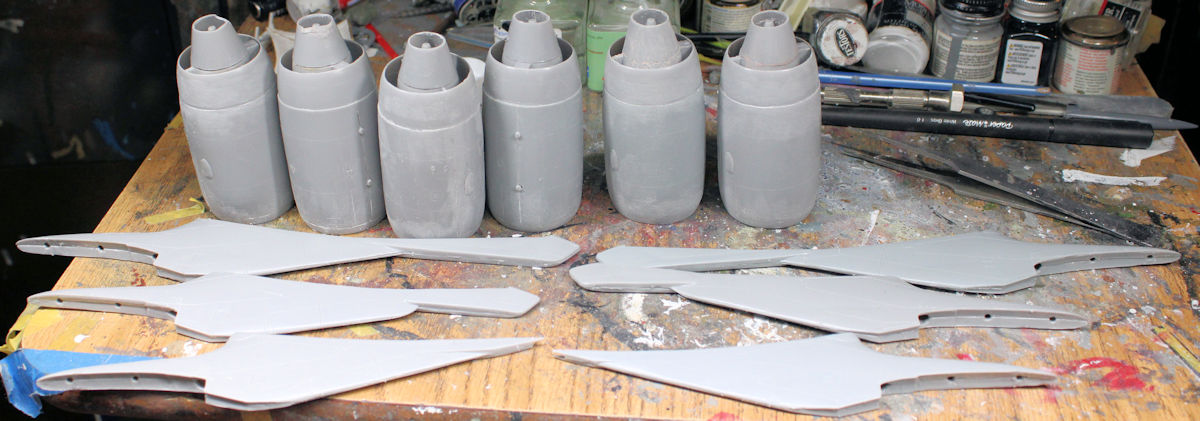
After that I got tired of dealing with all those tiny detail parts. So, I started on the engines, each of which had over twenty parts. I finally got all six of them finished and worked on their pylons next:
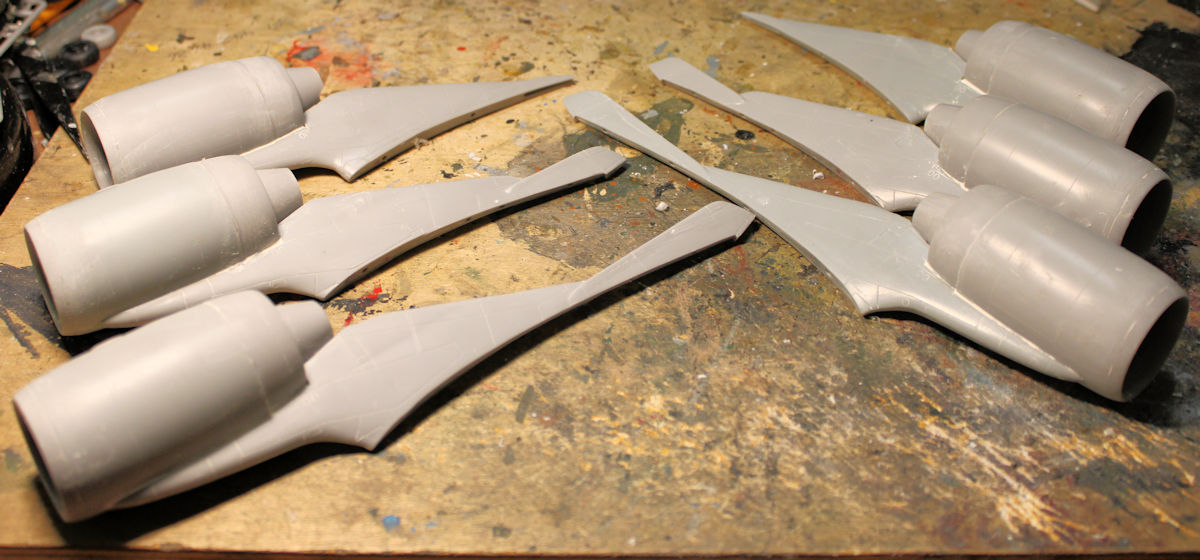
After some more sanding and finagling, I got all six engines mounted on their pylons:
After that I decided to start on the tail, cementing the two uprights to the horizontal part:
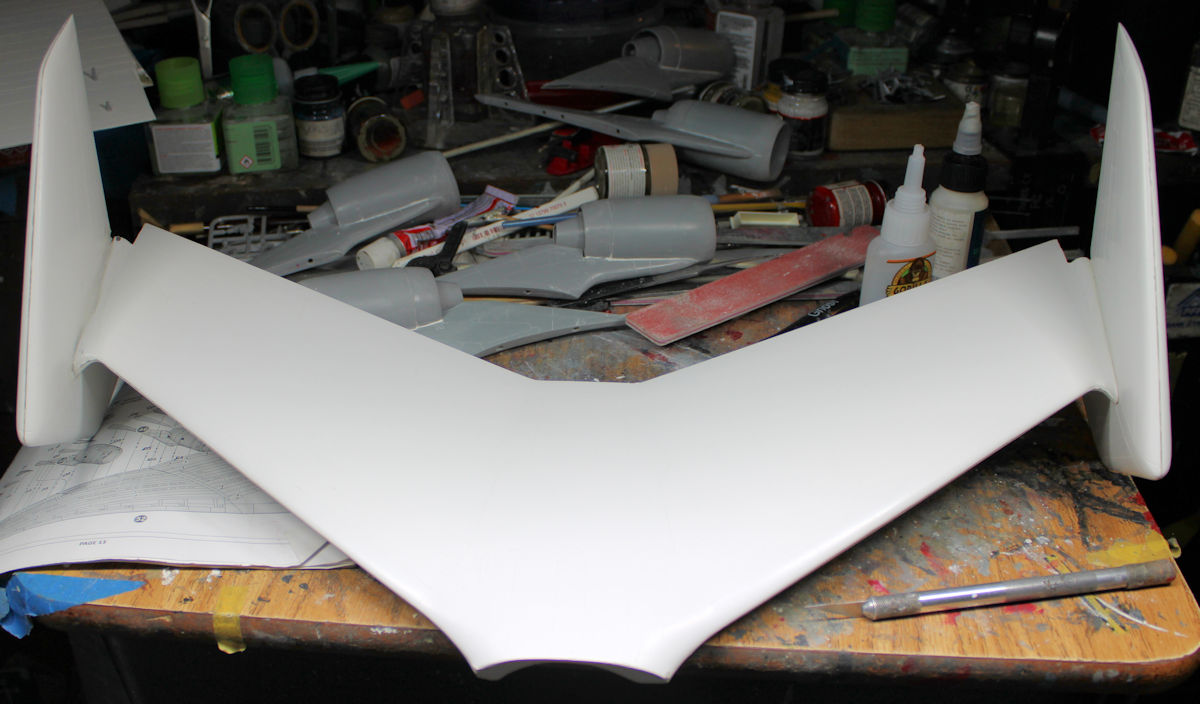
Note the Exacto knife in the corner to show how big this monster is...
After that, the instructions call for installing all these little posts in the wings to hold the engines and wing fillets. The posts came in these little rods that had to be cut into fourths to place in each hole. After drilling out the holes in the wings, I started by gluing the posts in place; then when they were dry, I cut off the top 3/4's and glued to the next holes, then cut them down again, lather, rinse, repeat until all the holes had posts:
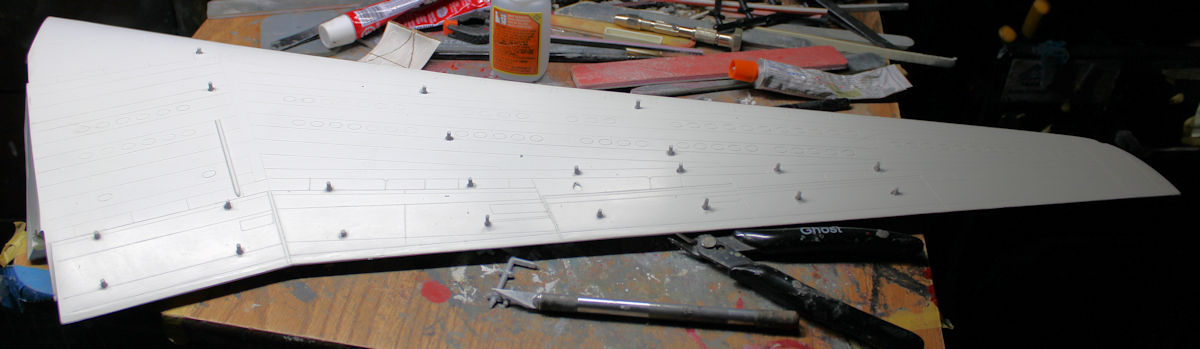
Later, after sufficient setting time had passed, I added each engine pylon:
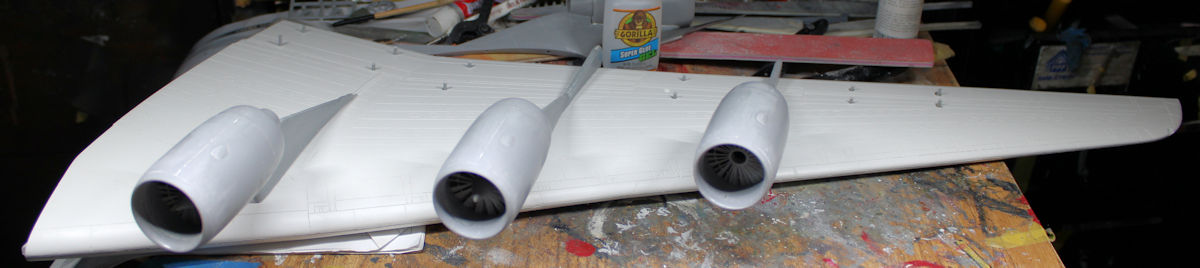
Later the wing fillets went on and as they all dried, I started the other wing with the posts:
Again, the engines and wing fillets then got glued on to this one and now both wings are completed:
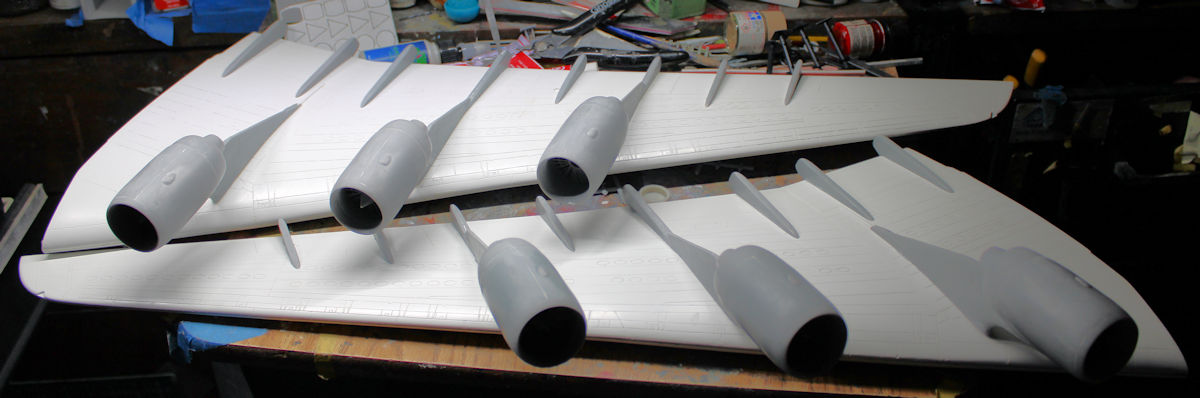
Later on, I applied a thin coat of Gator's grip glue to each pylon and fillet to reinforce the CA glue and to fill any small gaps that remained. That is all drying now and waiting for paint.
That completes the Hangar portion of this tour, on to the Shipyards.
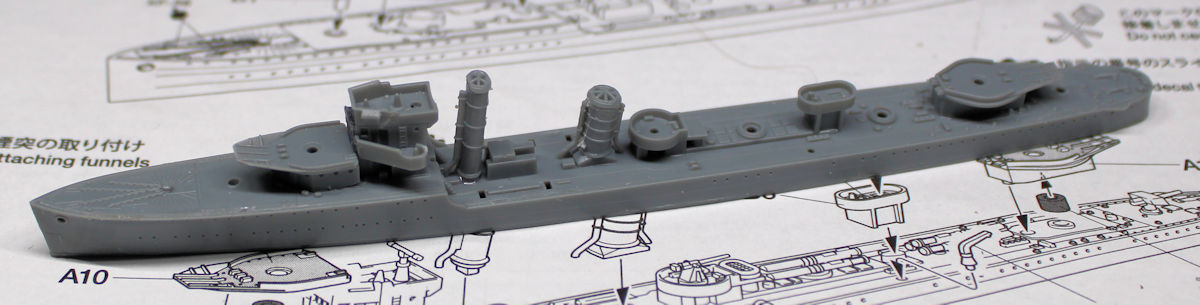
The Shipyards have been busier, several keels were laid down for new projects. The first of these is a Mahan-class destroyer:
Later after that was dry, the deck, hull and superstructure were painted:
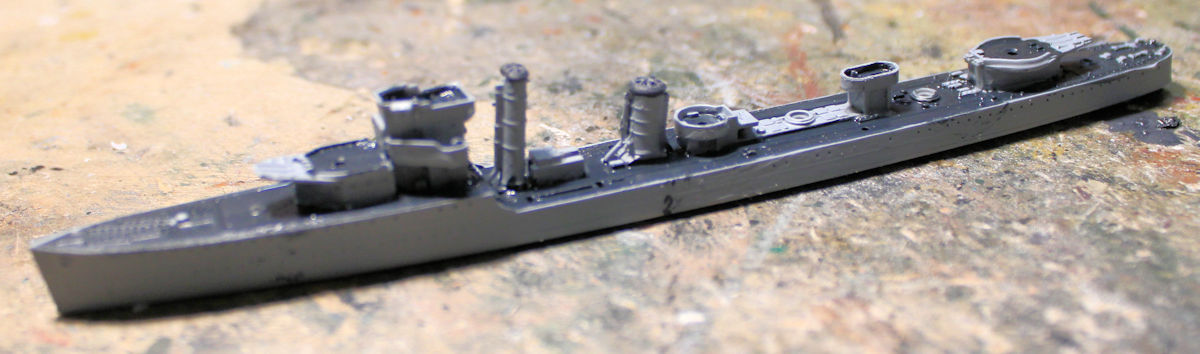
Now we'll be able to get the detail parts all added. Meanwhile, another ship's keel was laid, this time a Liberty class cargo ship:
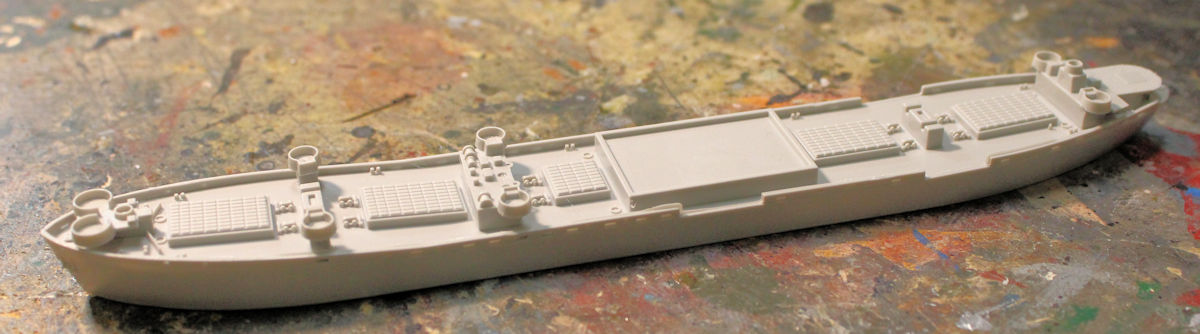
Then the superstructure and some detail parts were added:
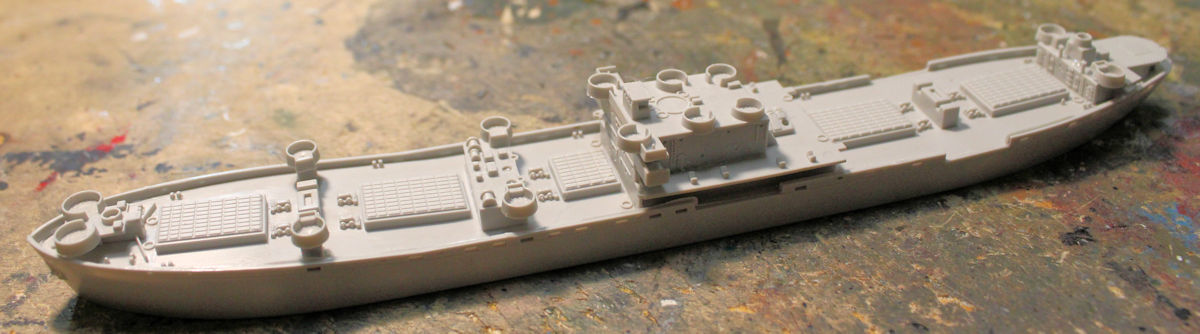
Later this was painted along with the destroyer:
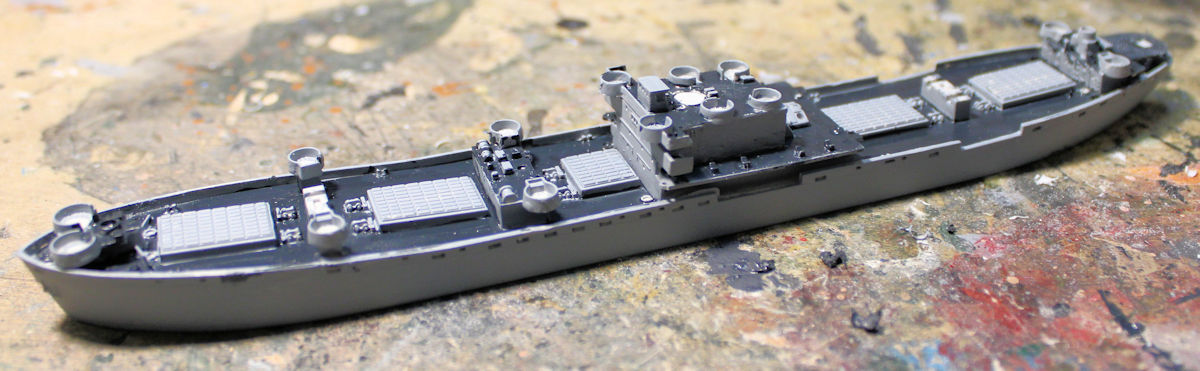
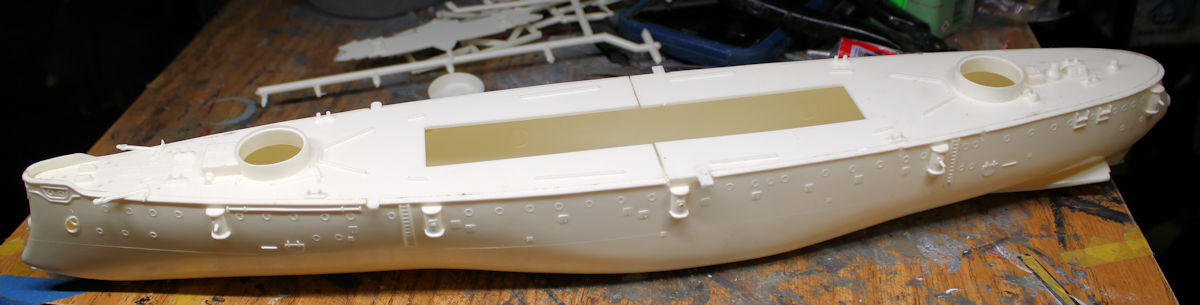
One more keel was laid, this time for the USS Olympia. I had this in the stash for awhile, it's time to get it built:
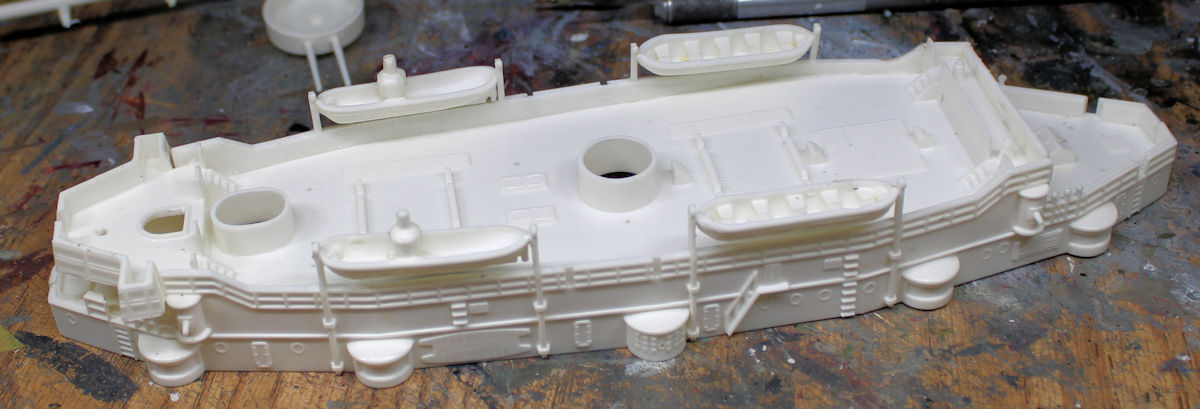
The superstructure was then built and added to the hull later:
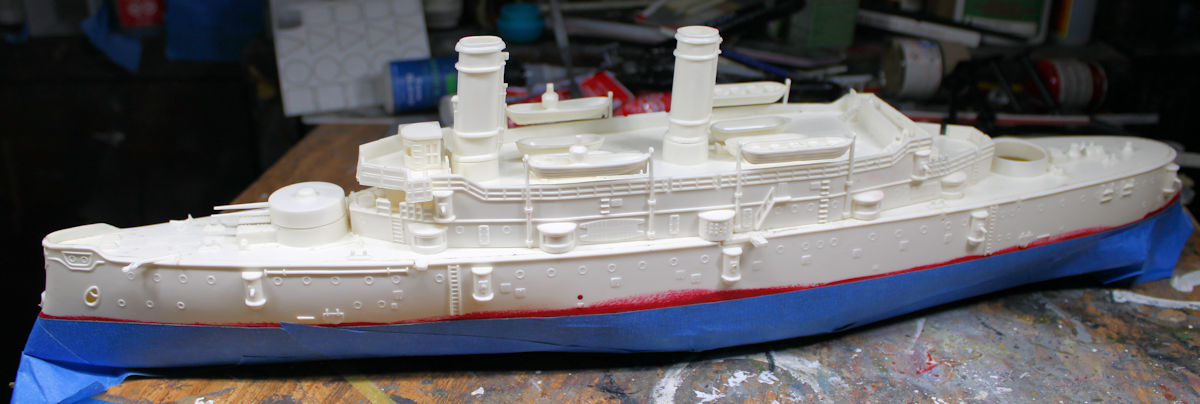
Once all that was dry, the lower hull was painted red and then masked when dry so the upper works could all be painted white later:
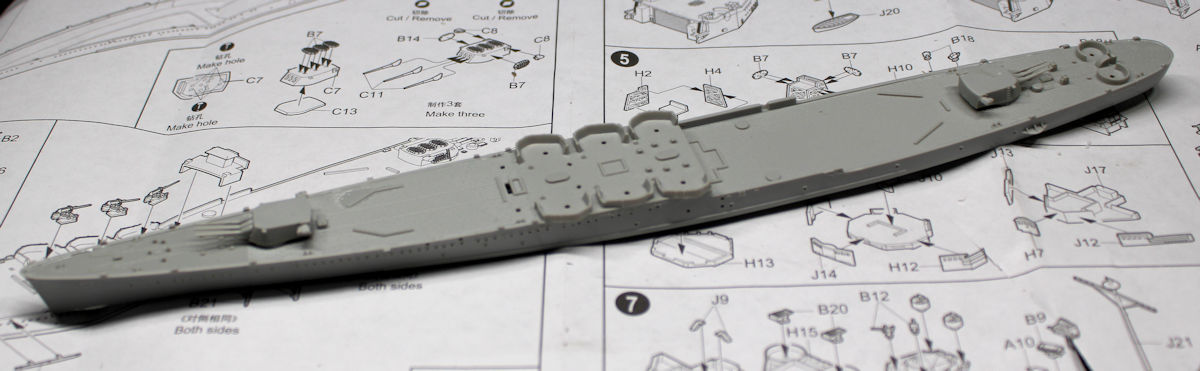
One last new project, the USS San Francisco was then laid down. I didn't get much further than this though:
One of the two current projects were worked on as well. The Japanese ship JMSDF Chikugo (mislabeled Chikuma) got a coat of paint on it:
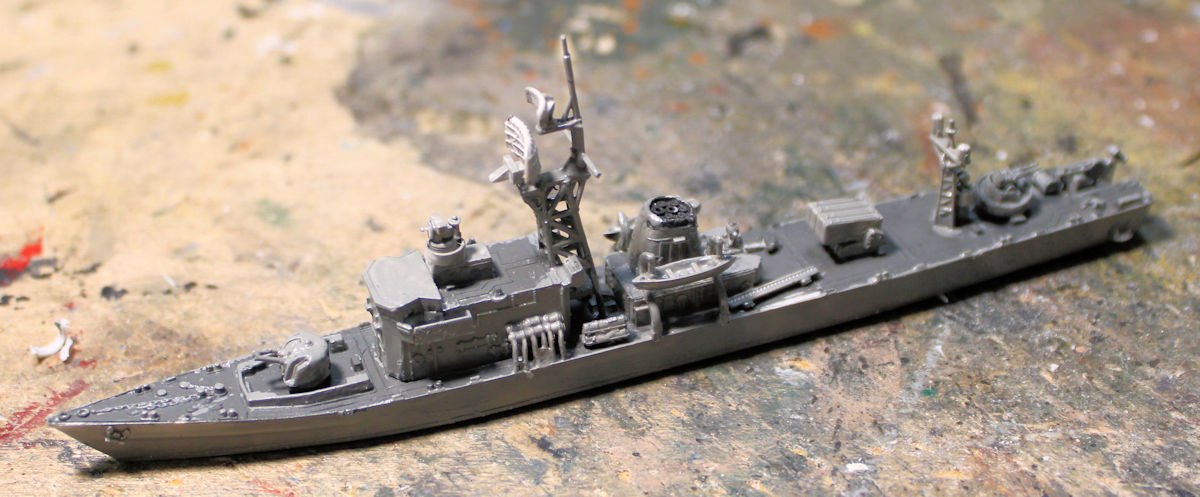
More details will be added and detail painted and then decals will complete this little ship. Meanwhile, on the USS Enterprise, some touch up painting was done:
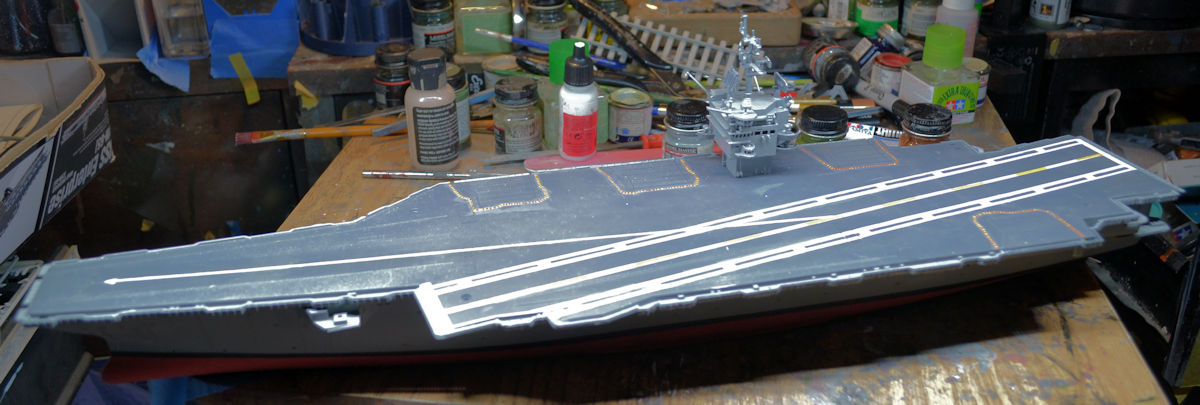
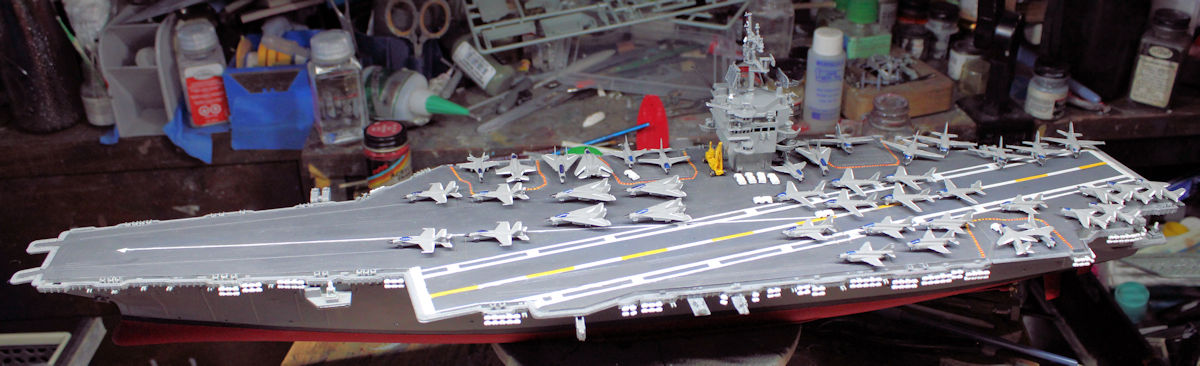
While that was drying, I worked on the air wing, getting them all built and painted. The the deck-edge details and other small assemblies were added and this bird farm is ready for decals and final detail parts:
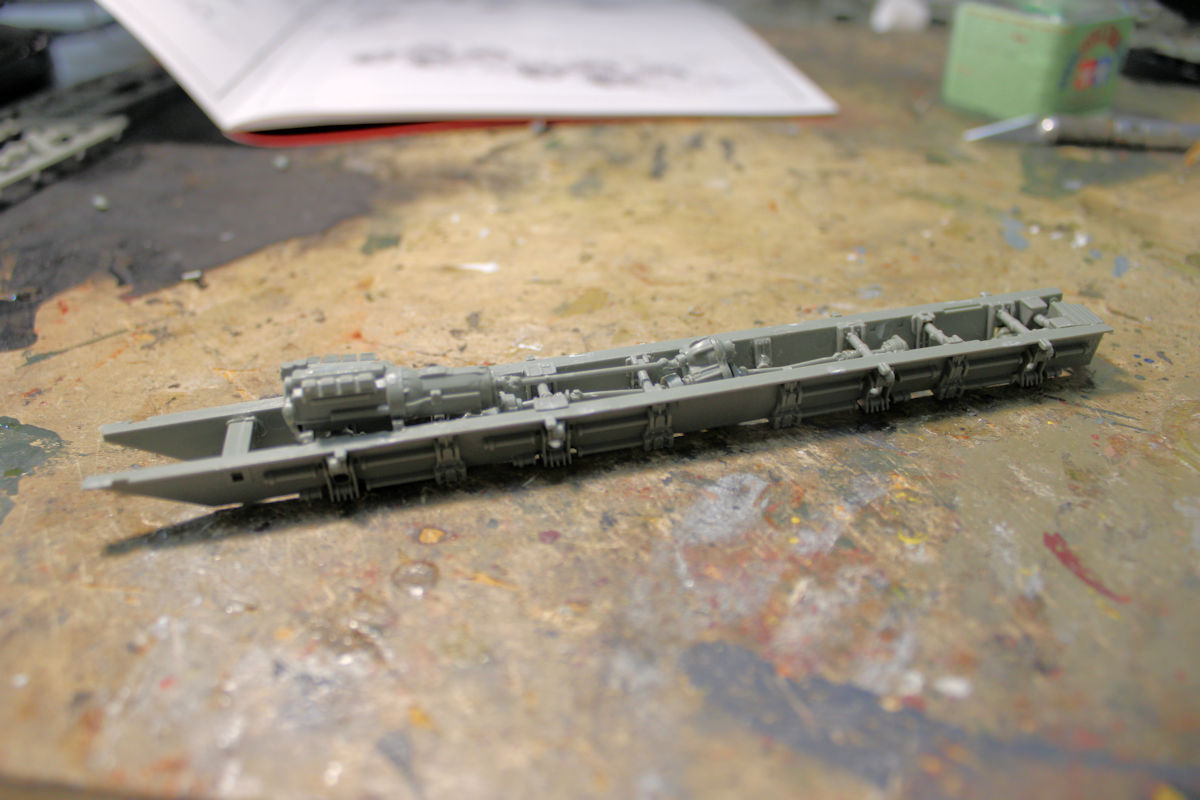
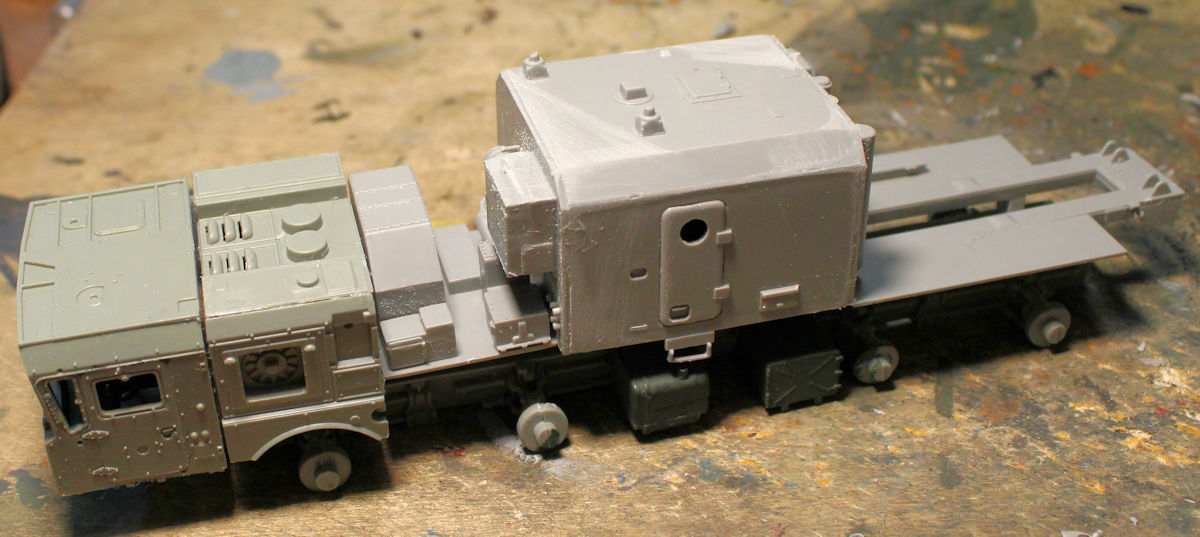
That completes this tour of the Shipyards, on to the Motor Pool which also had only one more project going. This is the Russian BAL-E coastal defense system truck, designed to take out ships offshore, The chassis was built first, of course:
Later the driver's cab, engine cover and command cabin were built and installed on the chassis:
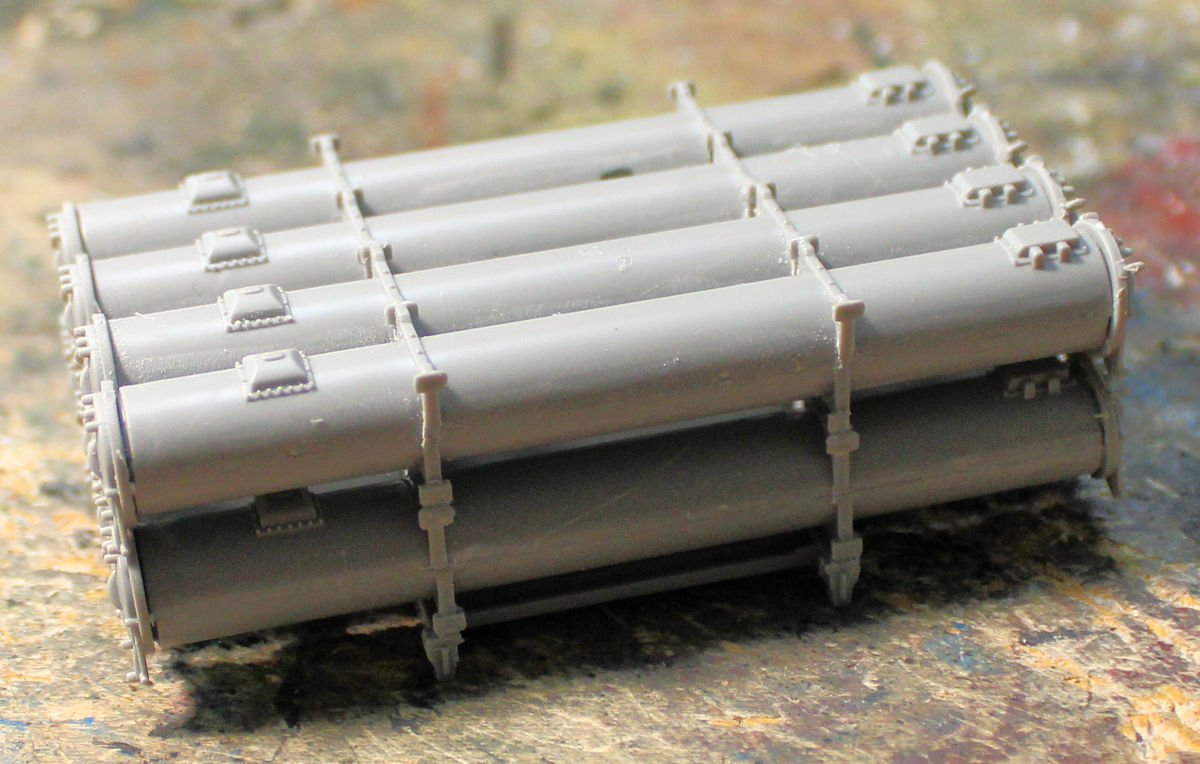
Next, the missile tubes were built:
Once this was all assembled together, it got it's base coat of green:
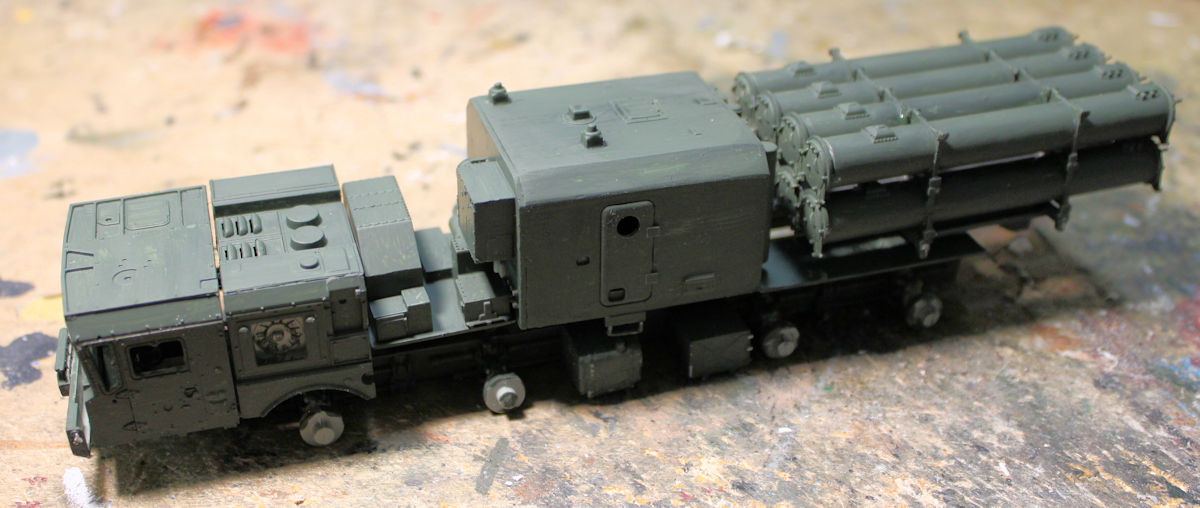
It won't be much longer on that one.
That completes this tour of the facilities for now. Thank you to all who stopped in and commented, they are always welcome.
We'll see you at the next tour.
