Once again, another tour is in the making. Some started projects, continued work on others, there's lots to see. All those wishing to see this tour, please board the trams and buckle in. Tour is starting......
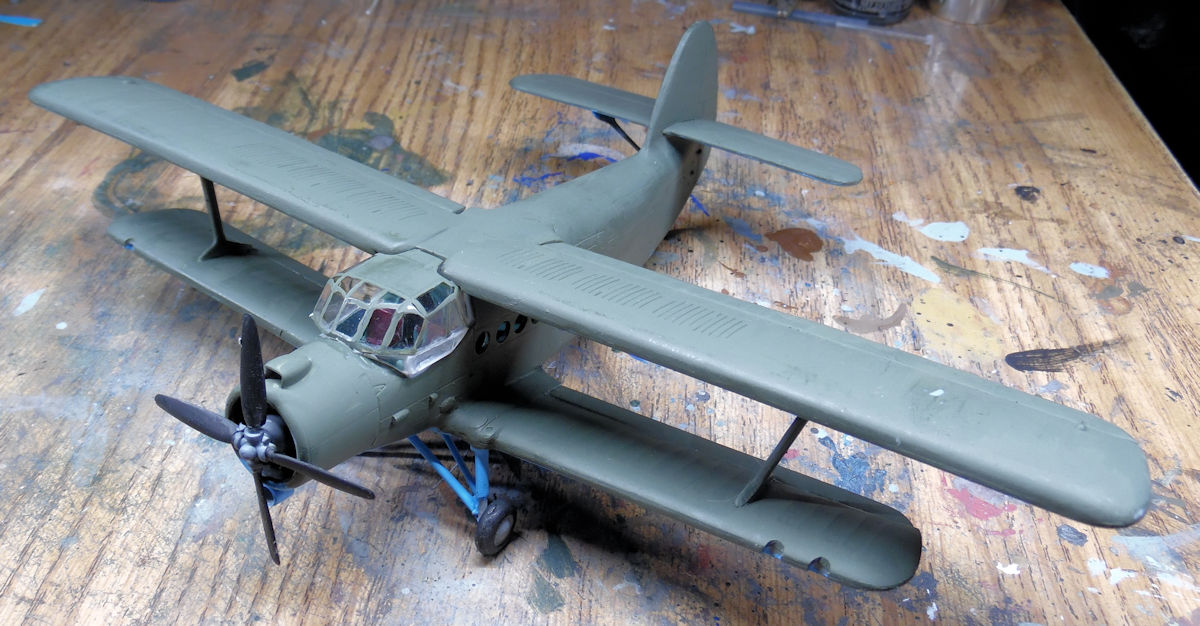
Here in the Hangar, we have the Russian An-2 Colt finally getting the engine and cowling on as well as some additional detail parts:
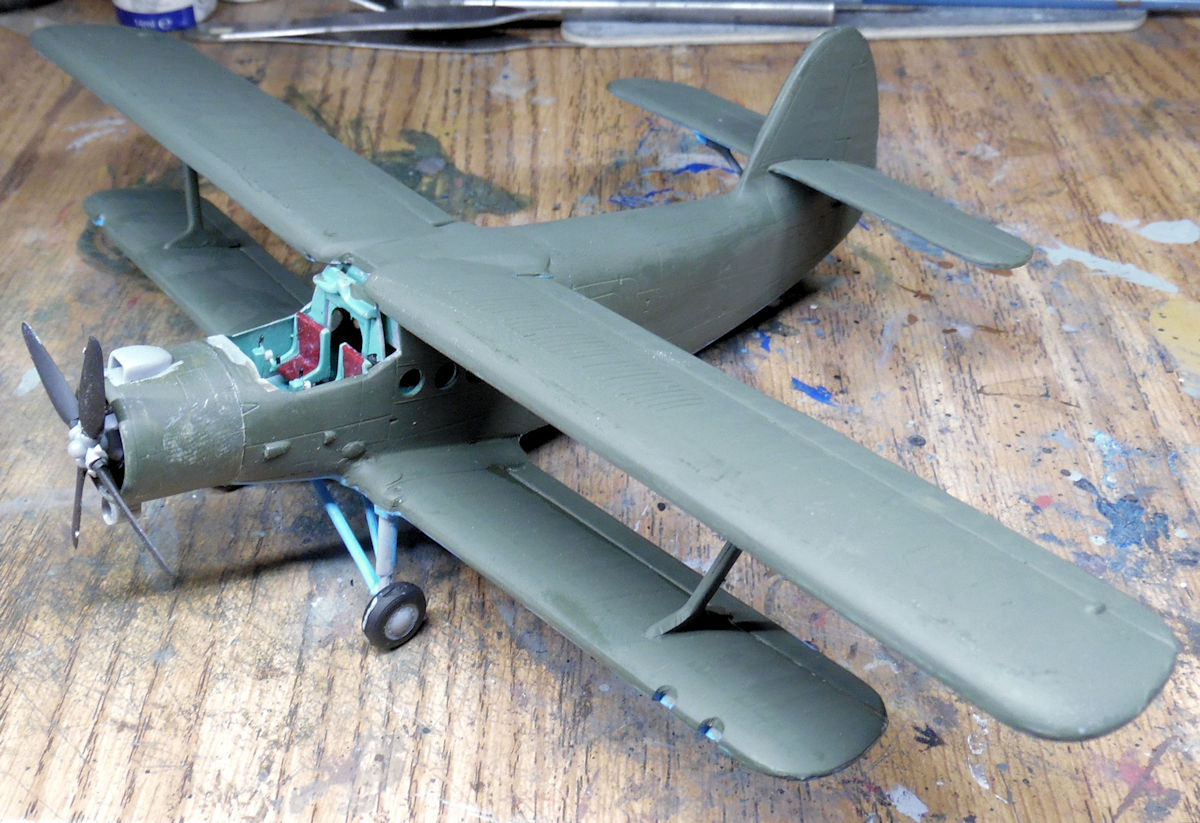
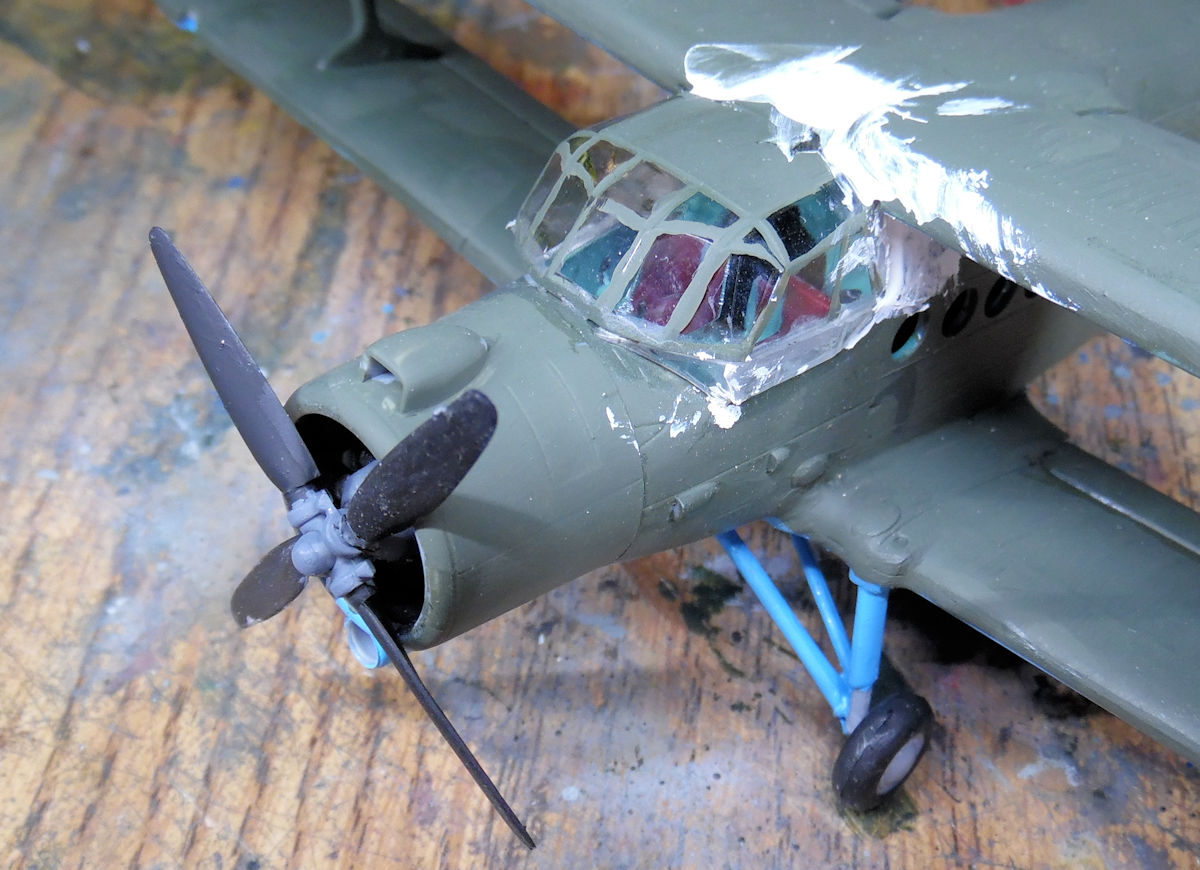
The complicated canopy went on next, I don't think I did a very good job on this but it's staying as is:
Later, when it was dry, filling of the prominent canyons and steps was done:
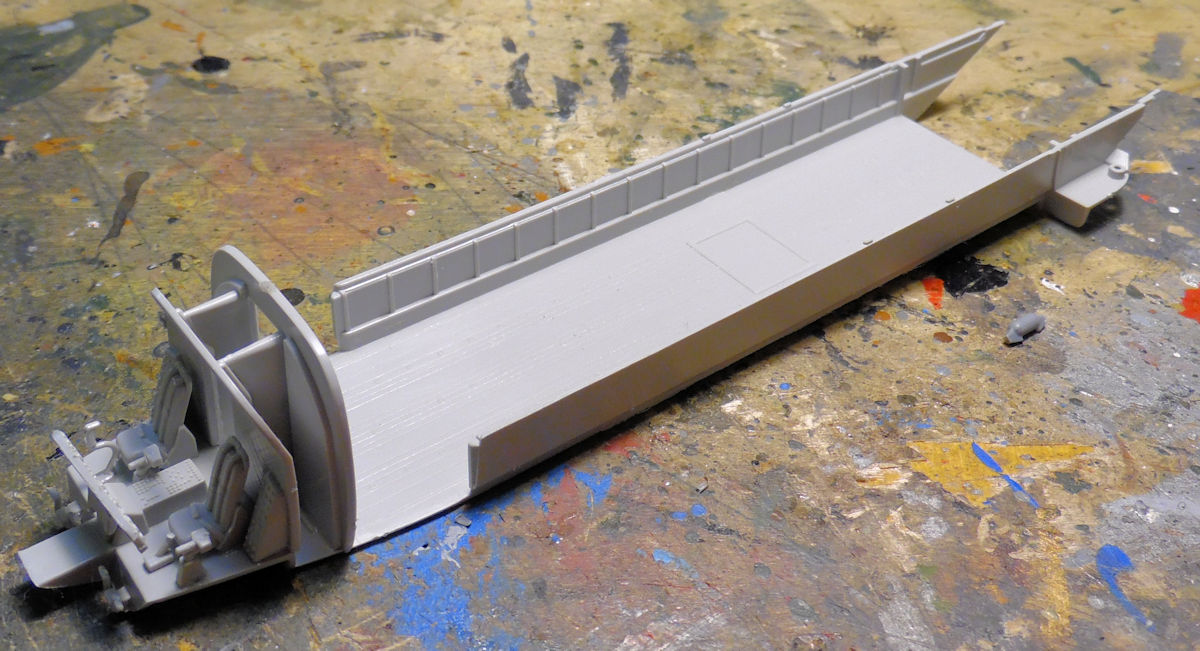
That was all for that, so moving on to the next bay, we started a CH-47 Chinook that will eventually be delivered to my Italian Forces. The cockpit and interior was built up first:
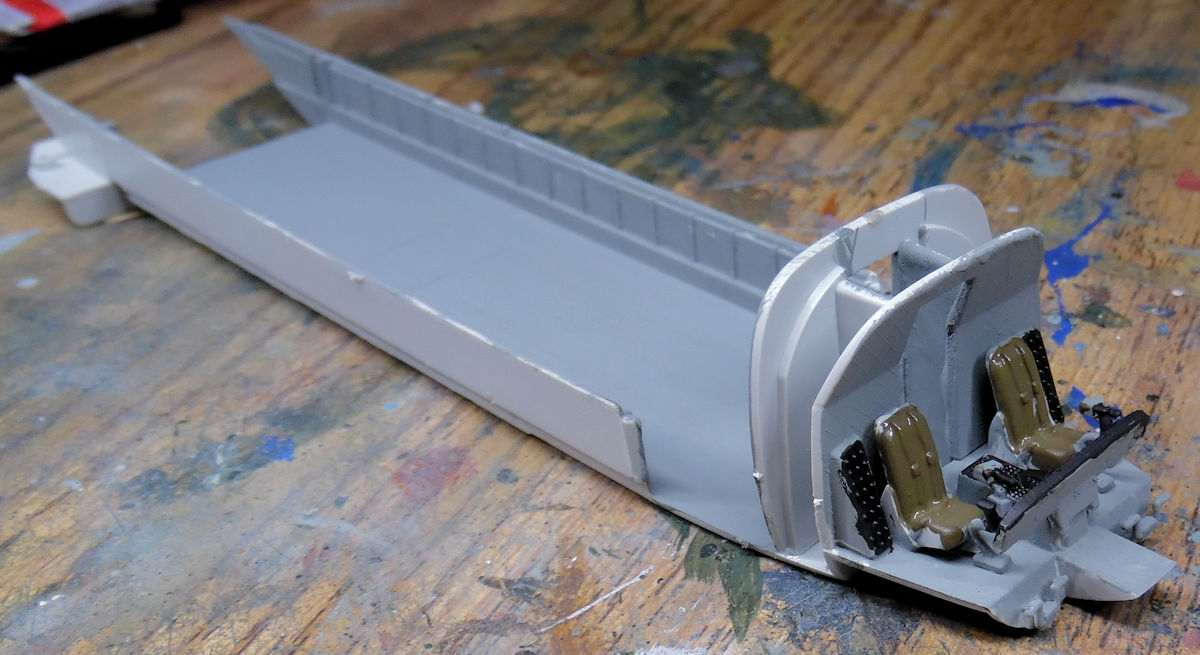
Later the interior was painted up:
That completes the short tour of the Hangar, now on to the Shipyards....
Here in the Shipyards, further progress was made on my two Japanese capitol ships under construction.
In this first slip is the Japanese carrier Shokaku, which received it's first coat of paint. I apologize for the washed out look of this, the light slipped lower and really brightened everything too much. Anyway, the hull got it's grey and the deck was painted a tan color:
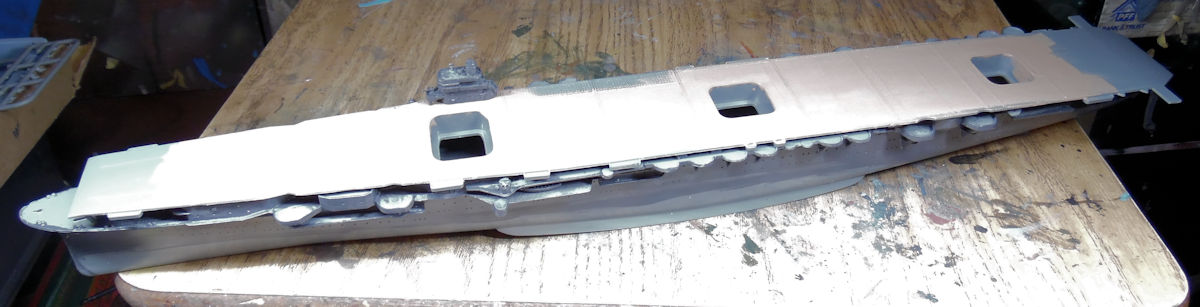
Later the deck was washed with a light brown wash, details were painted and the lower hull was masked off and painted:
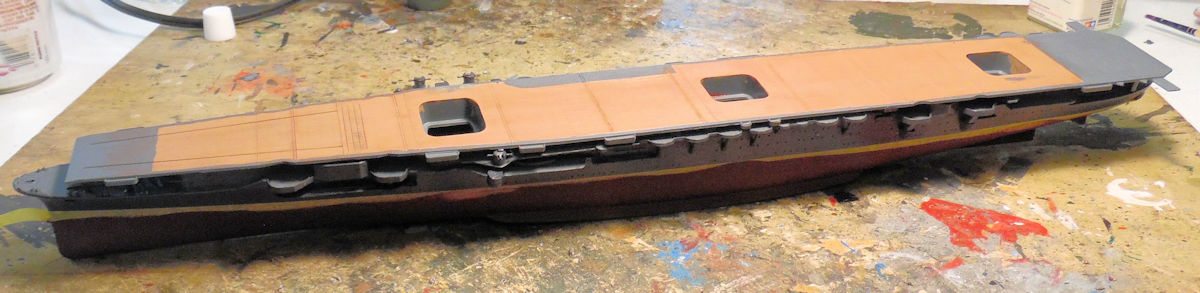
Finally, the flight deck and island were glued into place:
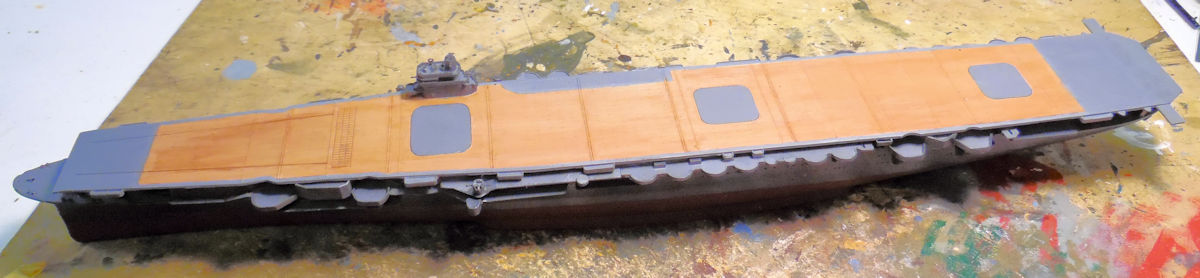
Next will come the armament, antenna, additional detail parts, and decals, before the air wing gets done.
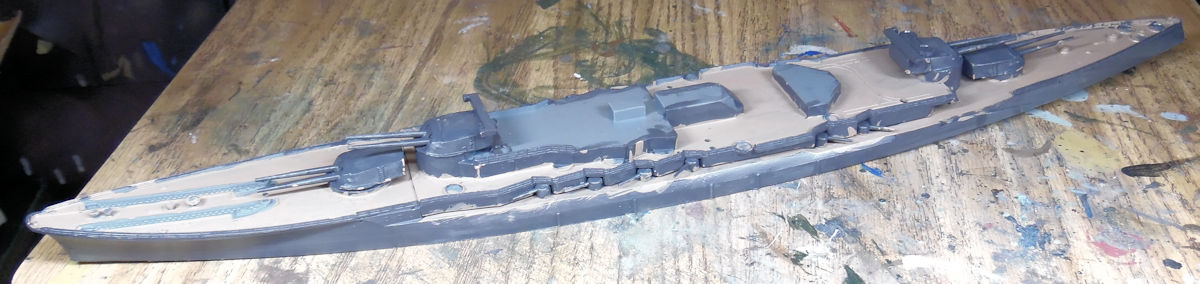
In the next slip, we laid the keel for the Japanese battleship Nagato; which I found out later;, I already have this model built. Oh well, it's getting built again since nobody ever bought it from me. First, all the deck guns and additional parts were added to the main deck and a very rough painting was applied:
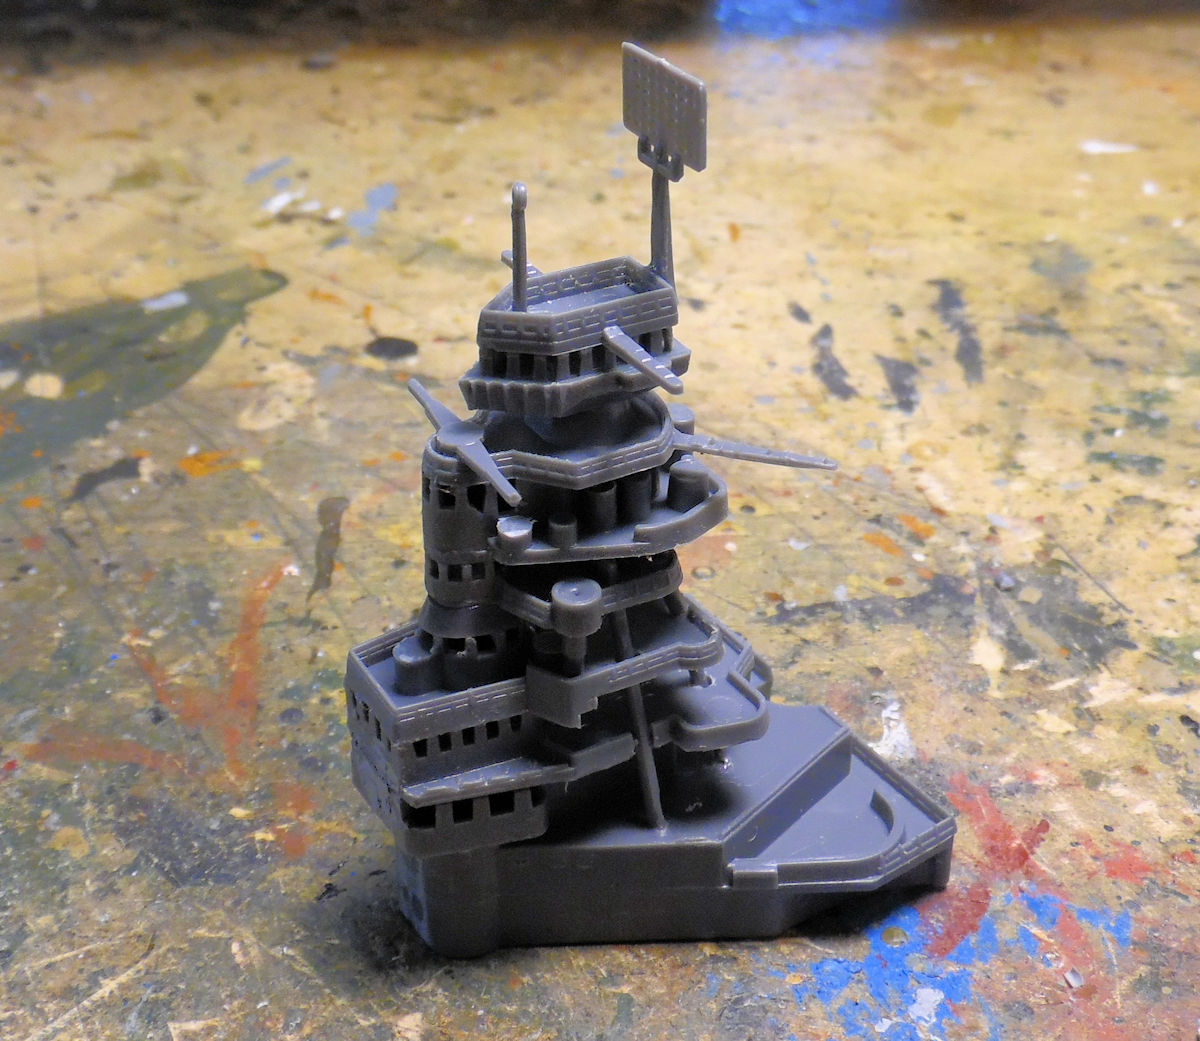
Then the main bridge and superstructure was built up:
Additional smaller sub-assemblies were added to the main deck and a more refined paint job was applied:
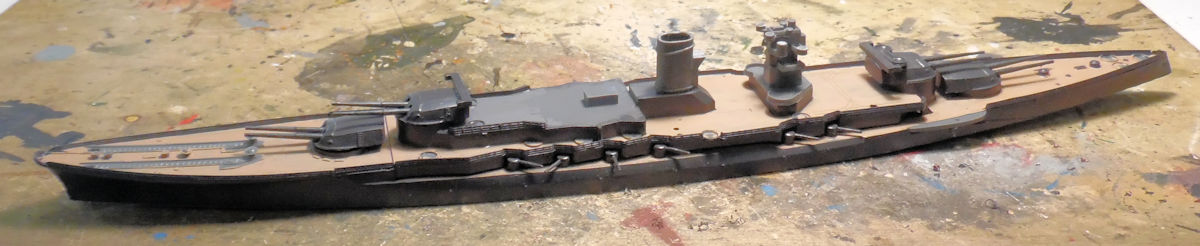
You can see above how warped this main deck was. The main bridge and superstructure was then dry-fit to see where and how it fits:
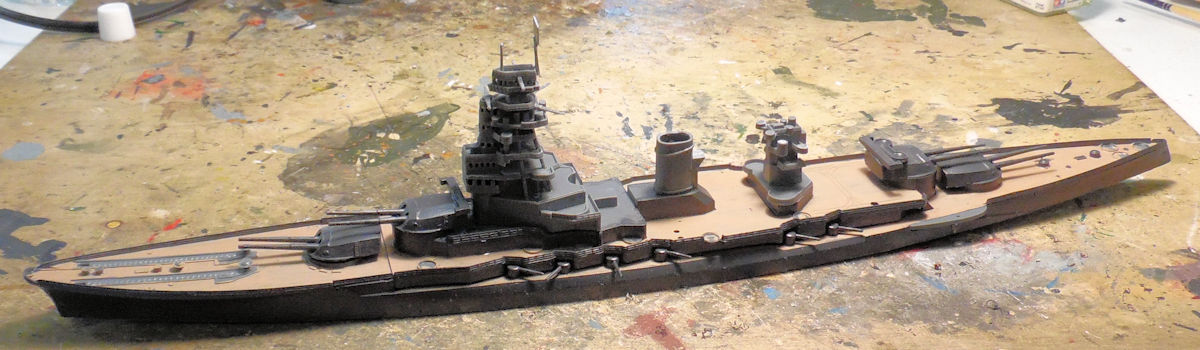
In this pic, you can see even more how warped the main deck is. The first two and a half inches were glued together and set aside to dry before trying to glue the rest of it:
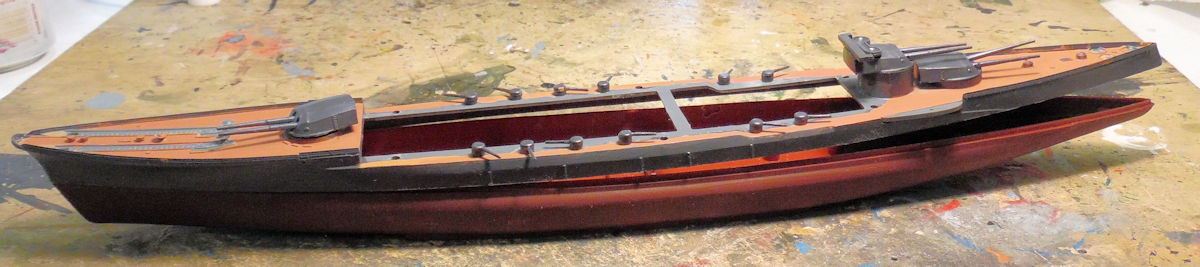
Once that was dry, we slowly went down the side of the hull, gluing down a few inches at a time to make sure the two hulls lined up properly:
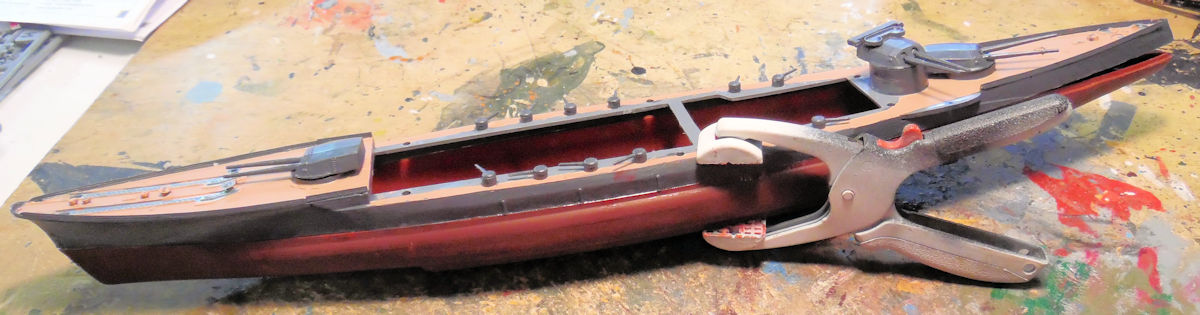
Eventually, we got all sides of this glued down, all lined up. Despite being fully dried, the bow section still pulled up a bit so a small amount of filler will be applied. The main superstructure is still dry fit in place. I'm gonna paint the details on it first, before gluing it down to the main deck:
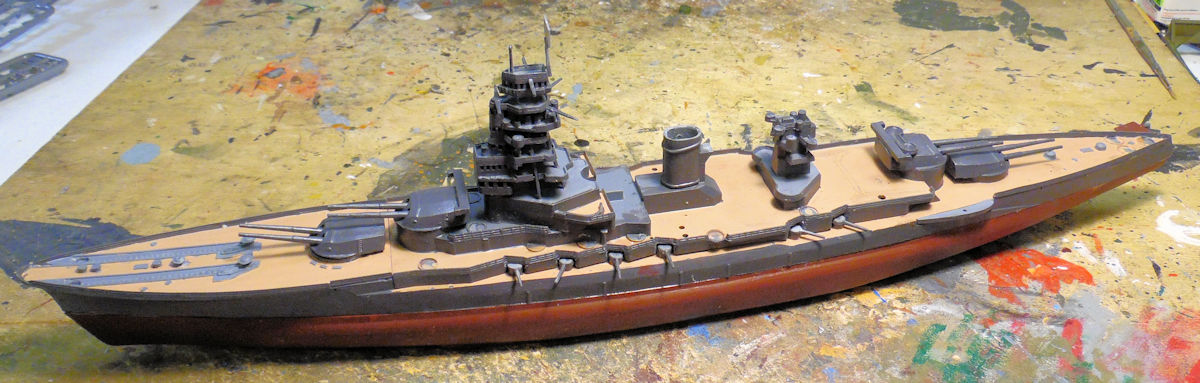
That's all we got done on that, there's a lot more still left to add, so hopefully soon we'll have this finished.
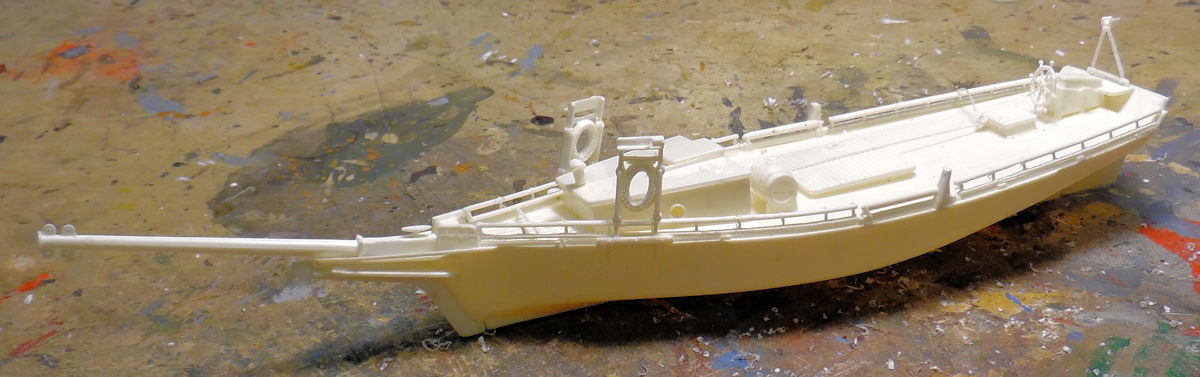
In this last slip which just opened up earlier, we laid the keel for for a Skipjack Oyster Boat. The deck and cabins were built up and installed, the bowsprit was added and some additional details were done. Some preliminary painting is slated to be done soon:
That concludes the Shipyards portion of this tour, now on to the Motor Pool....
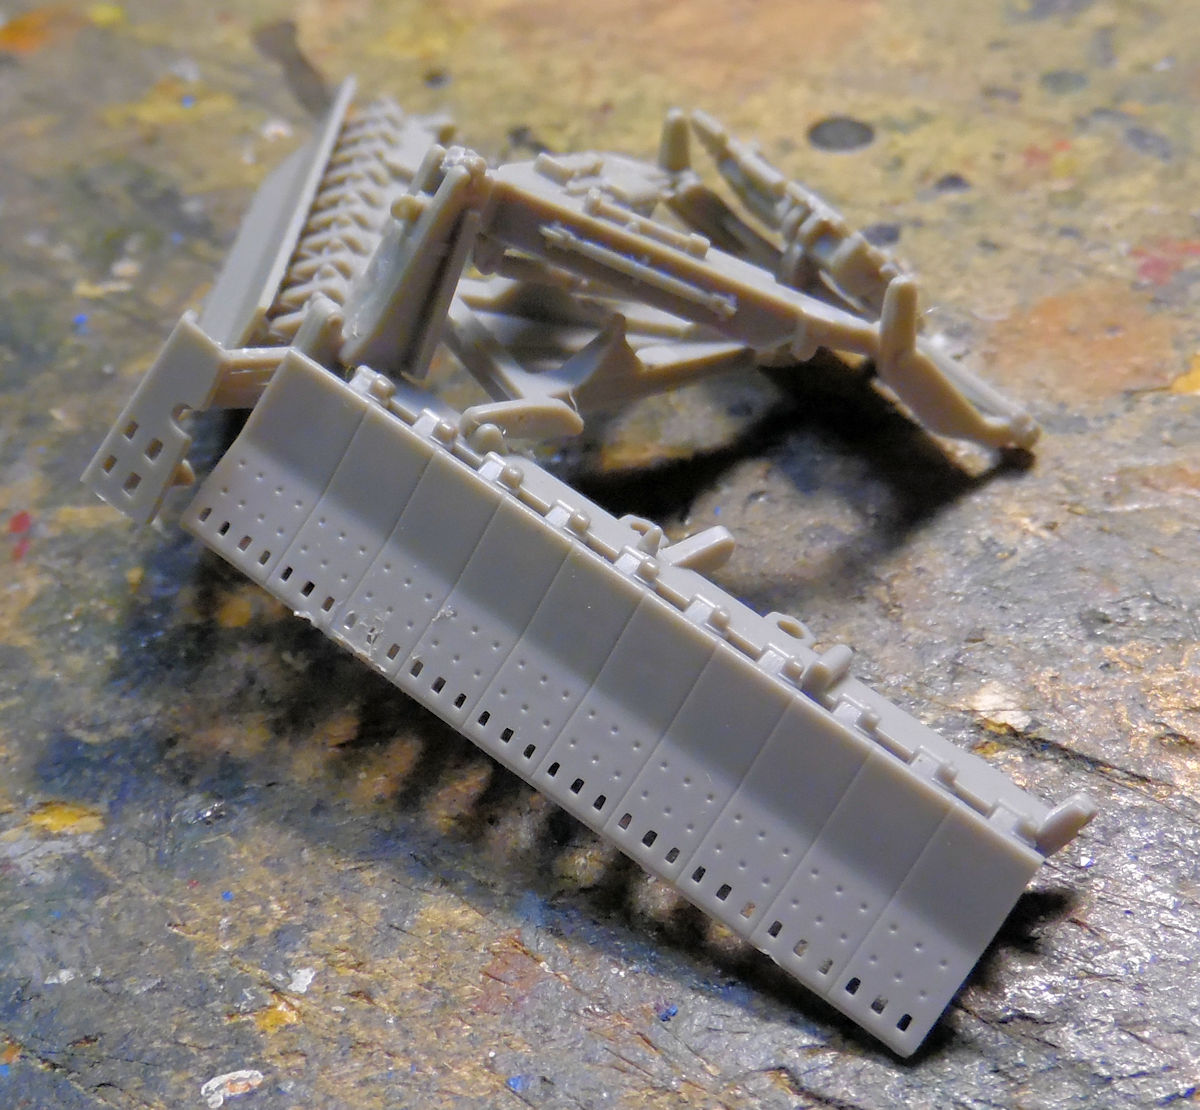
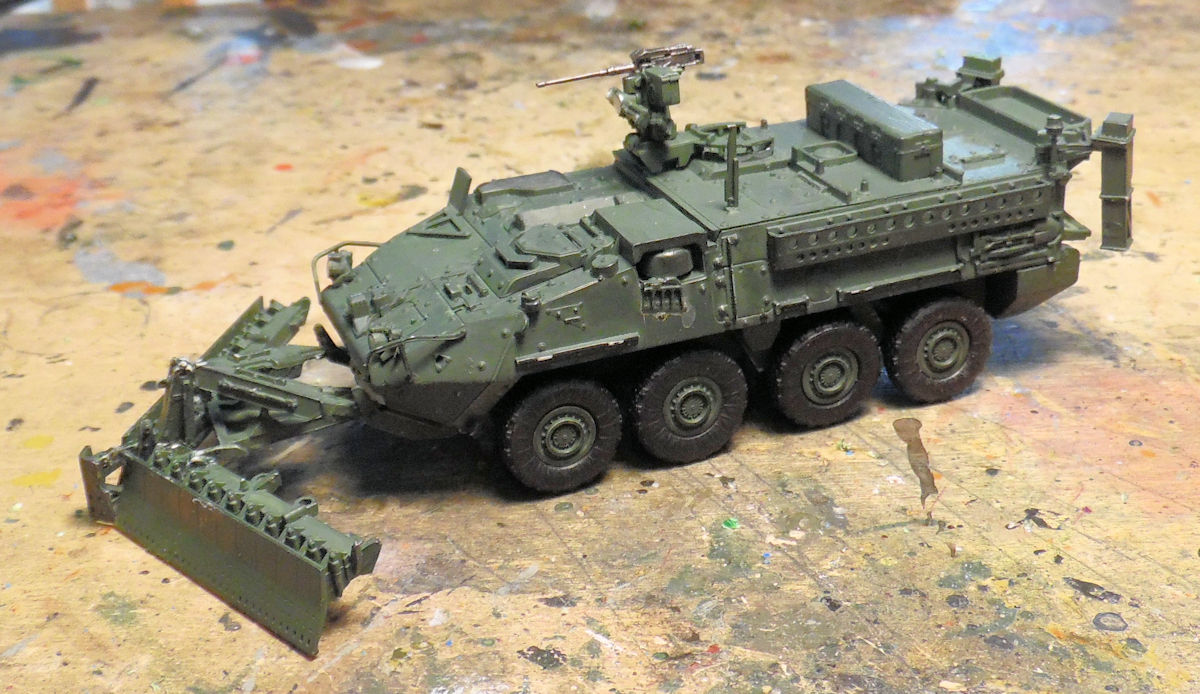
Here in the Motor Pool, a lot has been happening. To start with, in this first bay is the Stryker engineering vehicle. The mine plow in front was assembled, waiting to dry before being attached to the vehicle itself:
While that was drying, the additional detail parts were added to the vehicle:
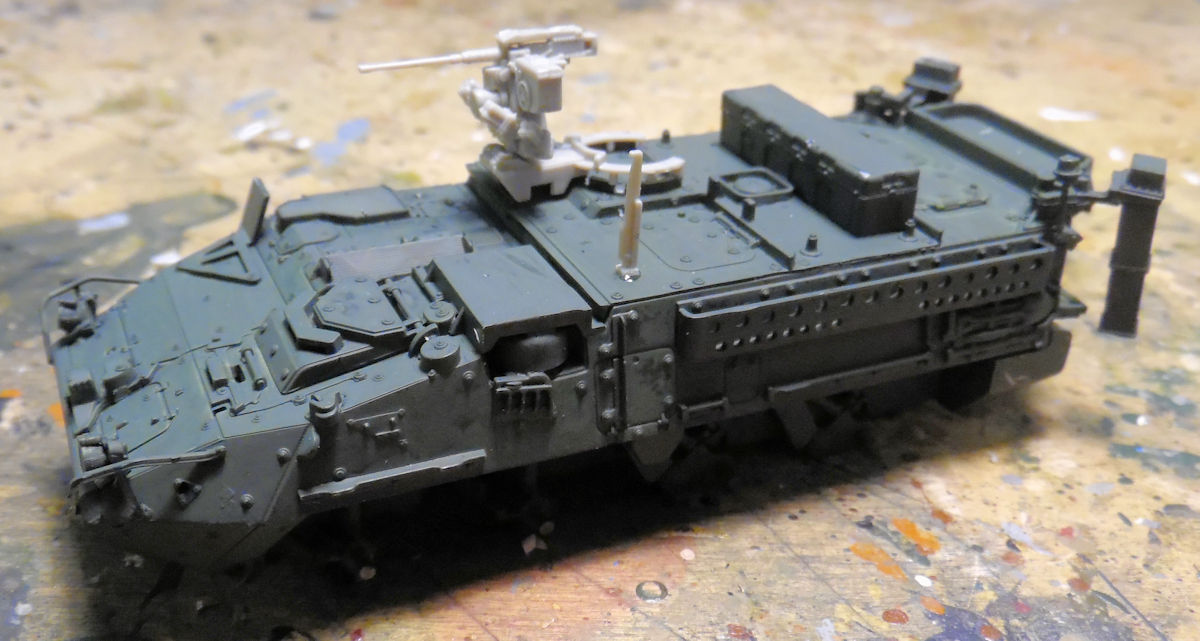
The wheels were added next; the plow was then installed; additional painting was done and now this is almost ready for weathering:
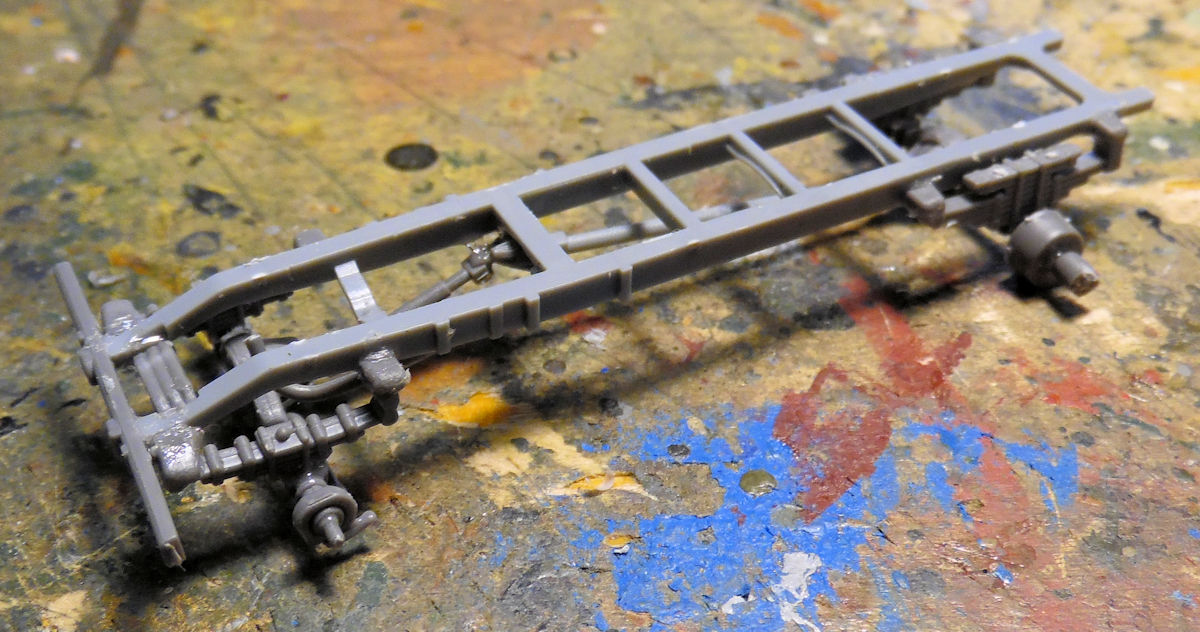
In the next bay, we started a Canadian 15CWT Ambulance, starting with the chassis:
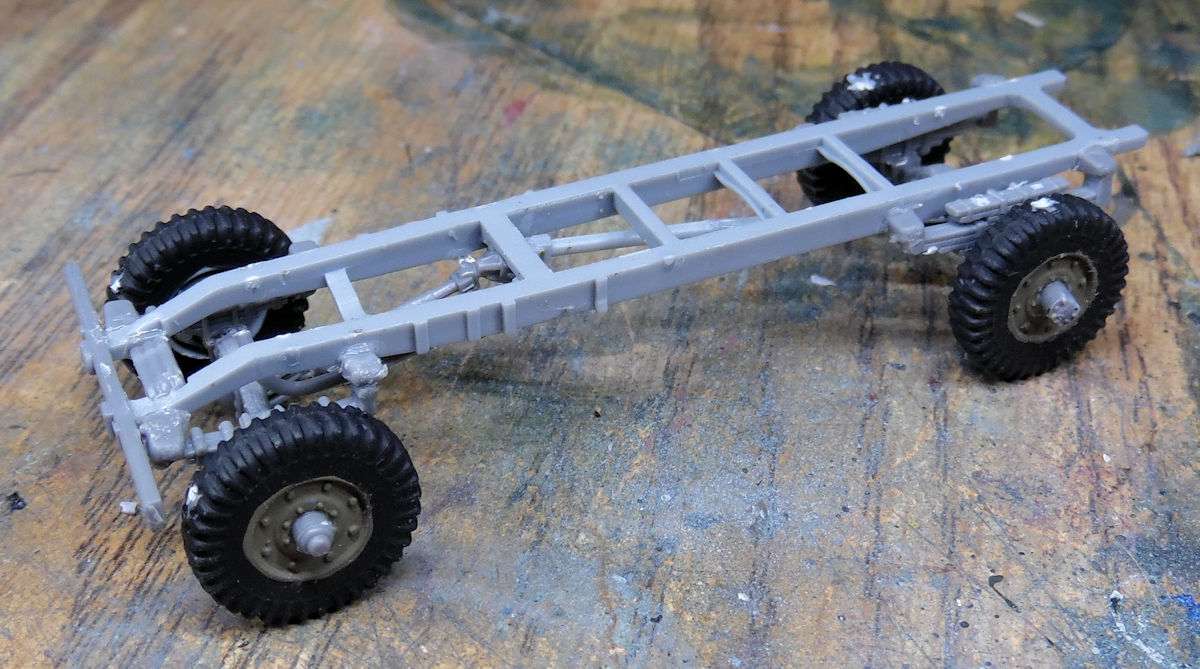
Wheels were later added so that additional part for the chassis could be installed, like the sideboards, fuel tanks and other accessories:
The driver's cab was built next, leaving it partially open to receive paint:
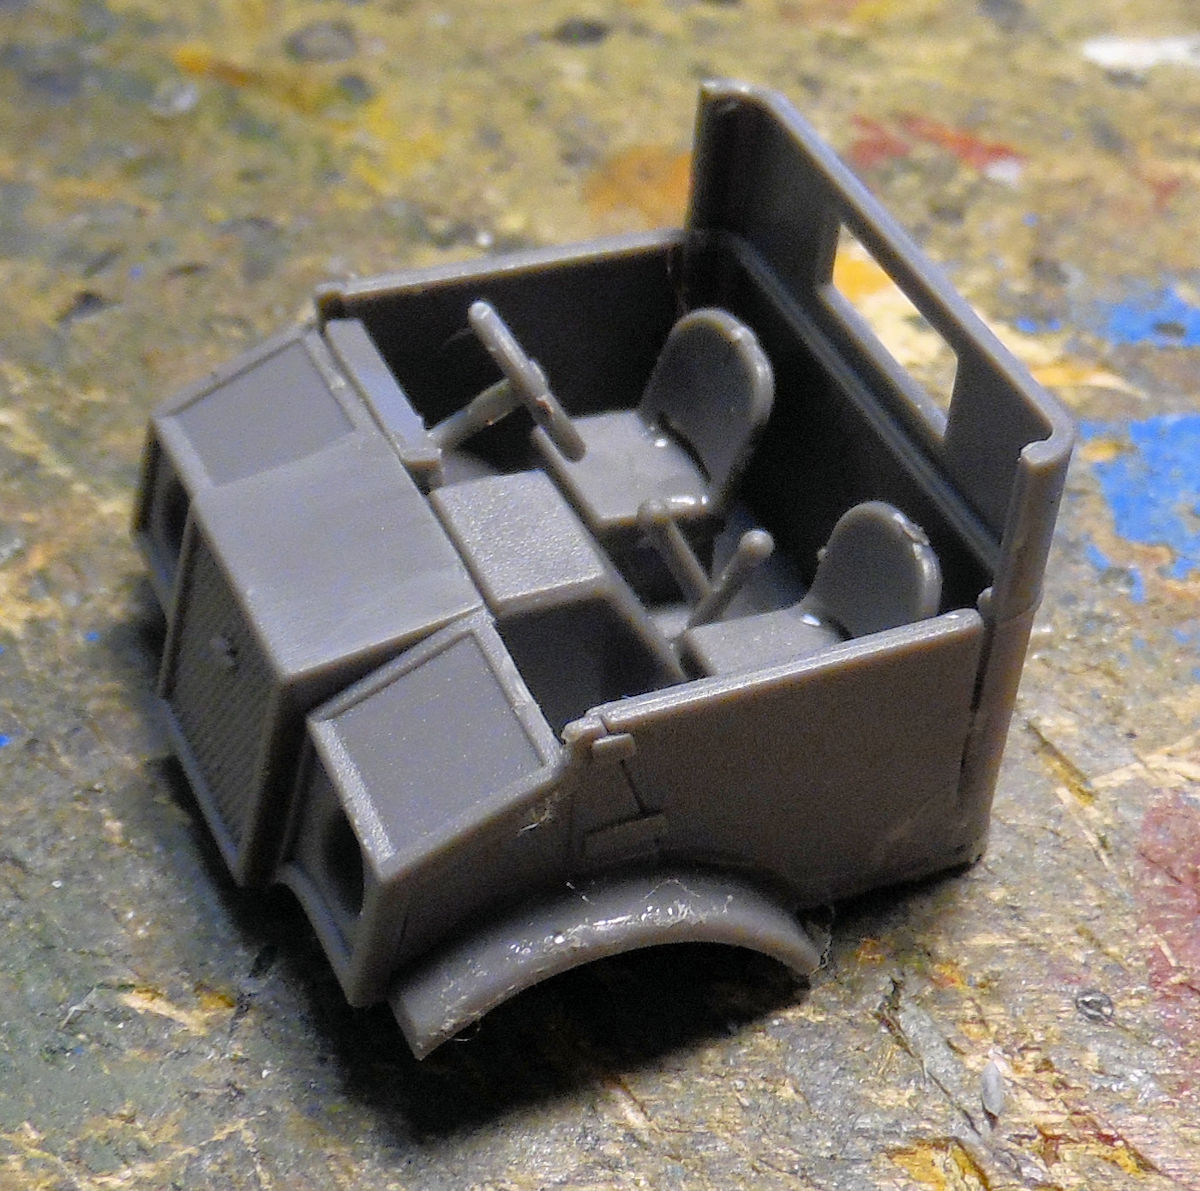
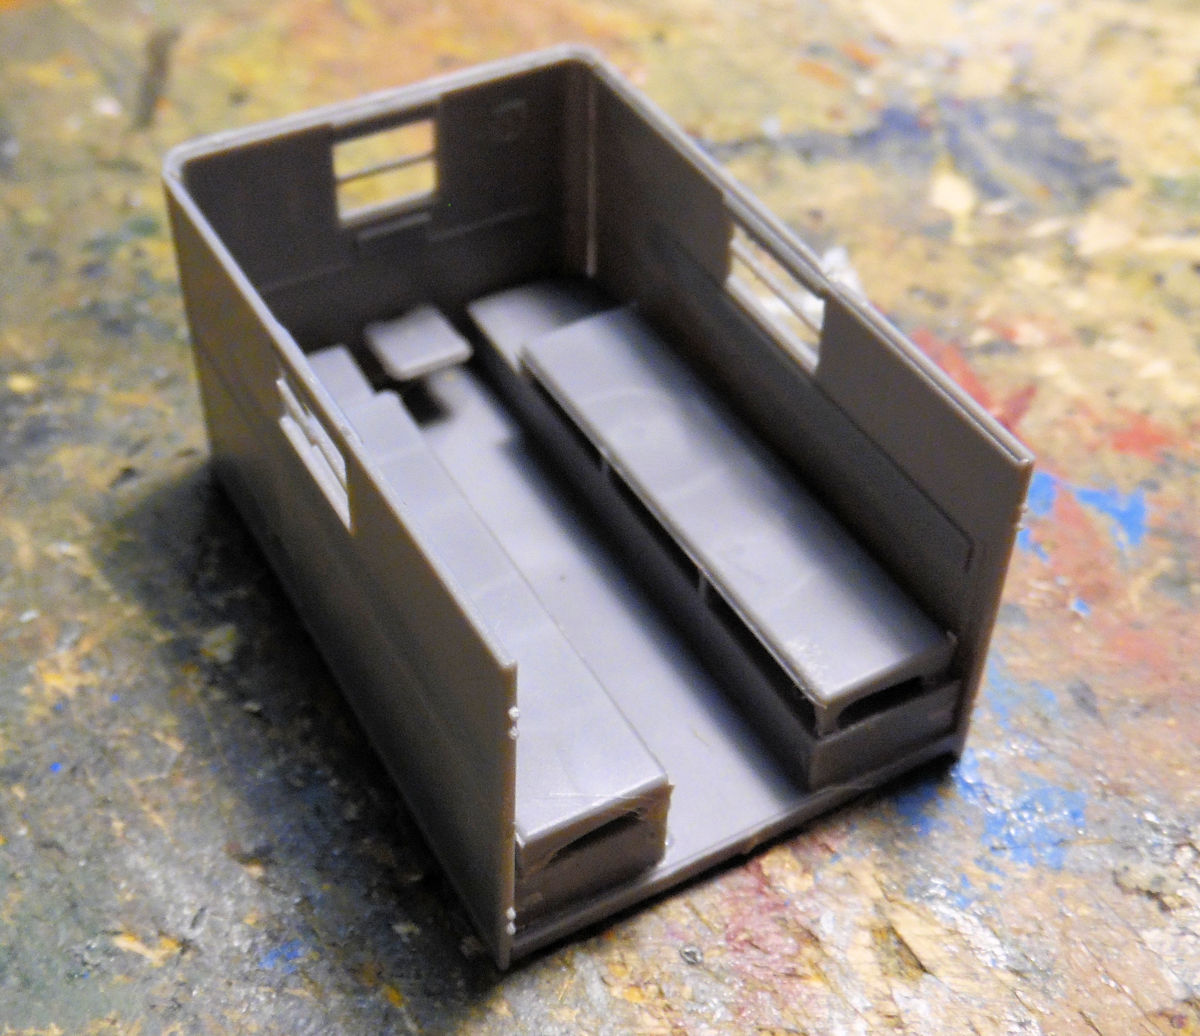
Next the rear cabin was built:
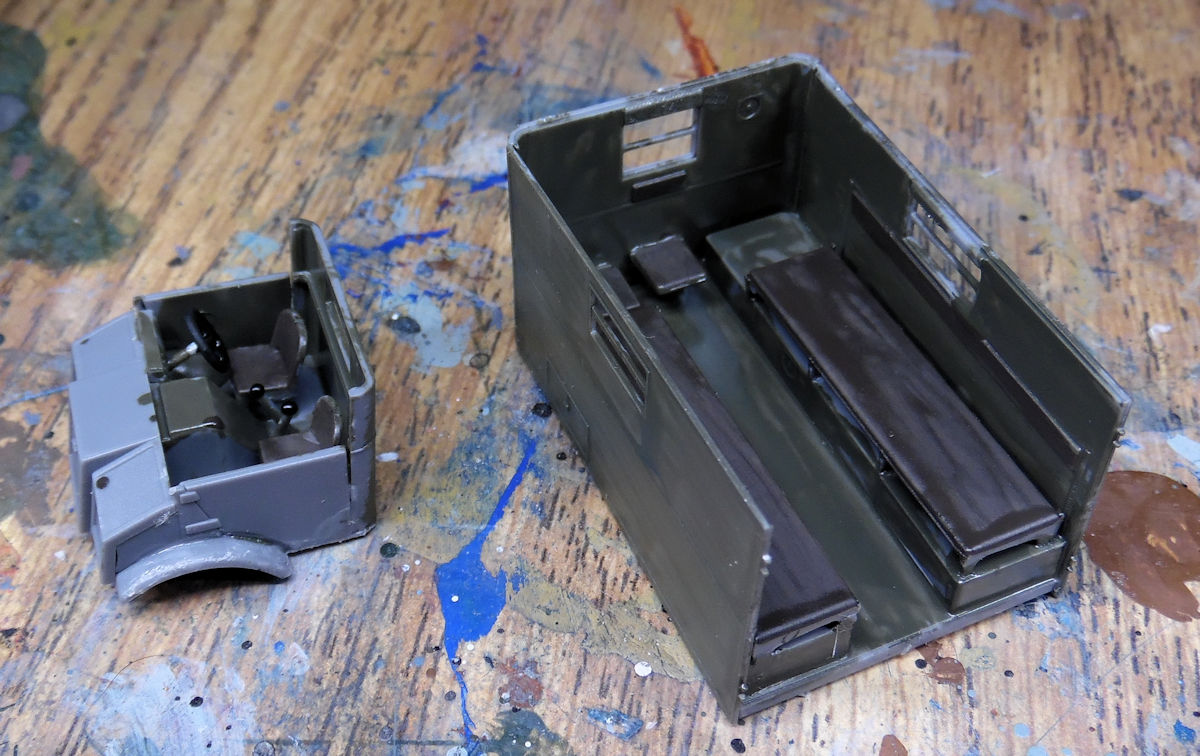
Paint was then applied to the interior of both before closing them up:
Once they were closed up, they were installed on the chassis and the photo-etch parts for the spare tire holder and fuel can holder were built and the mud flaps were installed:
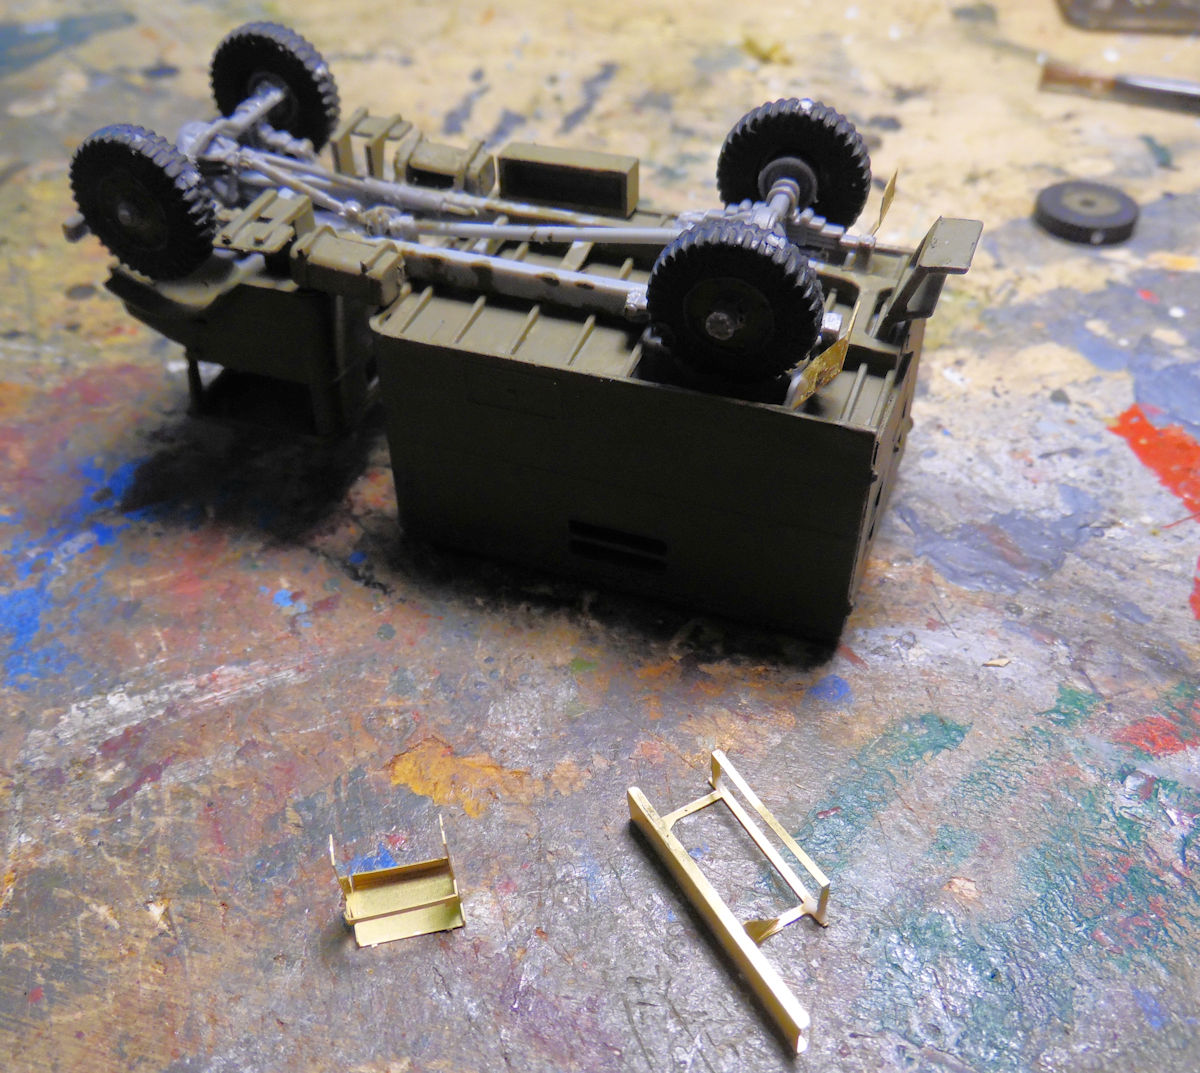
All that is now drying and later the windows and decals will be applied before this is weathered and delivered.
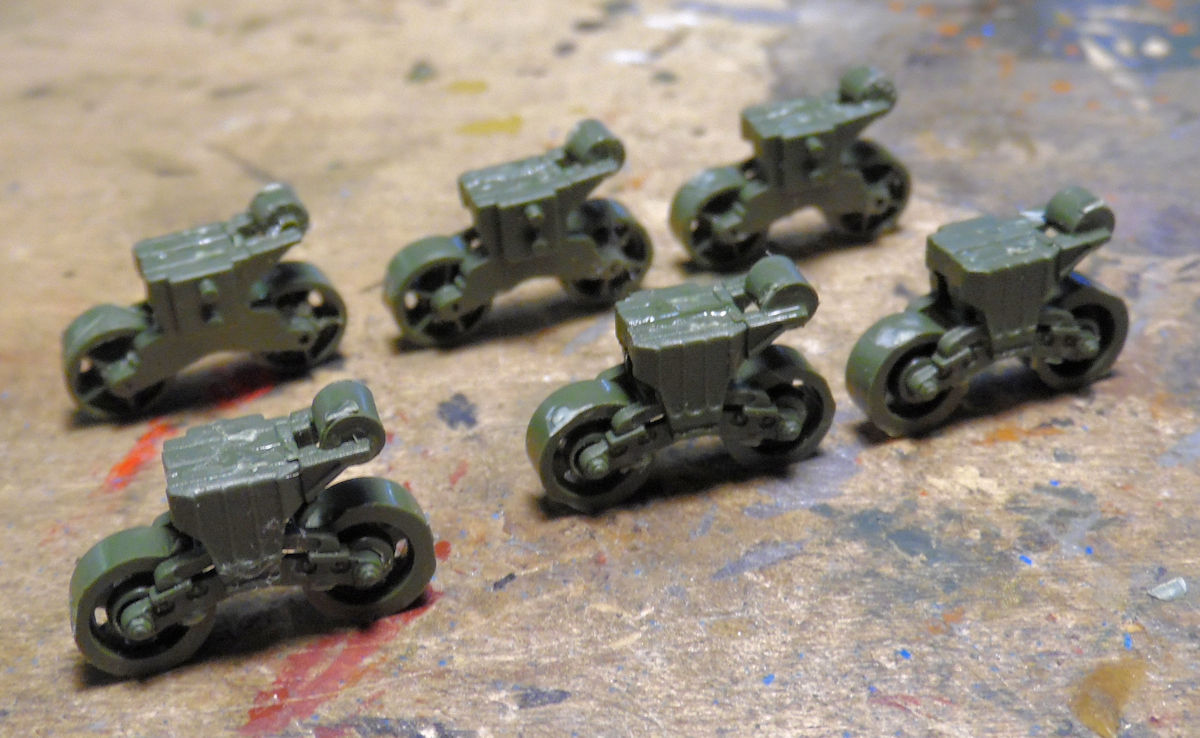
In the next bay, another vehicle was stared, this one is the UM Sherman with the dozer blade. All the bogies had to be built up first:
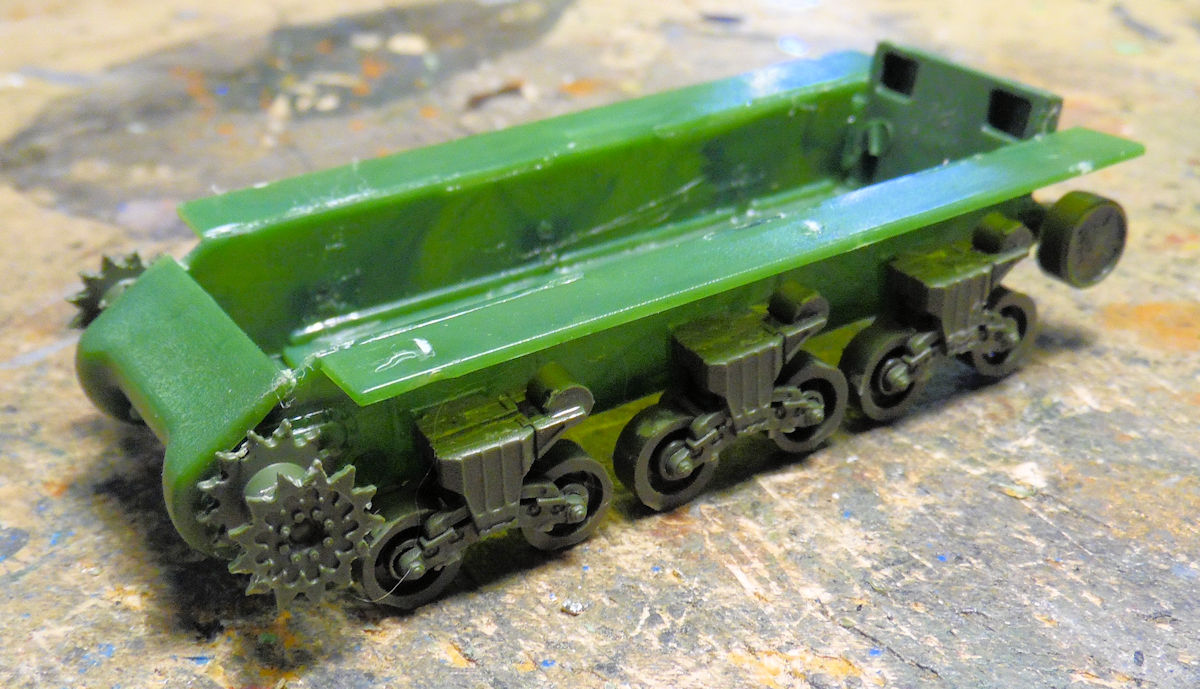
Everything was then installed on the lower hull afterward:
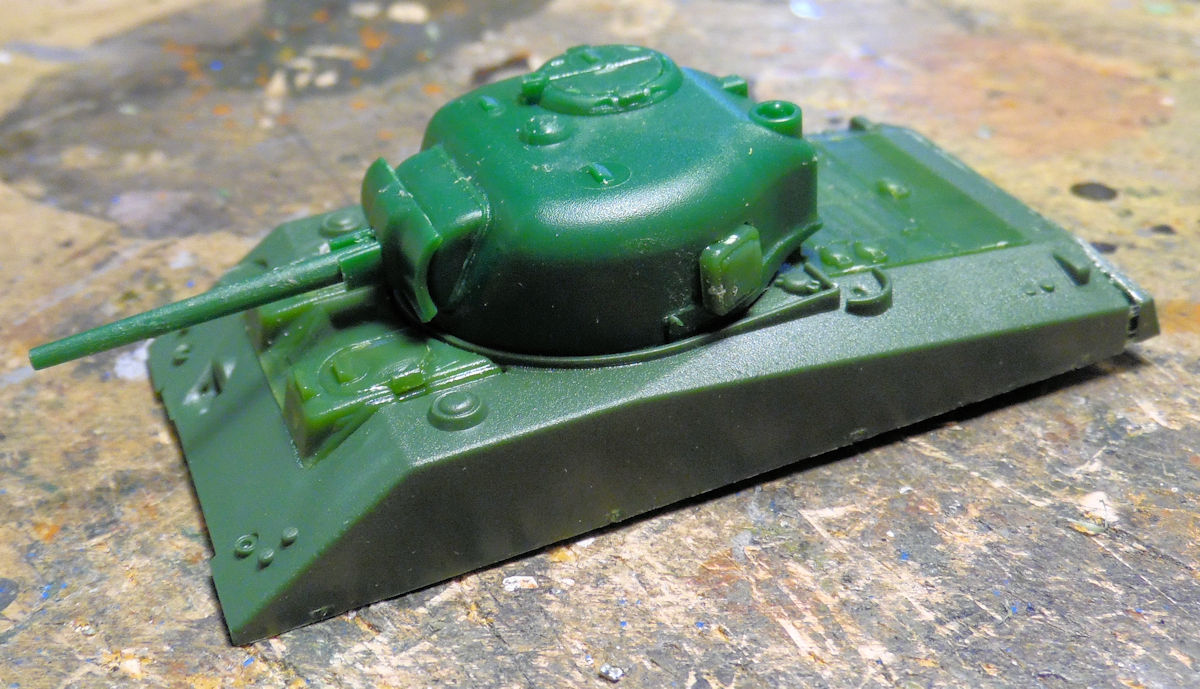
While that was drying, the upper hull and turret were worked on:
And then the dozer blade was built up:
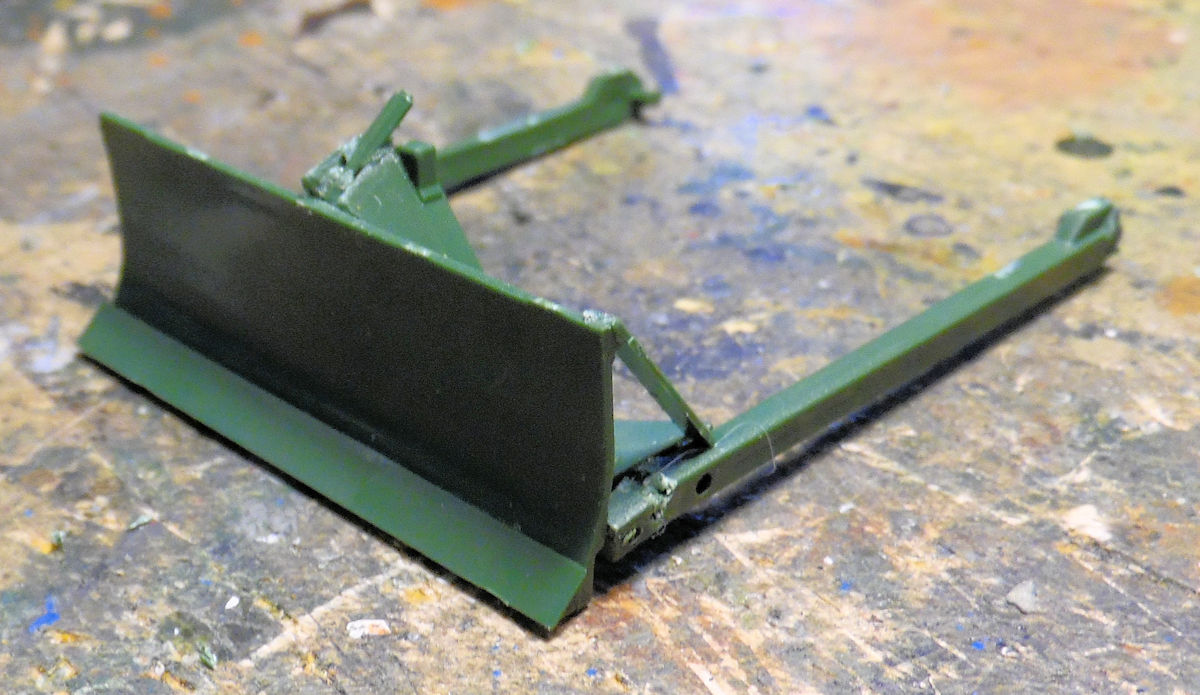
Here it is all mocked up to show what it's going to look like:
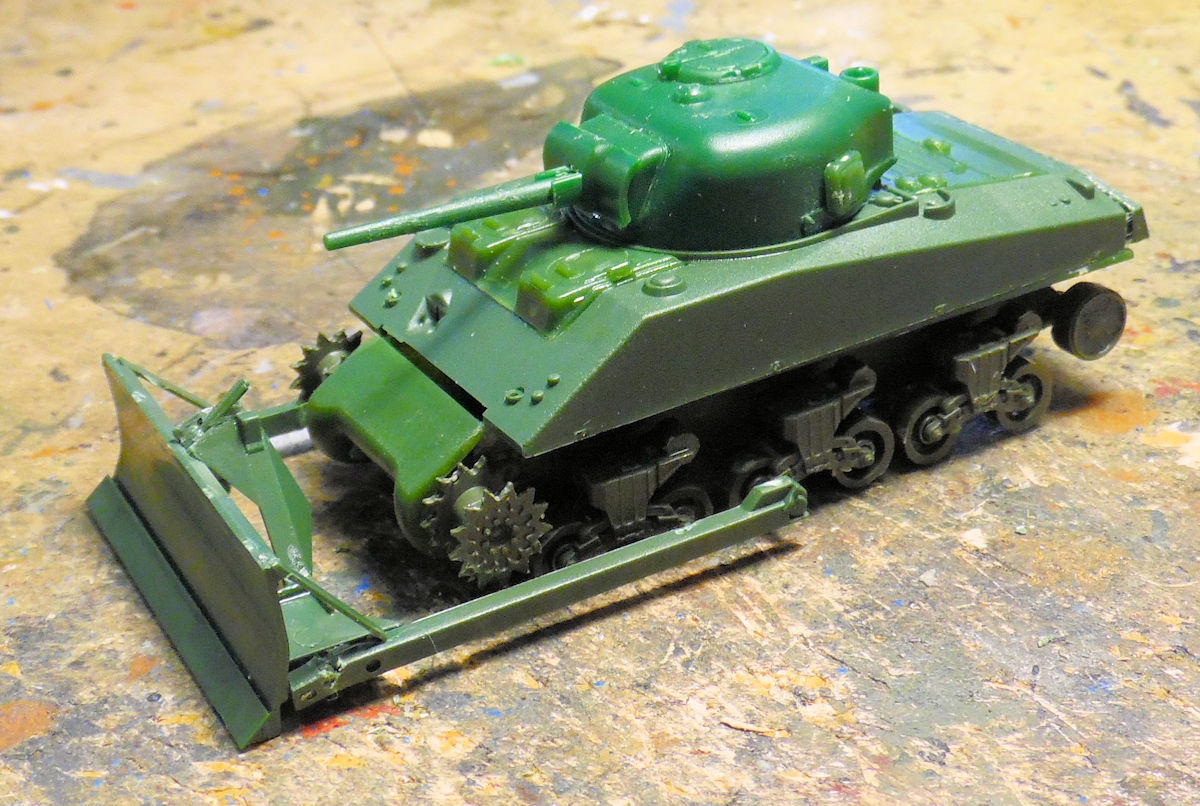
Later on, the photo-etch track slides were bent and cemented into place. I had also added the lower run of track to help keep the bogies steady:
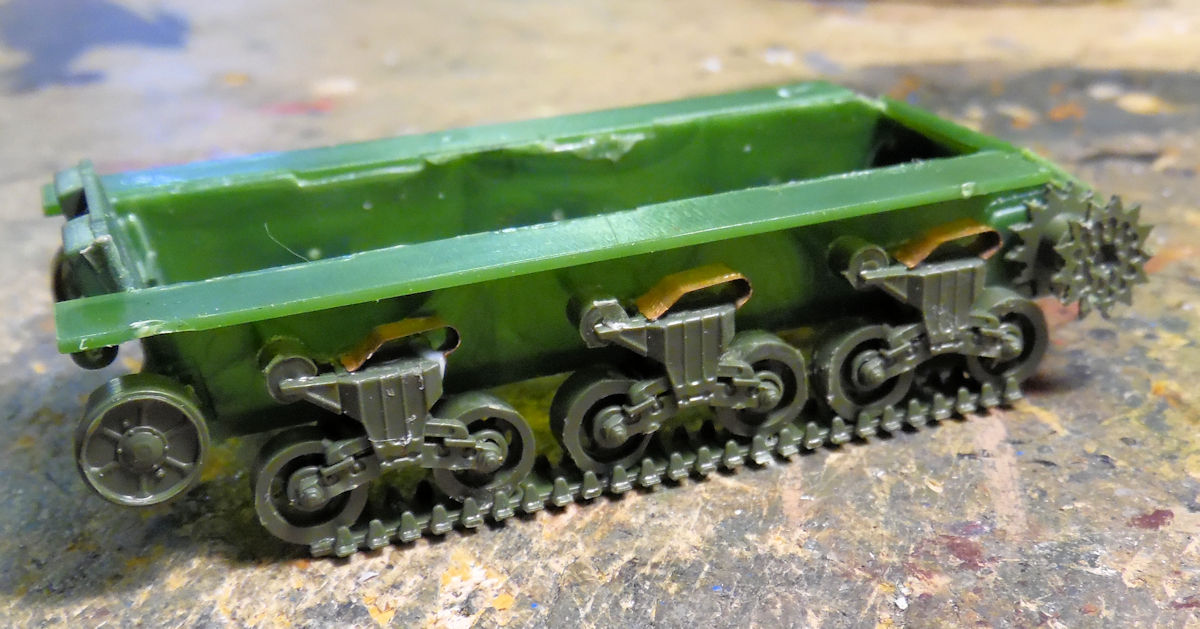
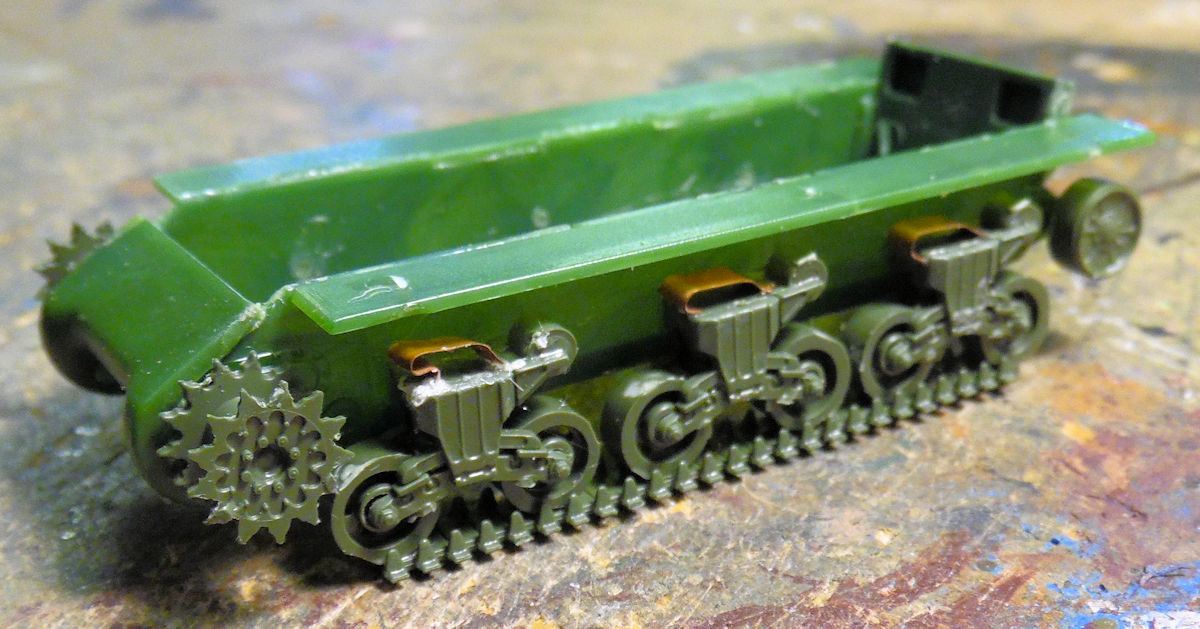
And that is as far as we got on that one, so on to the next bay.
In this next bay we started the Foreart M19 Gun Motor Carriage. First the suspension was added to this:
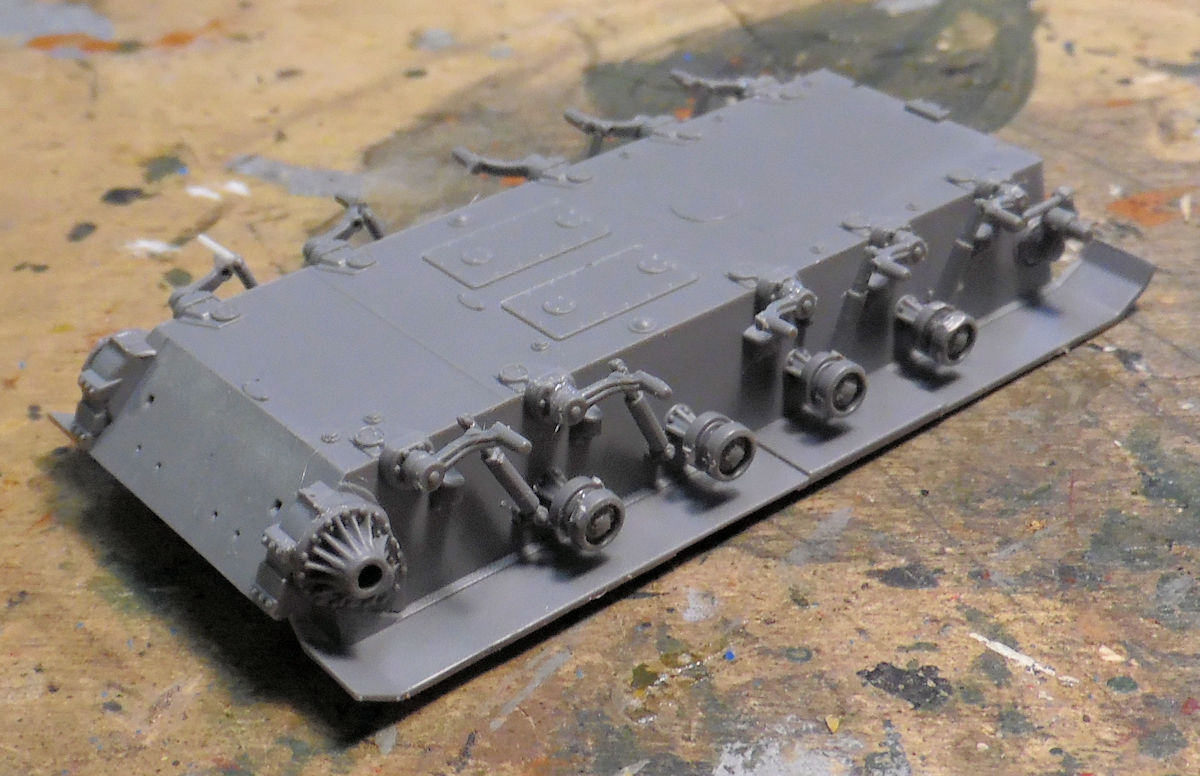
You can see that some of those posts were too delicate to handle installation and needed a replacement. Naturally these tiny, delicate pieces made aligning the wheels up properly almost impossible:
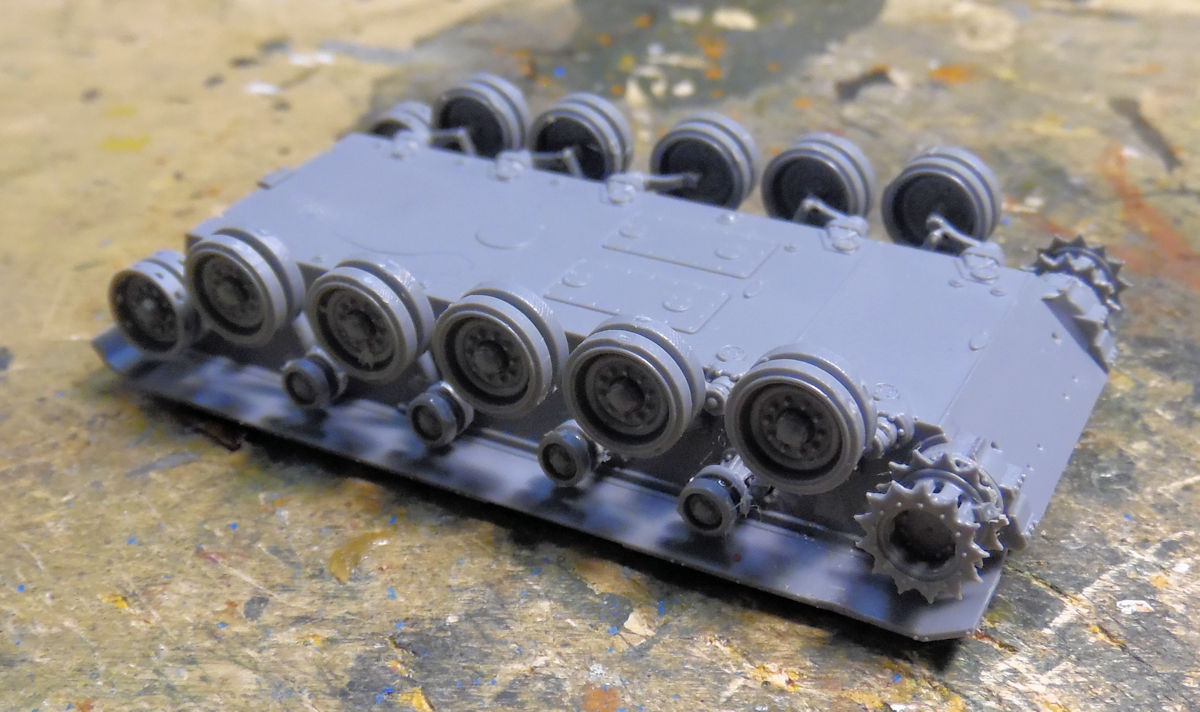
Later the upper hull and turret were built and installed on them lower hull:
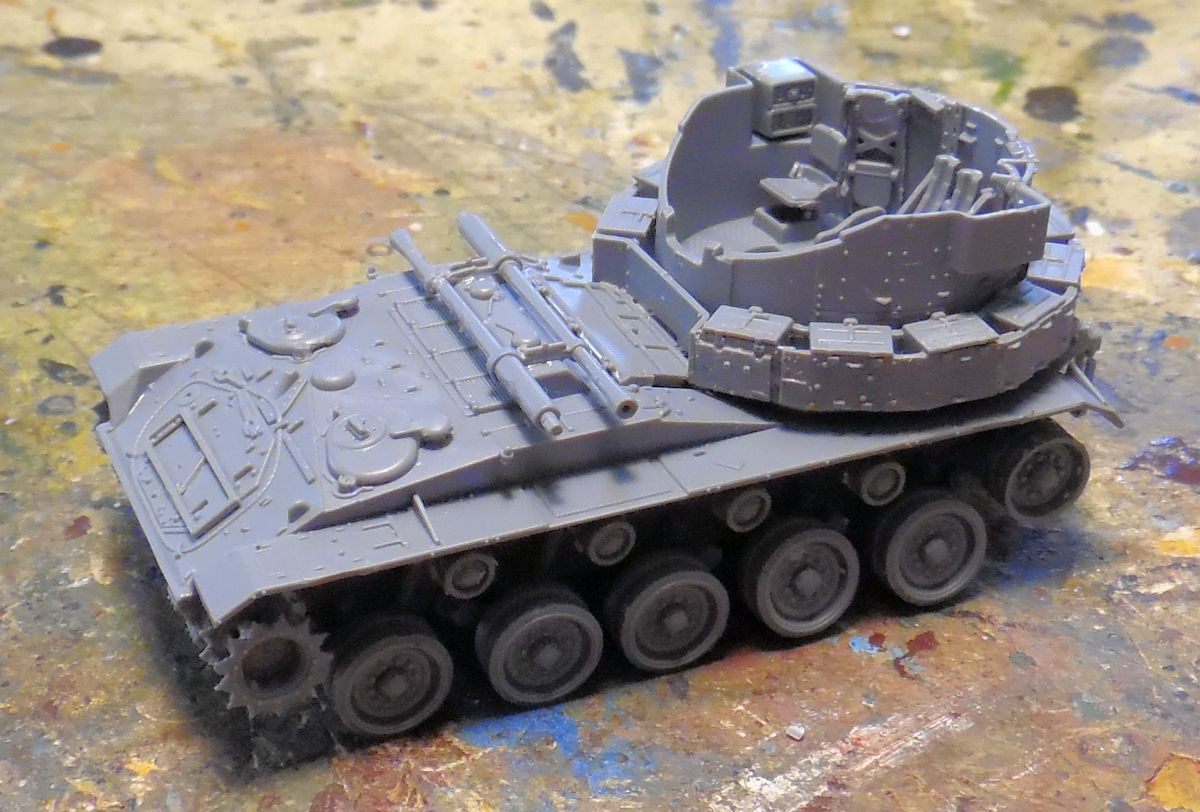
Because several wheels had fallen/broken off, I installed the tracks to help hold them into place. Here you can see the near impossibility of aligned wheels:
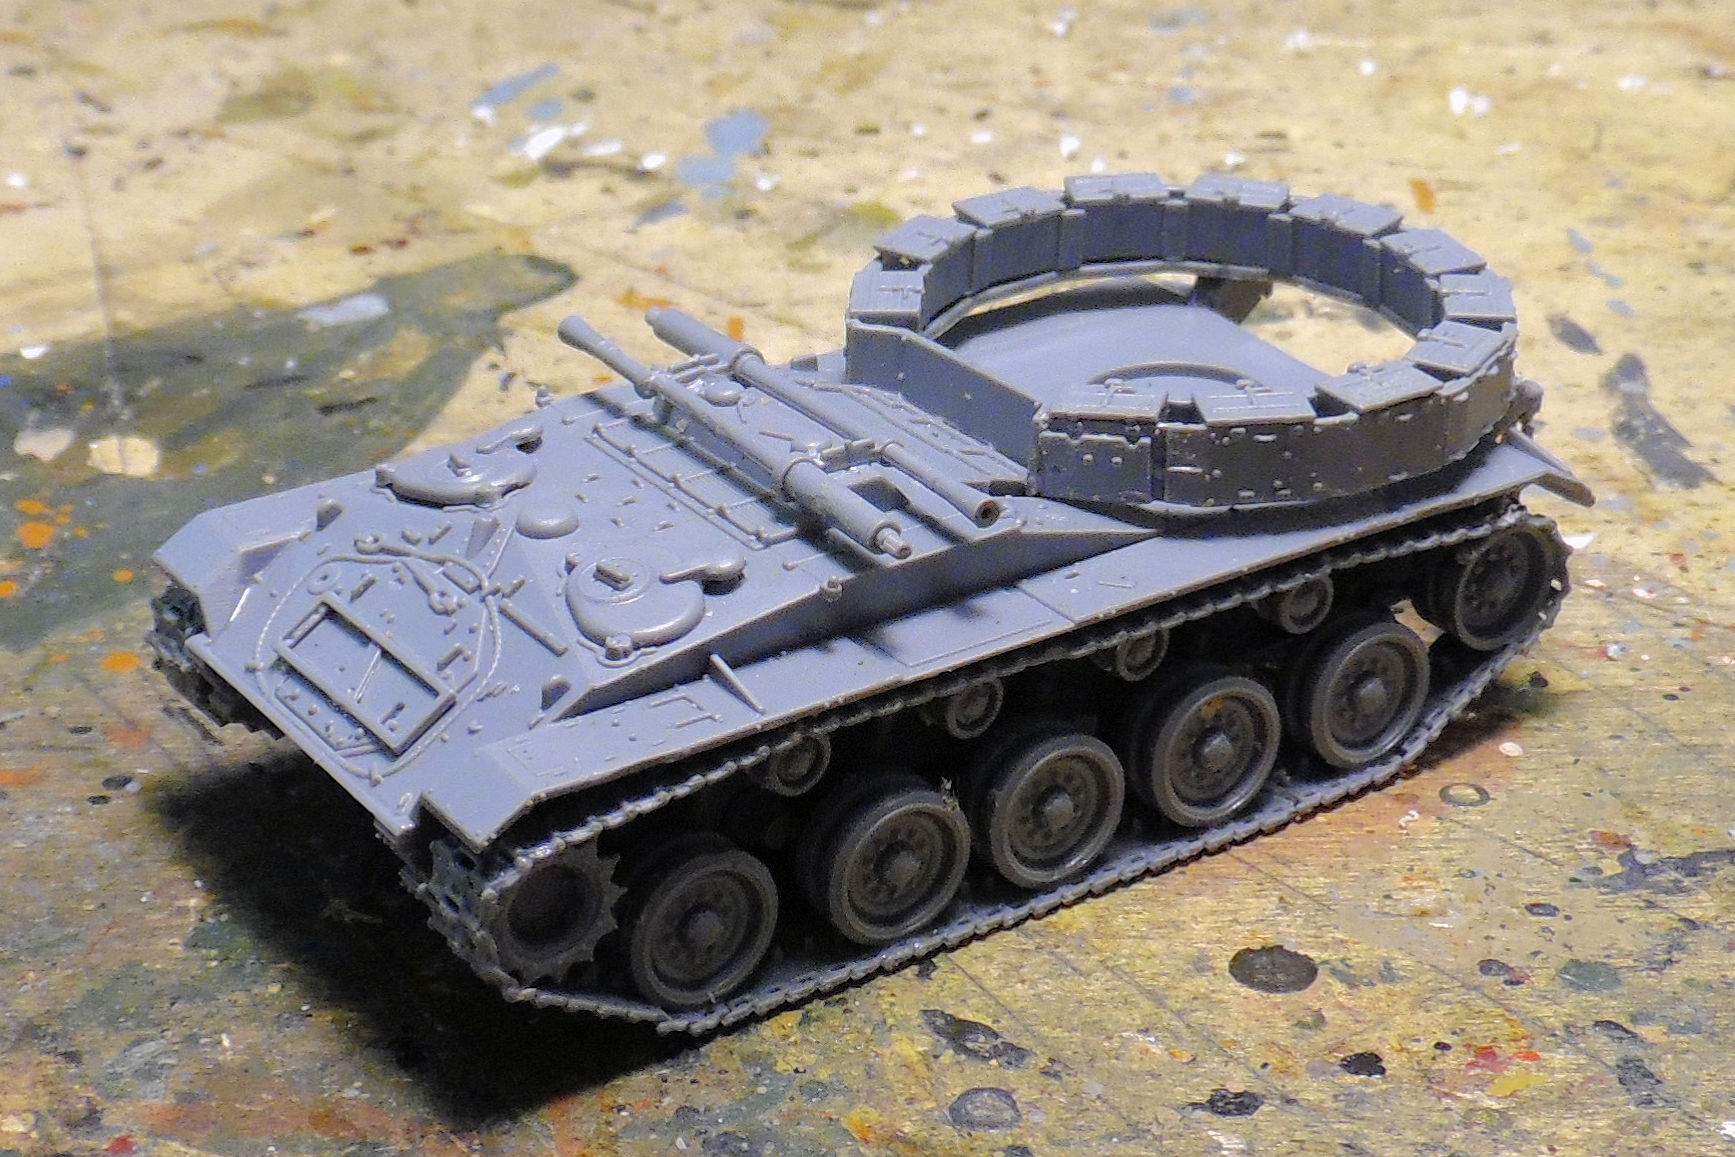
Here it is all mocked up with the tracks in place:
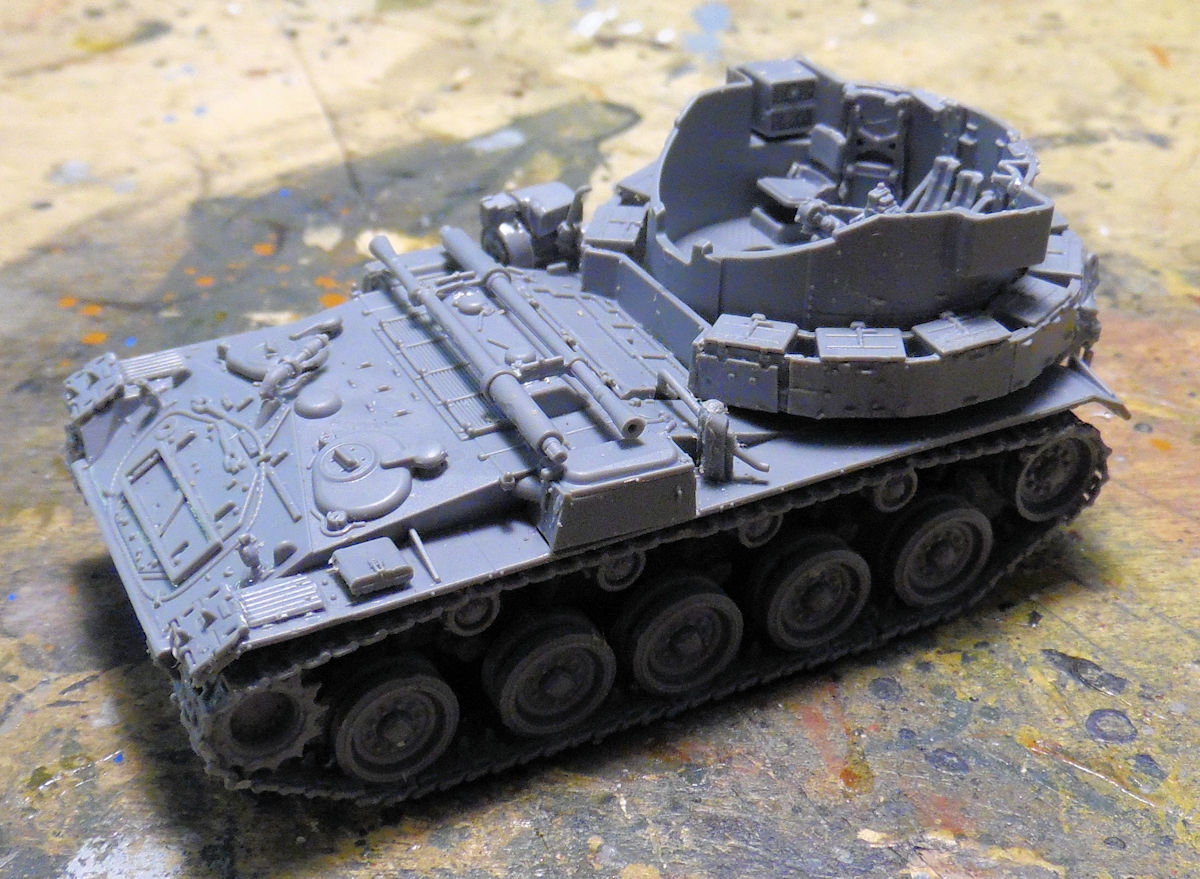
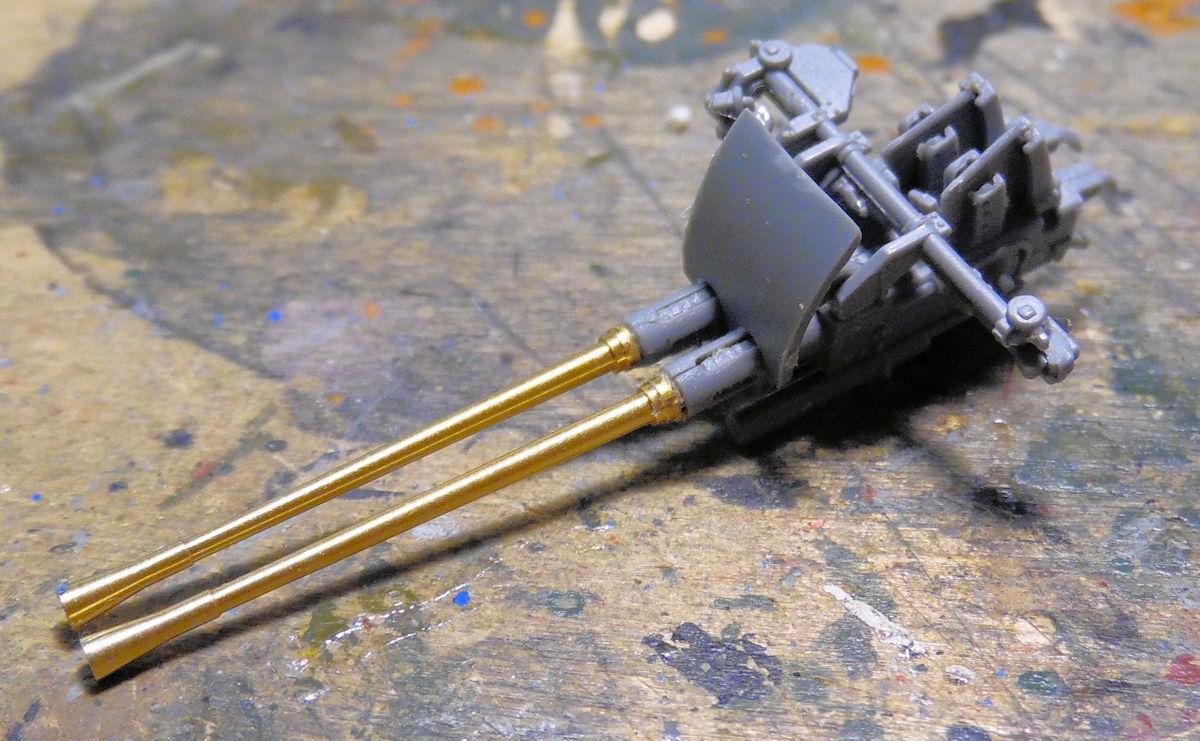
After that the gun mount itself was built. This kit gave me the option of using the supplied metal barrels so I chose to use them:
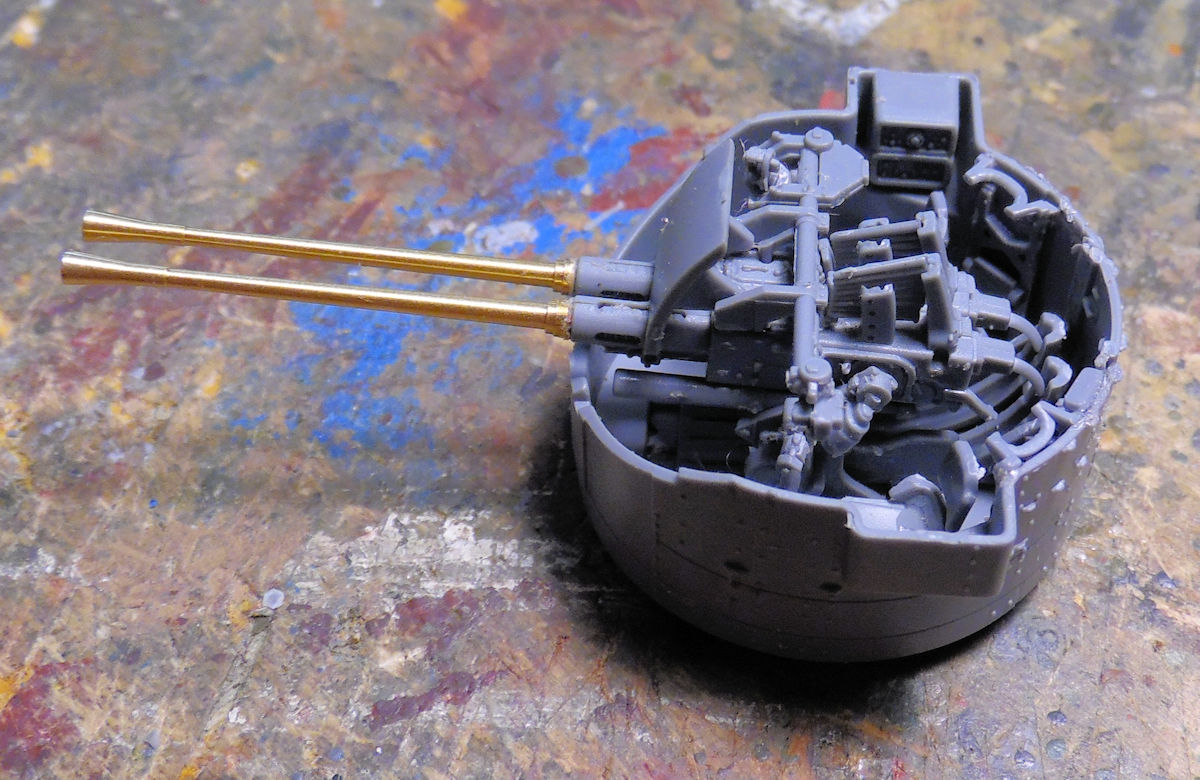
After that the gun mount was added to the turret. Yes, it does elevate as it should, being an anti-aircraft vehicle:
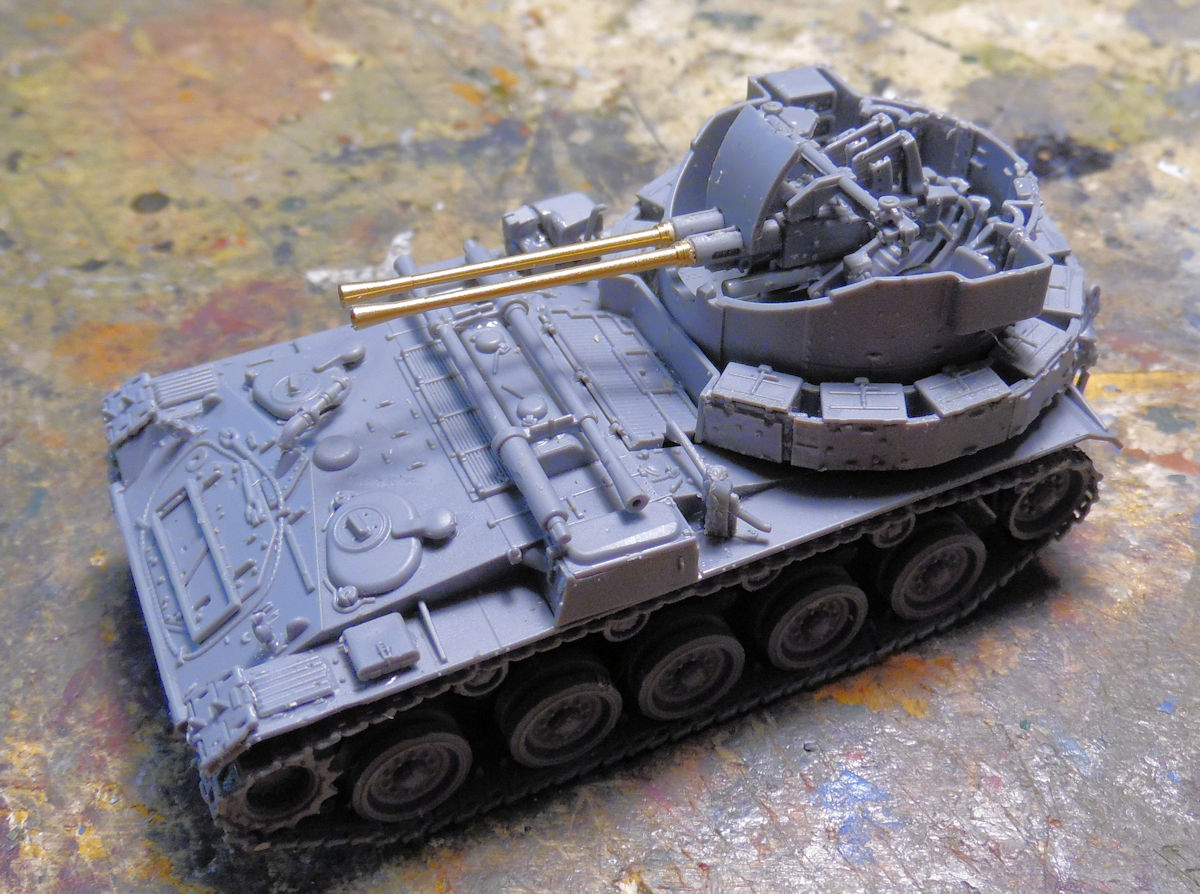
Now this vehicle is ready for paint:
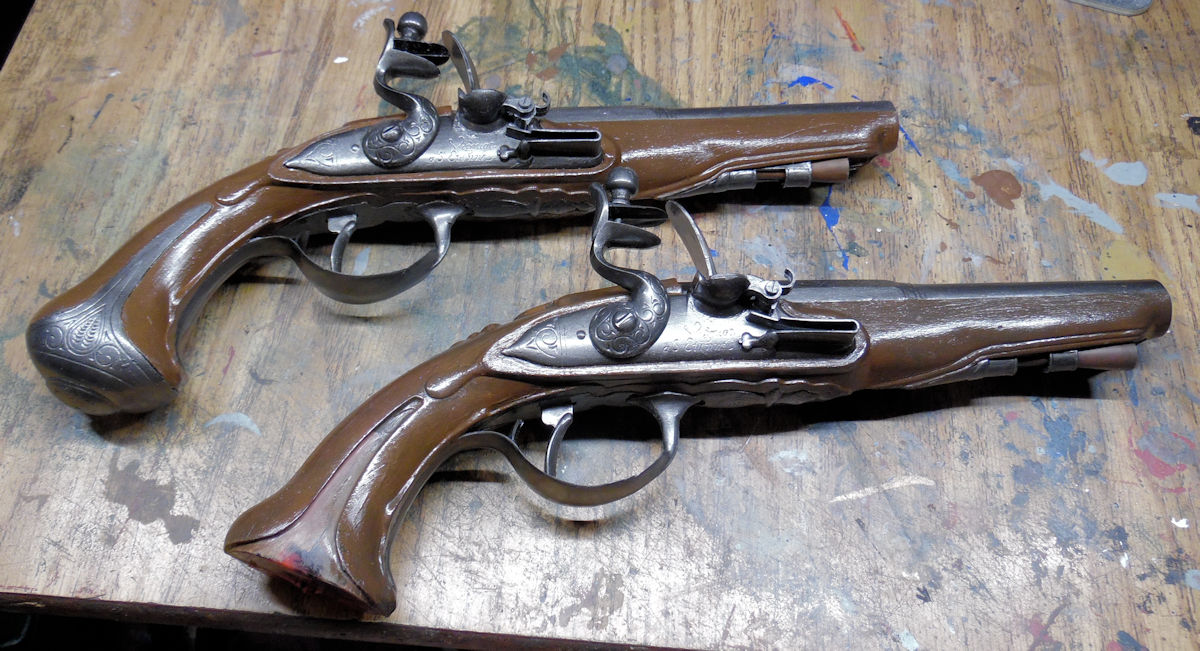
That concludes our tour of the Motor Pool, so we'll take a small detour into the Miscellaneous shop to see that the two Dueling pistols are almost done. The only thing keeping me from declaring them done is the missing butt-plate piece that you can see missing:
That concludes this tour, I appreciate all those who stop in to see this. Comments are always welcome too. We'll see you on the next tour.