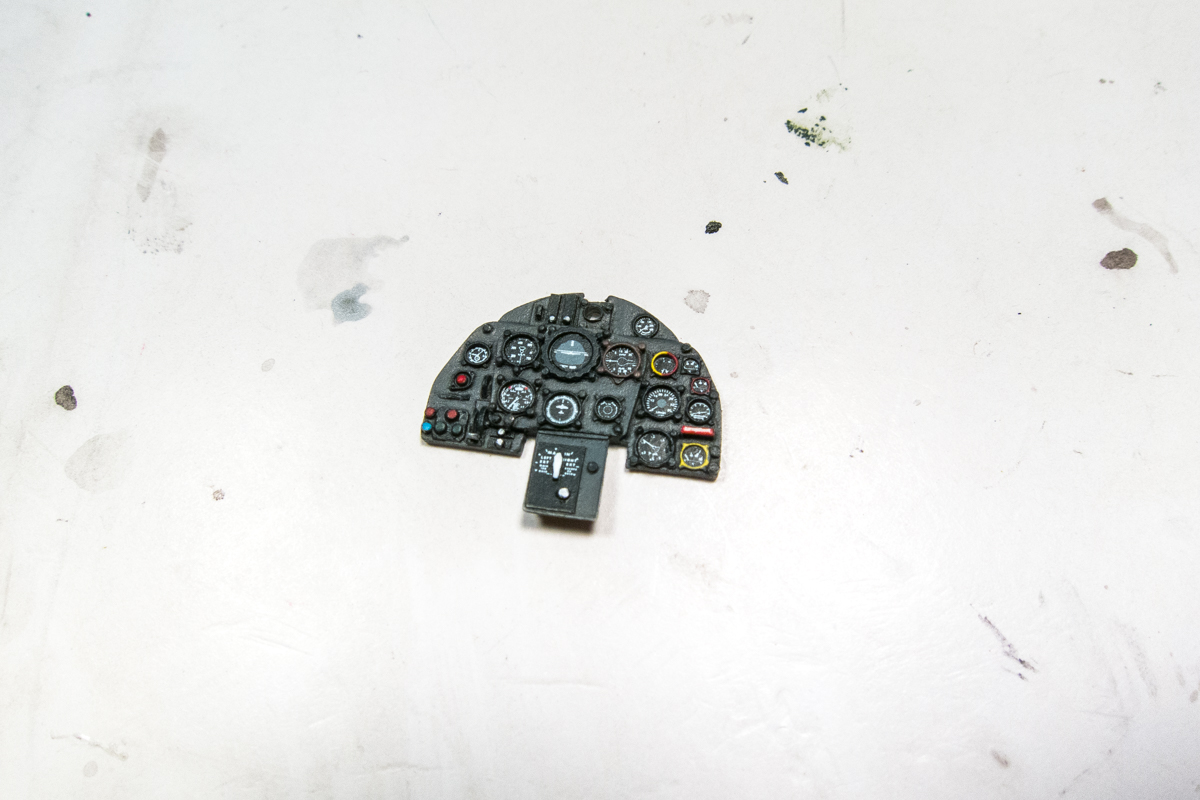
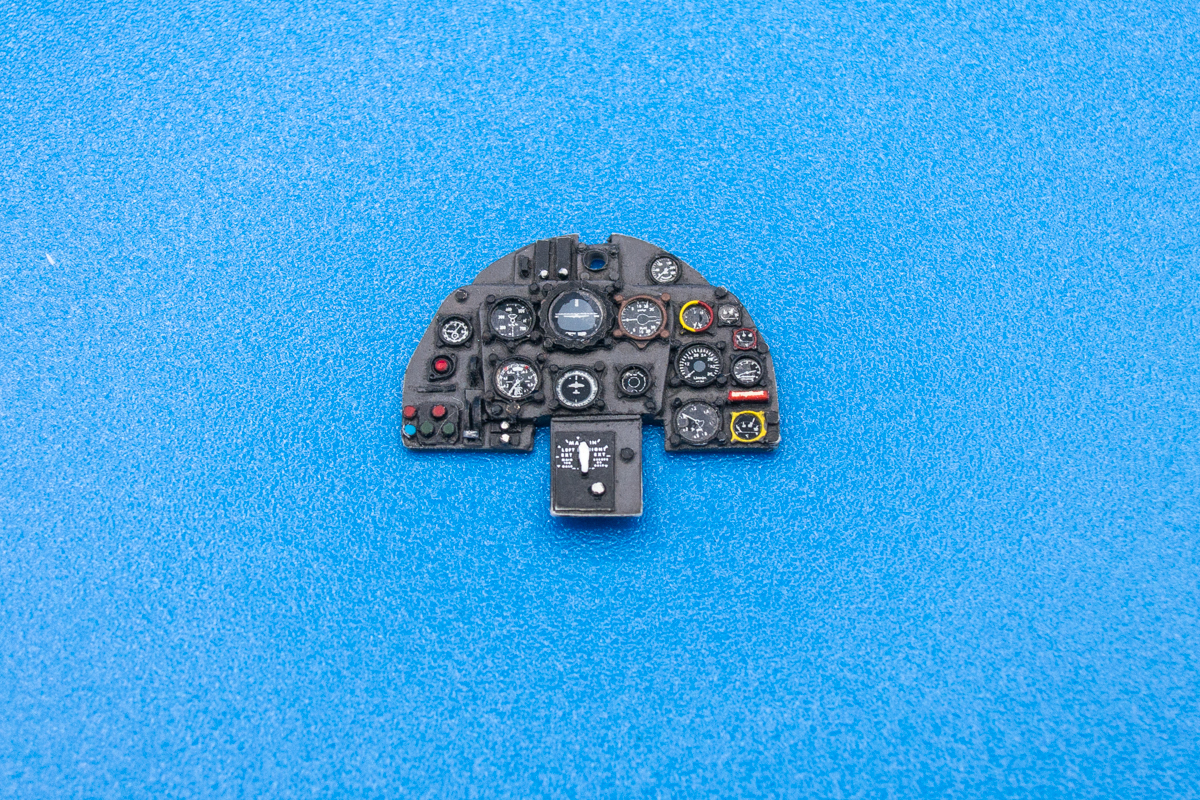
Re: 1/32 Hasegawa Bf109K-4 Weisse 8
Posted: Sat May 04, 2019 1:48 am
Thanks Clint!
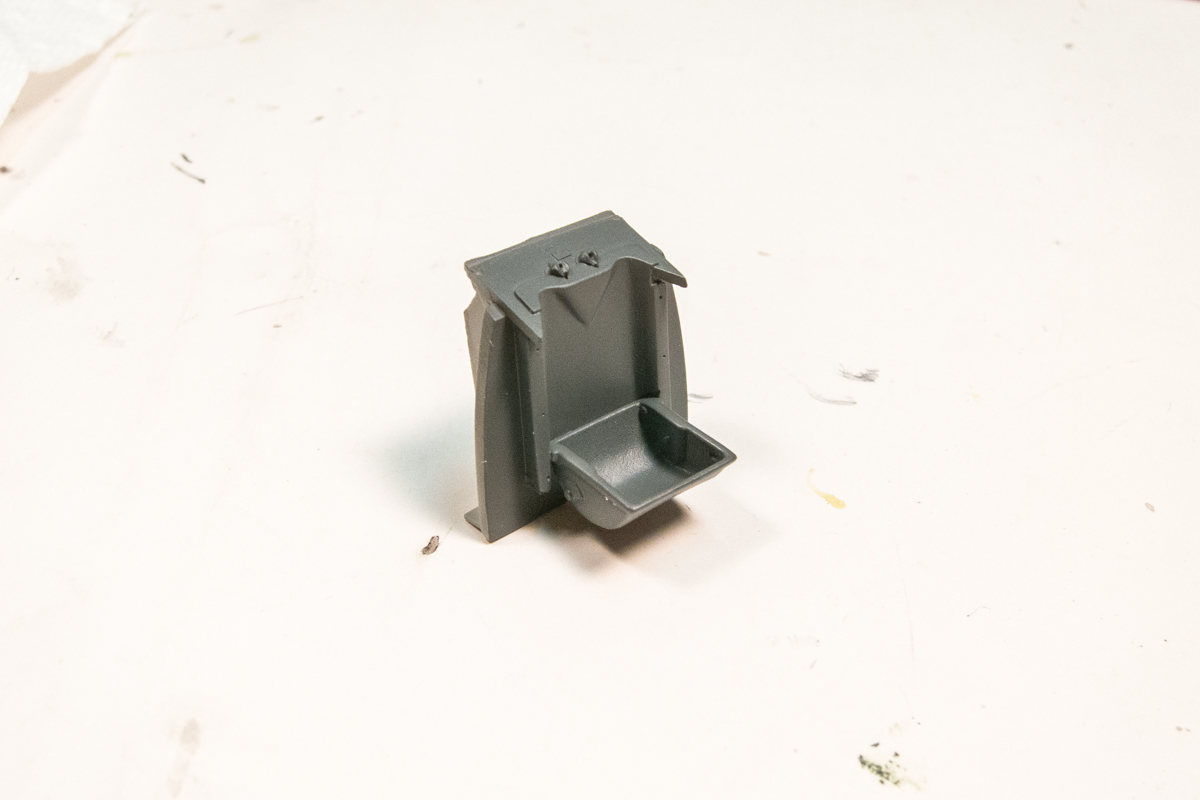
Here is the seat after the RLM 66 was applied.
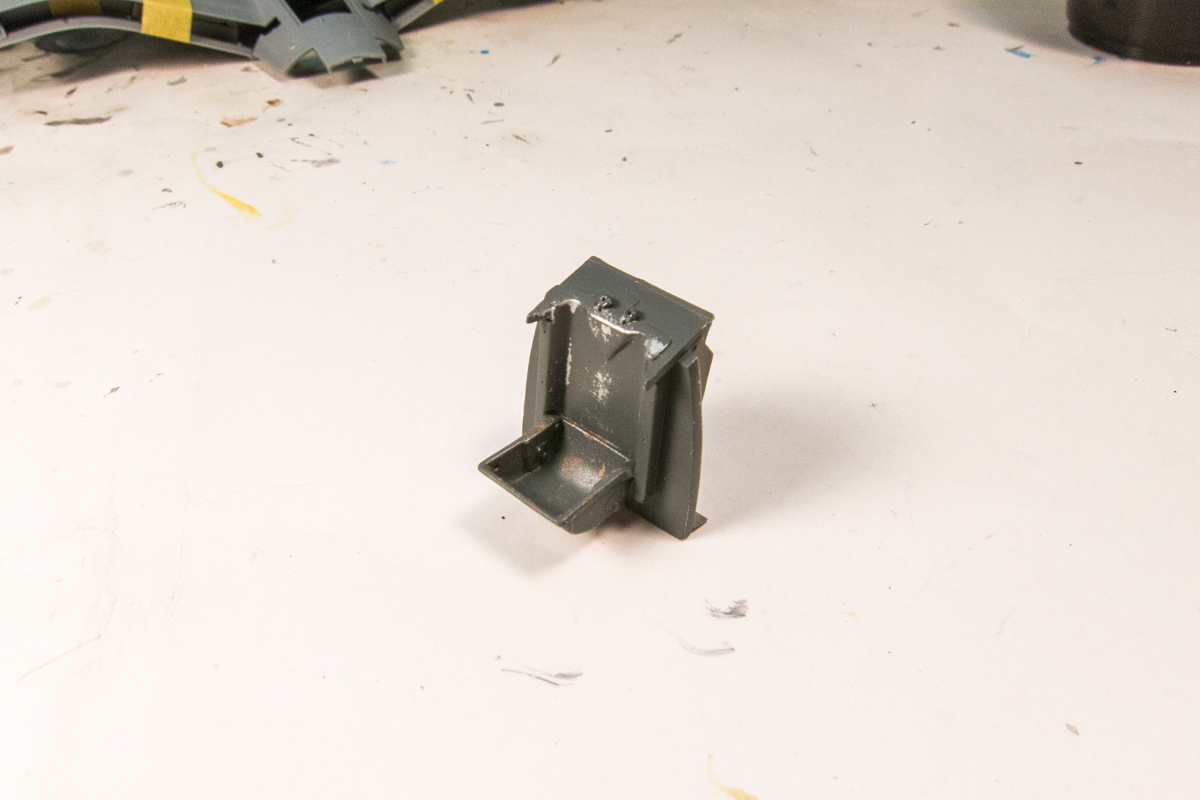
Here is the seat after chipping.
Using a couple of online articles, I am in the process of making some corrections to the Hasegawa kit. The small bumps at the base of the horizontal stabilizers are not present on the K-4 and need to be removed. The gouges and saw marks from the tail door removal will be repaired, don't worry!
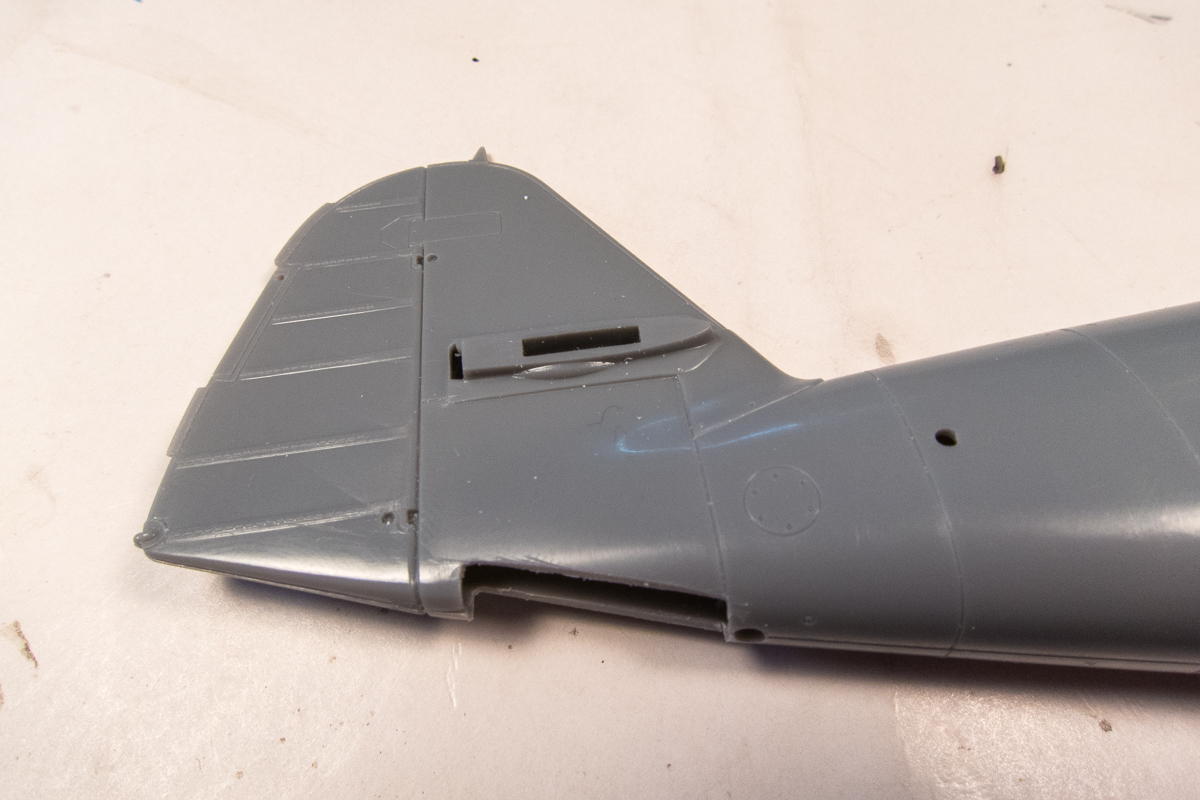
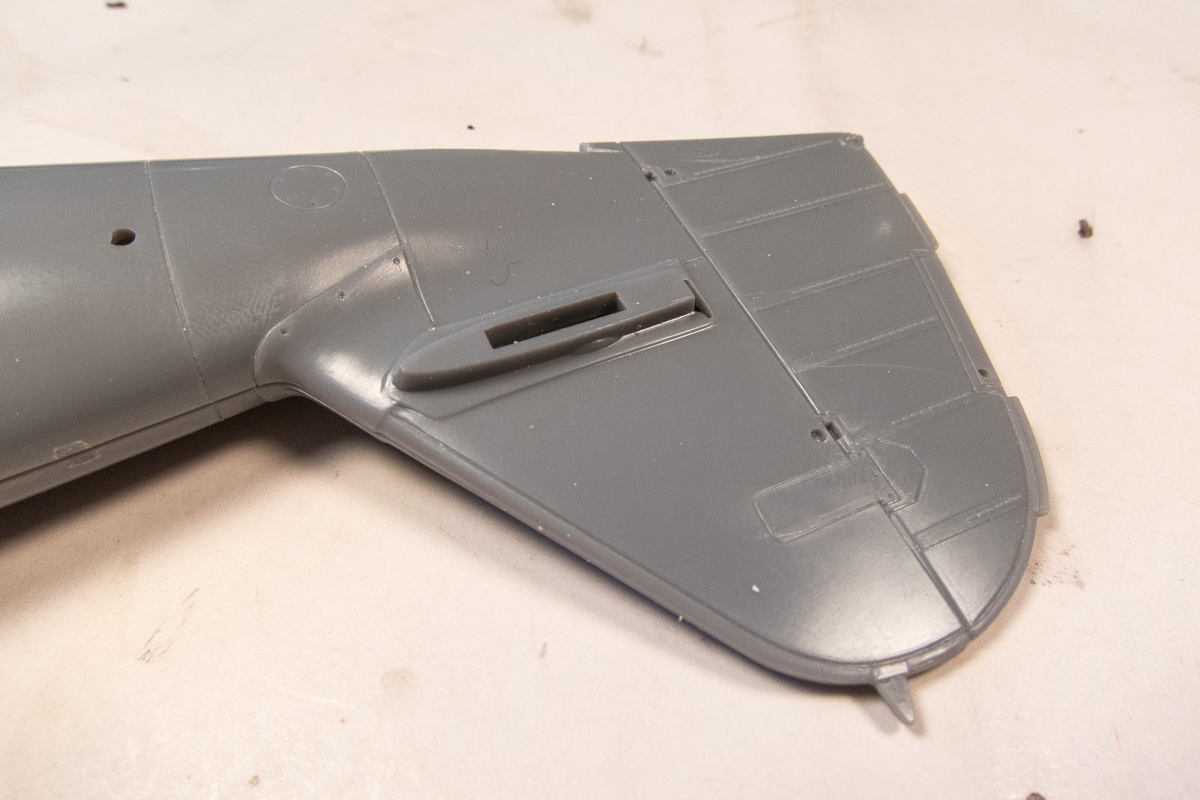
I used a razor saw and a knife blade remove the bumps and then cleaned it up with sandpaper.
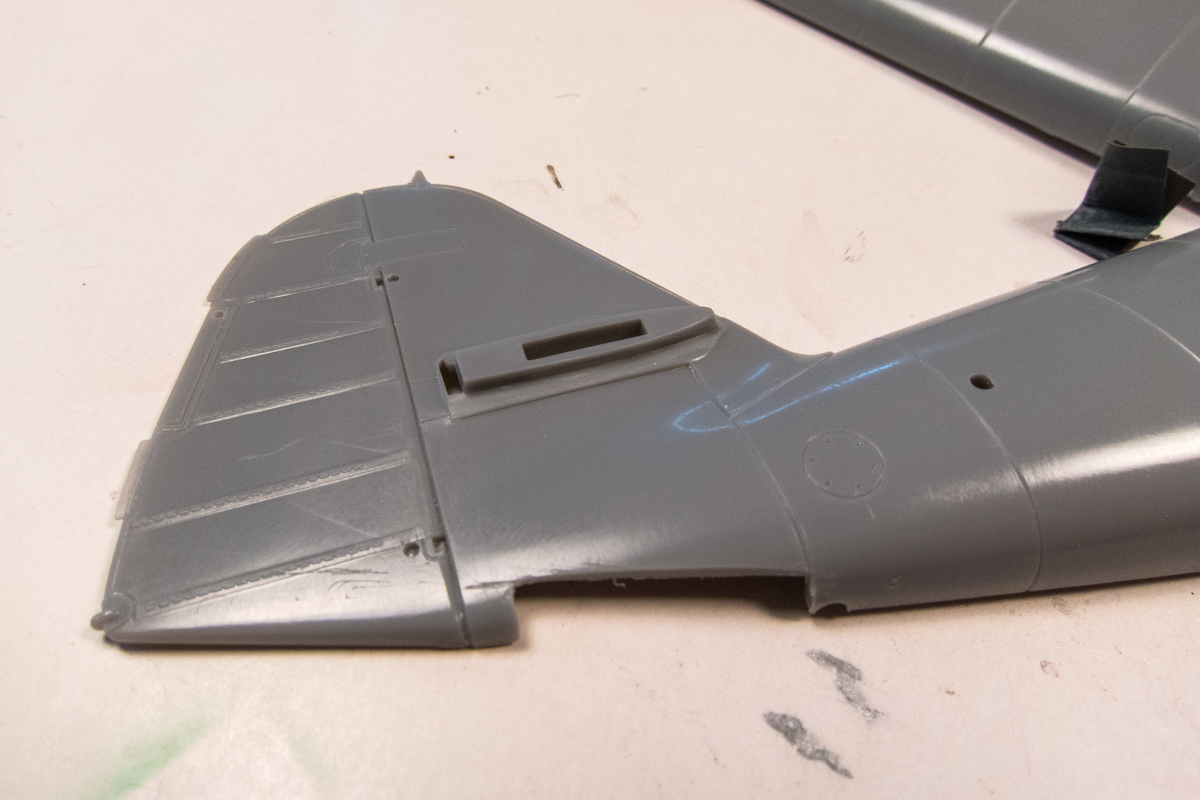
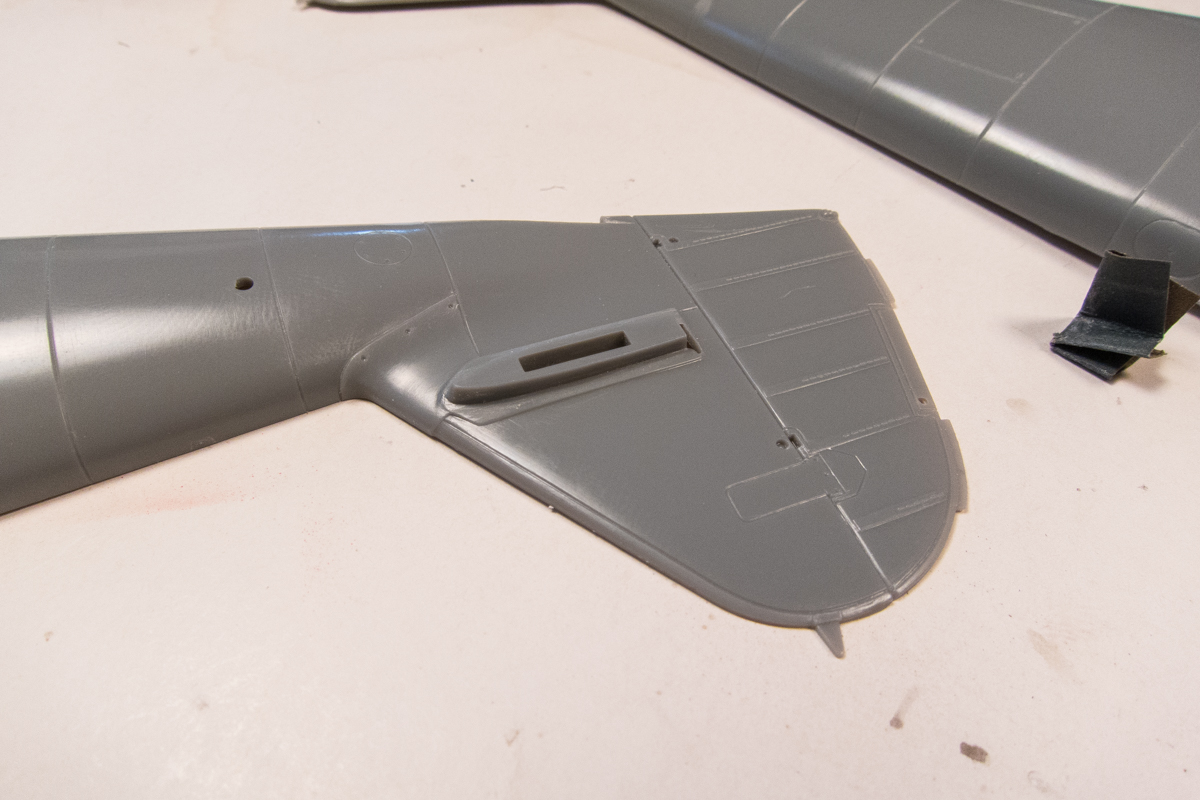
The rectangular hatch on the port side is not quite the right shape. The kit represents as a right rectangle but on the K-4, the bottom edge is not parallel to the top edge. To make this change, I need to remove the existing bottom panel line. I'm removing the circular hatch bolts as well since their position will change slightly. I am using black CA glue to fill.
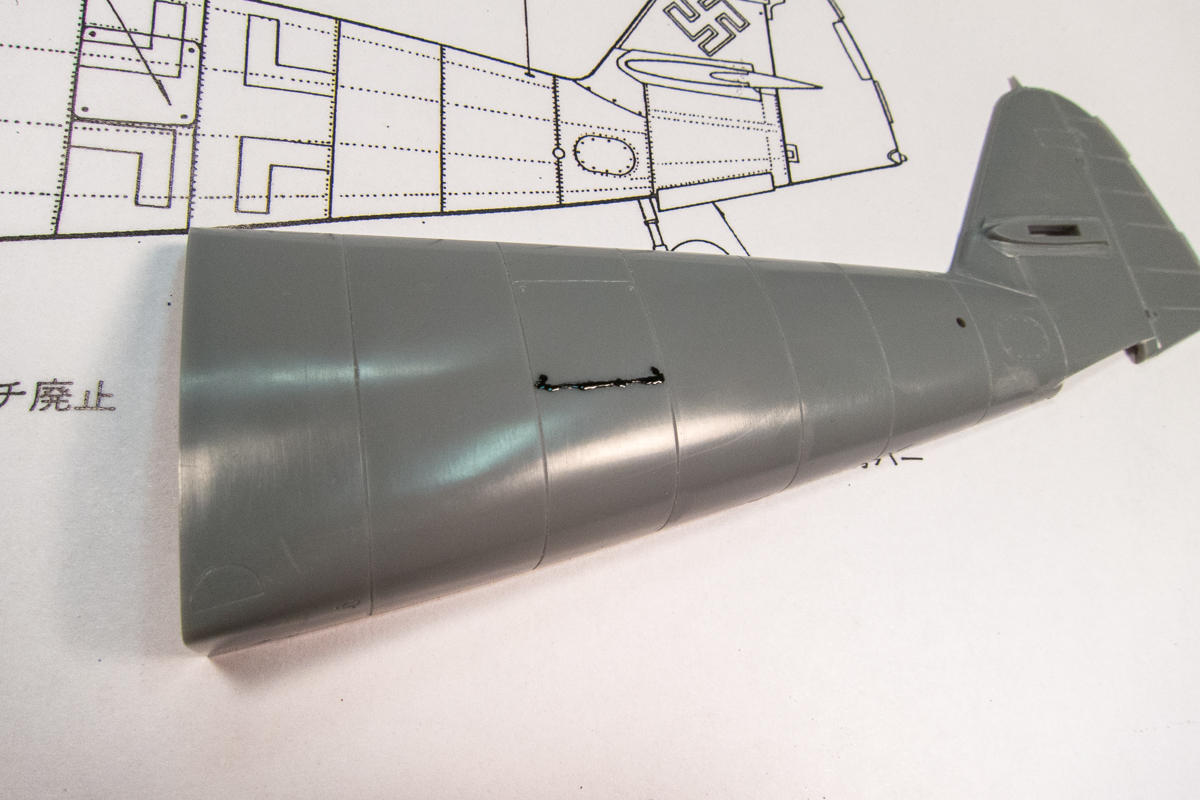
Black CA glue is rubberized so it is easier to sand than regular CA glue. It also leaves a nice black record of your filled area.
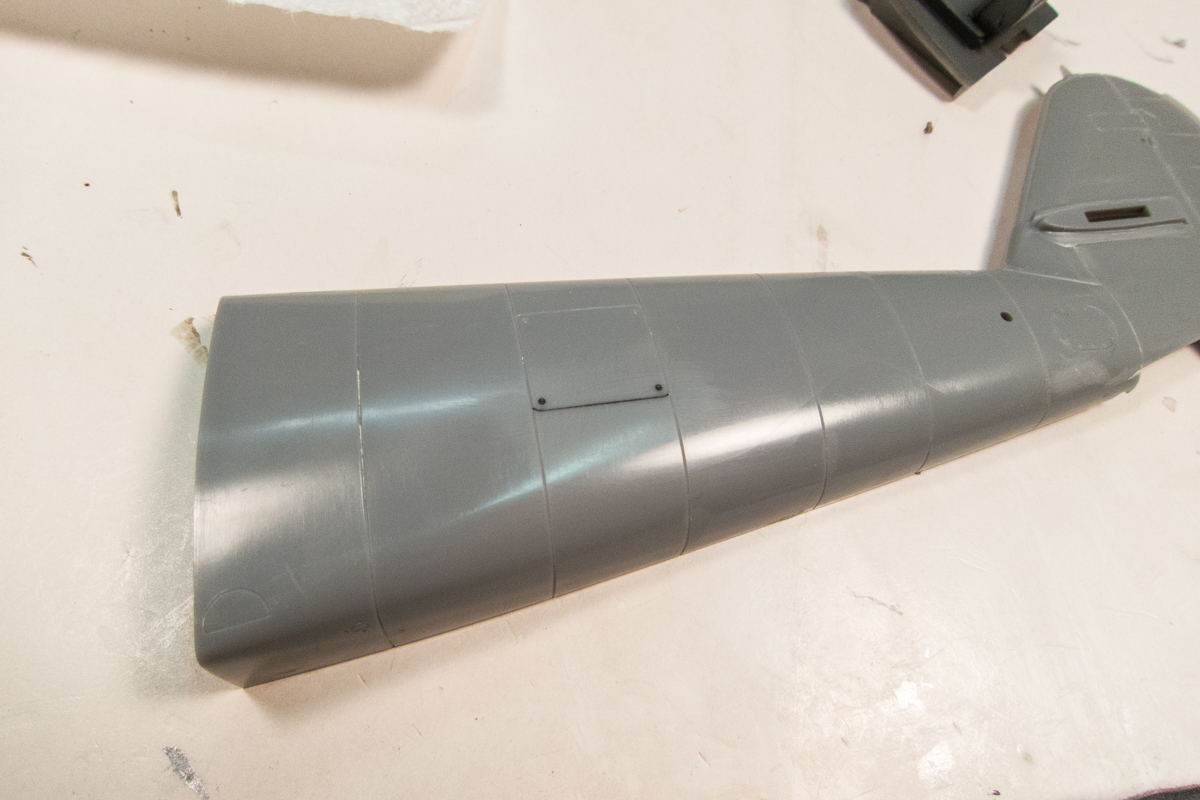
The new panel line is drawn in pencil.
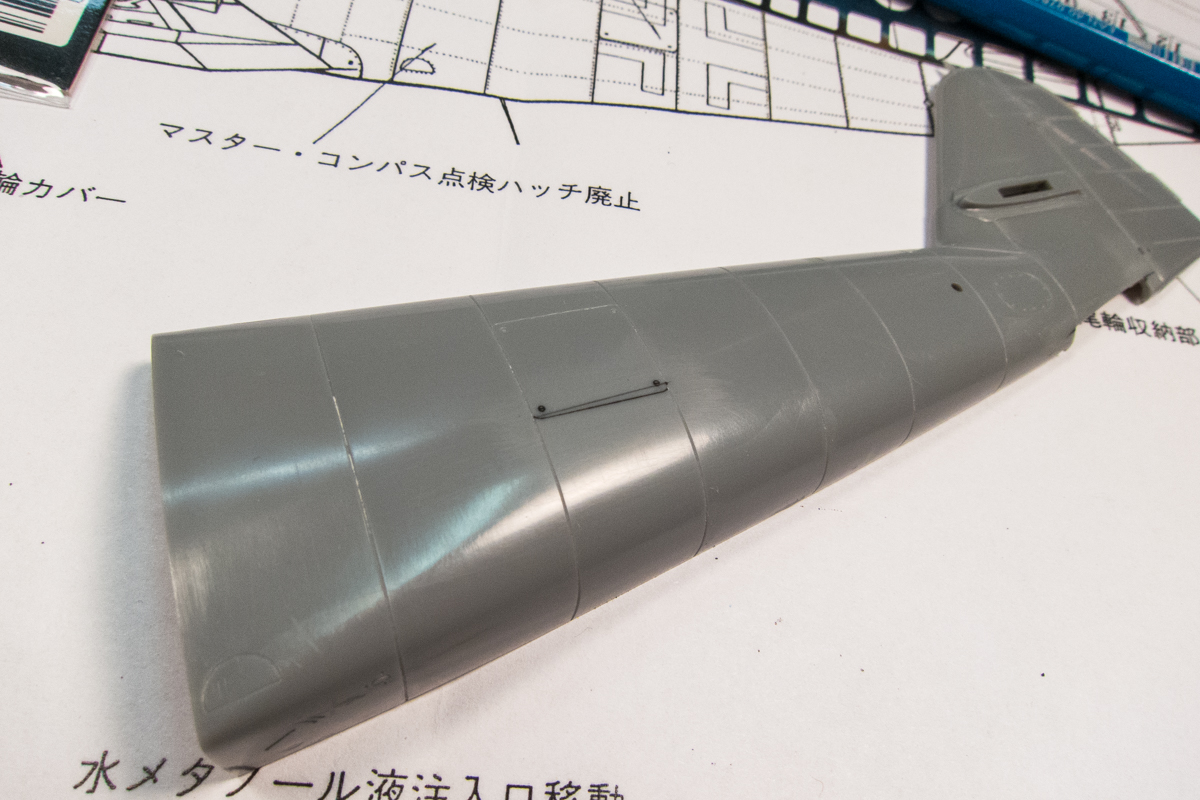
To scribe a straight line, you need a guide. I like to use Dymo label tape. It is thick plastic, which makes a nice guide for the scriber blade and it is adhesive backed so it stays securely in position during the scribing.
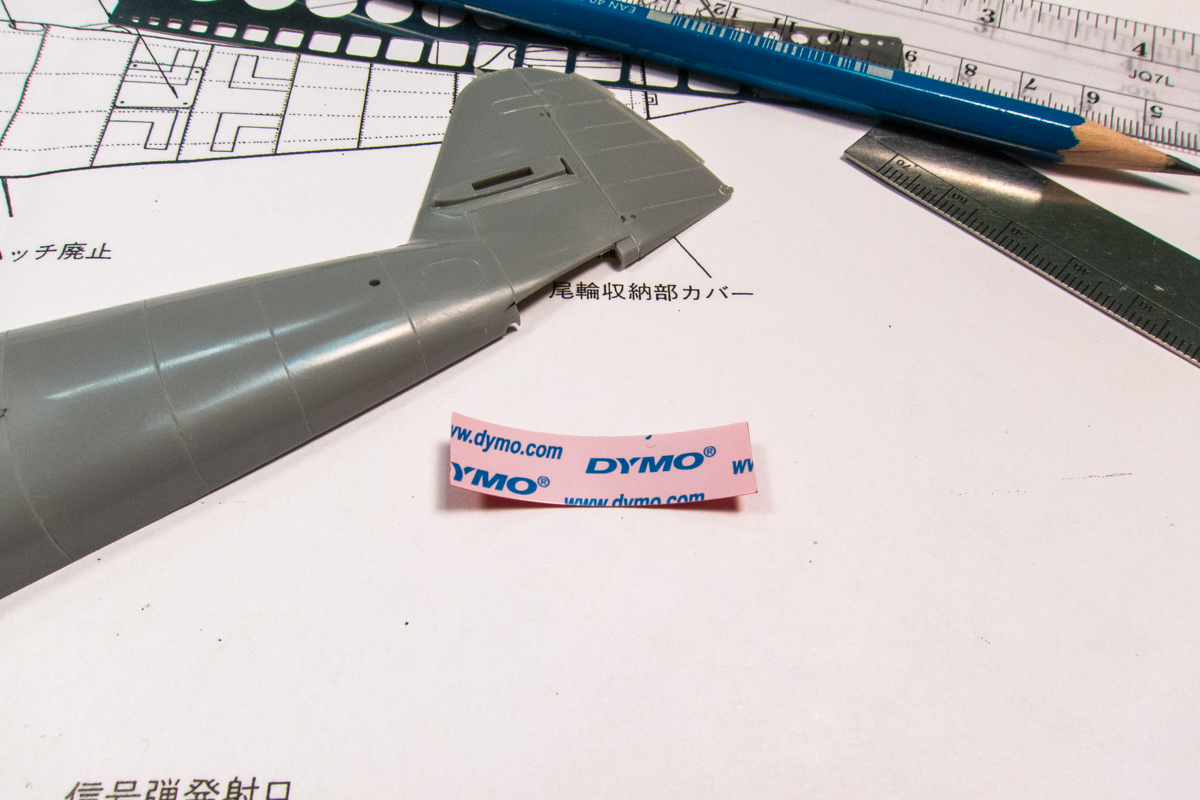

I use a scriber (by UMM-USA, not pictured) to cut a line but not all the way to the corners since the hatch has rounded corners. 2-3 passes are enough to scribe a line deep enough to remove the Dymo tape.
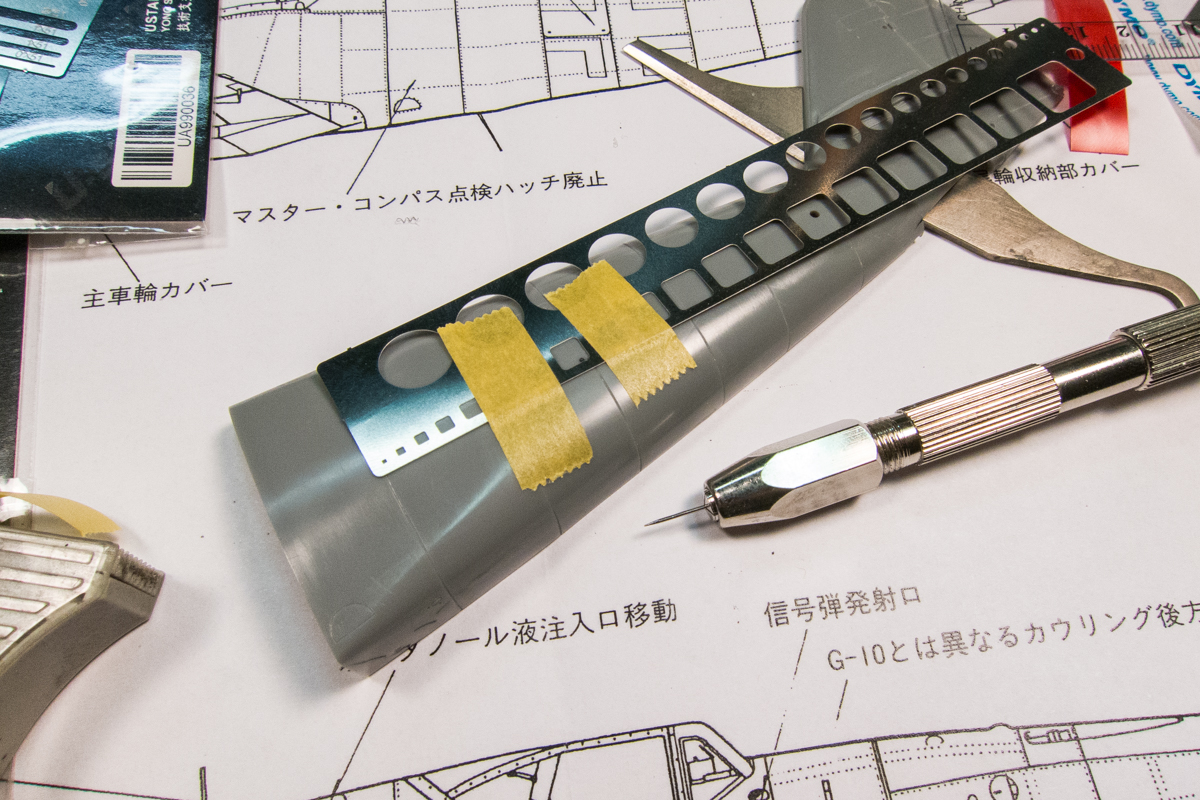
A metal template is used to scribe the rounded corners. You can't fit a scriber's cutting blade into these templates so a sewing needle chucked into a pin-vise is used instead.
A needle is not a true cutting instrument and will simply gouge a trough in the plastic. So it takes a few iterations of scribing and sanding to get a clean panel line.
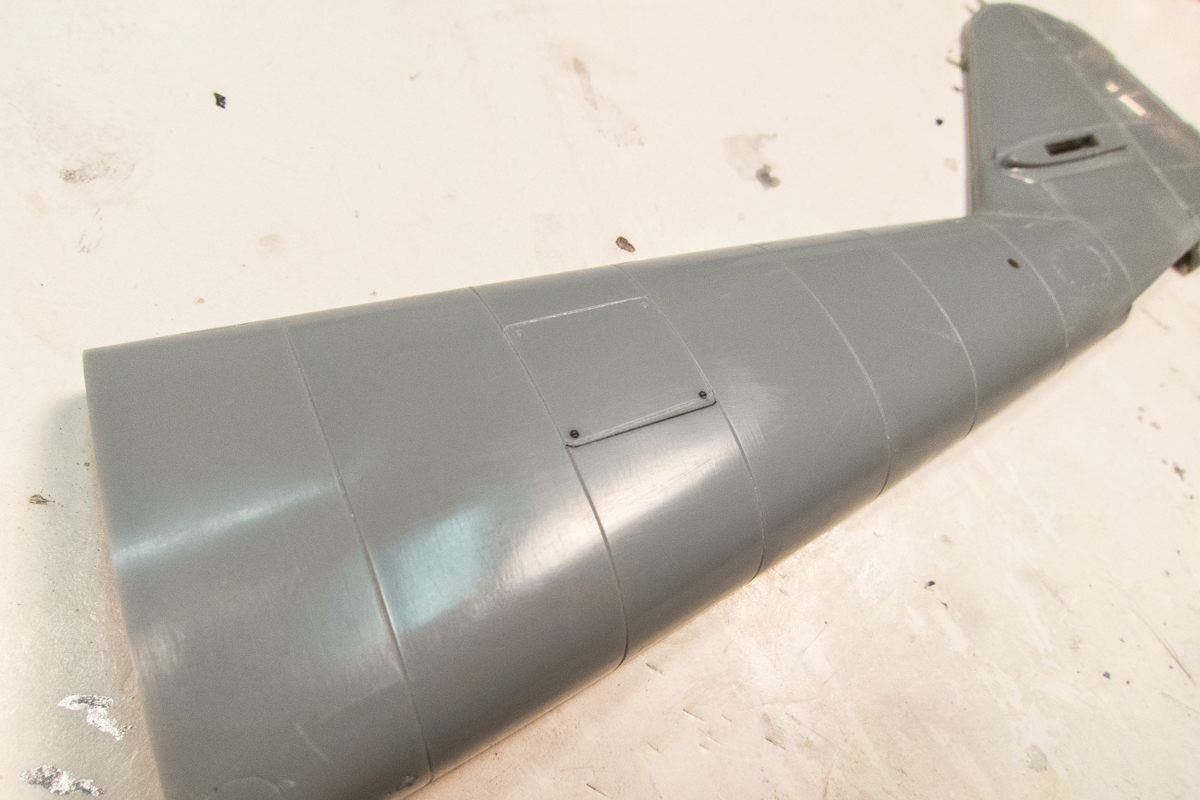
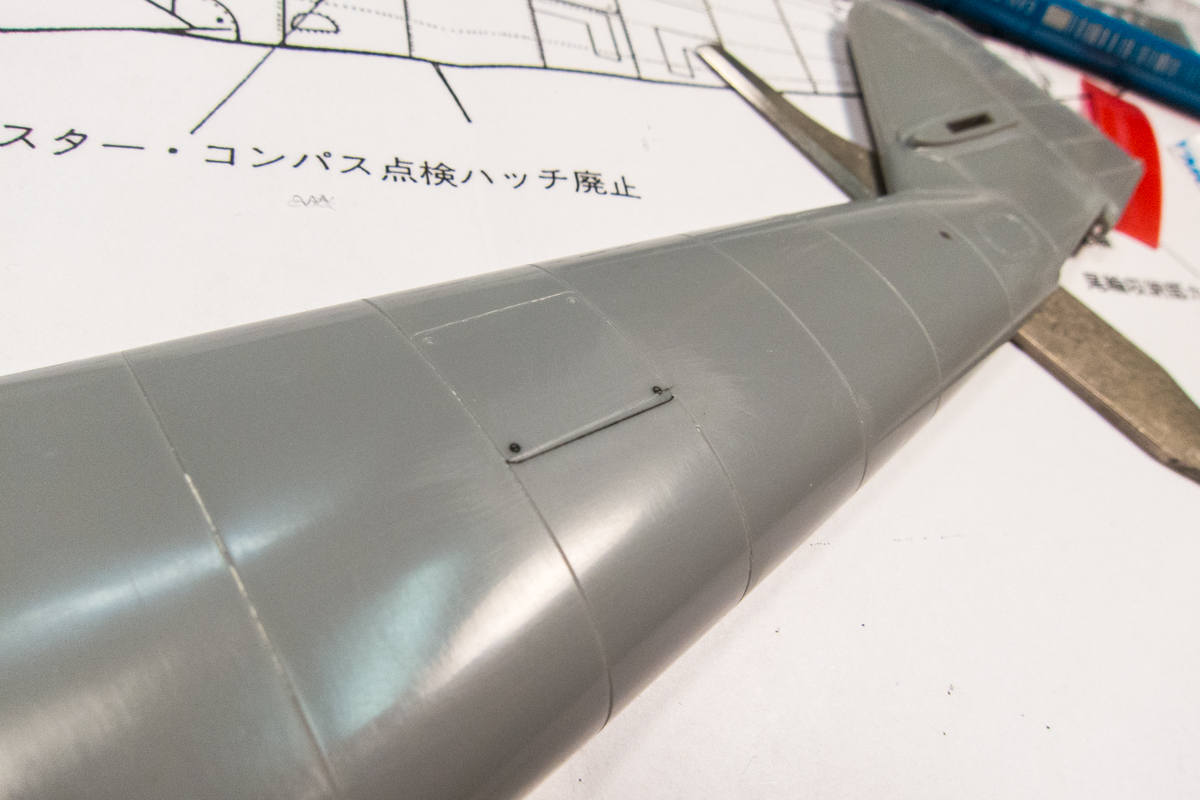
It's difficult to gauge the results so I spray a light coat of Mr Surfacer 1200 to check the new line. After this dries, I will put new circular bolts in the corners.

Here is the seat after the RLM 66 was applied.
Here is the seat after chipping.
Using a couple of online articles, I am in the process of making some corrections to the Hasegawa kit. The small bumps at the base of the horizontal stabilizers are not present on the K-4 and need to be removed. The gouges and saw marks from the tail door removal will be repaired, don't worry!
I used a razor saw and a knife blade remove the bumps and then cleaned it up with sandpaper.
The rectangular hatch on the port side is not quite the right shape. The kit represents as a right rectangle but on the K-4, the bottom edge is not parallel to the top edge. To make this change, I need to remove the existing bottom panel line. I'm removing the circular hatch bolts as well since their position will change slightly. I am using black CA glue to fill.
Black CA glue is rubberized so it is easier to sand than regular CA glue. It also leaves a nice black record of your filled area.
The new panel line is drawn in pencil.
To scribe a straight line, you need a guide. I like to use Dymo label tape. It is thick plastic, which makes a nice guide for the scriber blade and it is adhesive backed so it stays securely in position during the scribing.
I use a scriber (by UMM-USA, not pictured) to cut a line but not all the way to the corners since the hatch has rounded corners. 2-3 passes are enough to scribe a line deep enough to remove the Dymo tape.
A metal template is used to scribe the rounded corners. You can't fit a scriber's cutting blade into these templates so a sewing needle chucked into a pin-vise is used instead.
A needle is not a true cutting instrument and will simply gouge a trough in the plastic. So it takes a few iterations of scribing and sanding to get a clean panel line.
It's difficult to gauge the results so I spray a light coat of Mr Surfacer 1200 to check the new line. After this dries, I will put new circular bolts in the corners.