Well, it's been awhile thanks to being back to work on several home repair projects. Despite that, I did manage to get some progress done because of some time on the bench and Hobby Day.
I'll start with some aircraft.
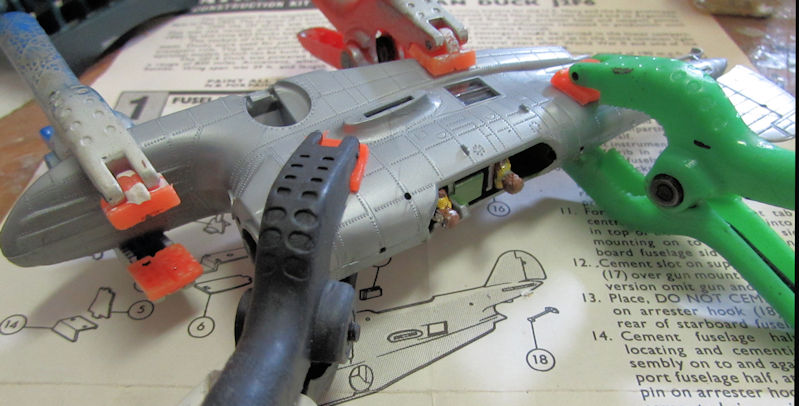
This first on is the Grumman Duck I had started. I got the interior painted and the windows installed in the sides of the fuselage so it was time to close this bird up:
This next one is an ancient USAirfix kit of the Widgeon floatplane. I got it for free, and since I started it at Hobby Day now I know why: No clear parts. Oh well, I started it anyway; adding the pilot to the interior:
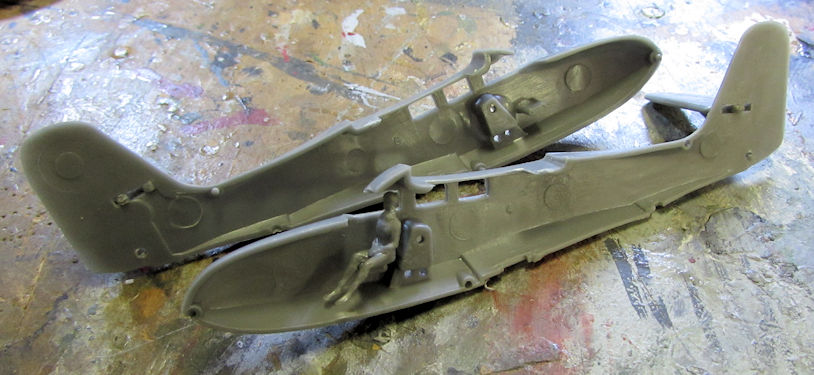
Adding the side windows won't be an issue; doing the canopy is going to be interesting...
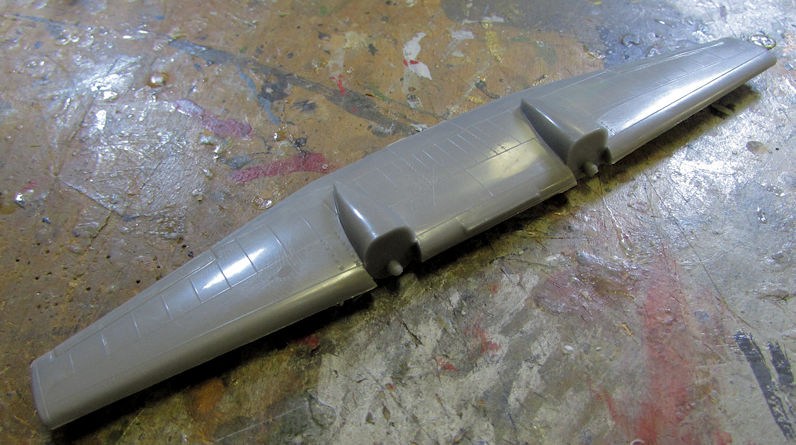
I went ahead and assembled the wing:
Followed by the engines:
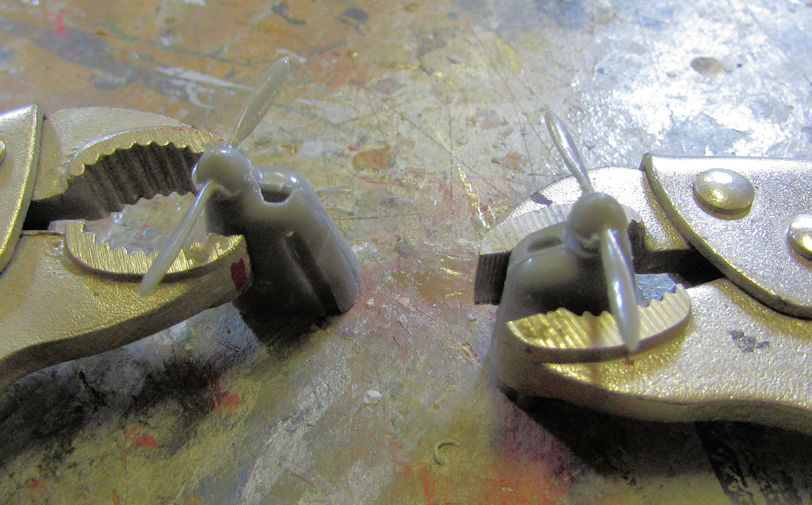
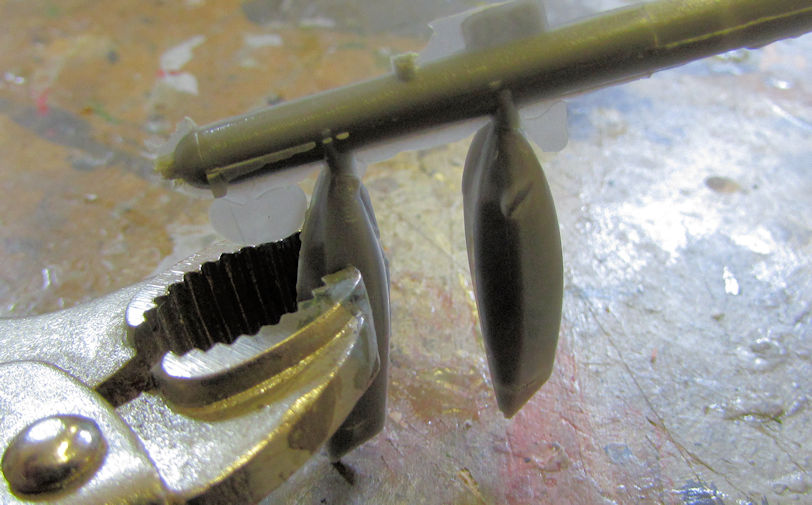
I let them dry for a bit and while that was happening, I assembled the outrigger floats:
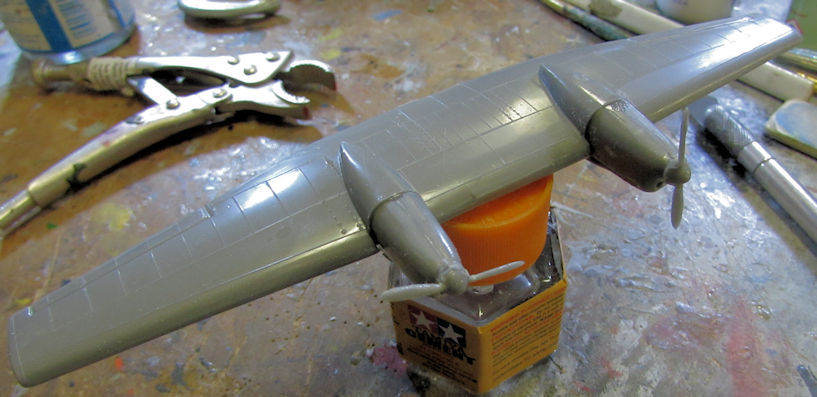
Later on I added the engines to the wing. There's gonna be a ton of sanding to do on that:
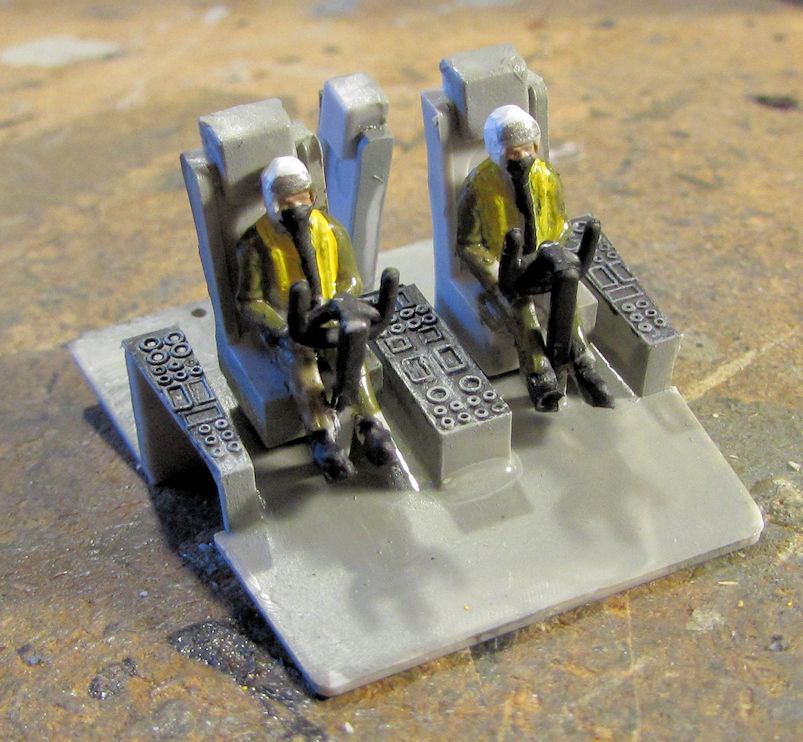
Moving on to my Big Bird, I painted the cockpit and pilots on the Shinmeiwa:
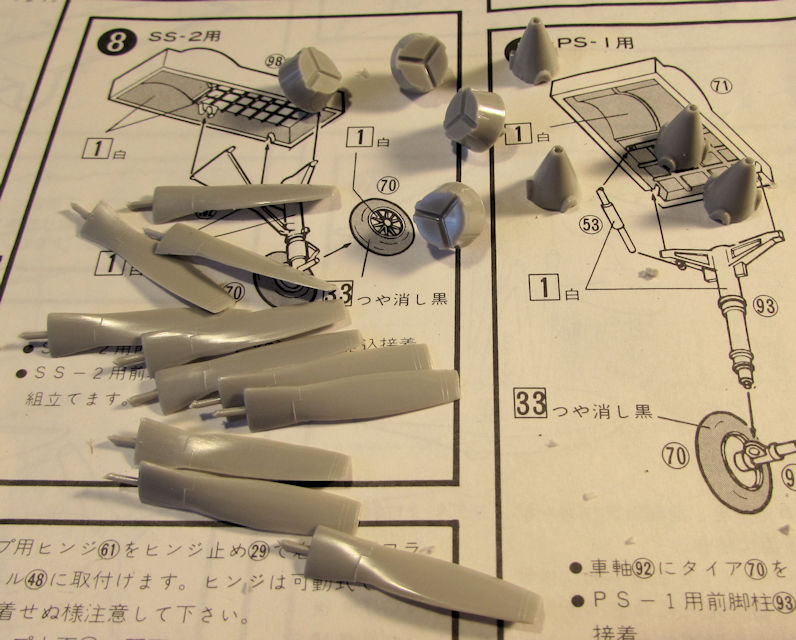
Then I decided to move in and assemble the propellers. I had thought that I just needed to add the cones to the centers of the propellers, but no! Hasegawa had to do this to me:
Here's the first one assembled:
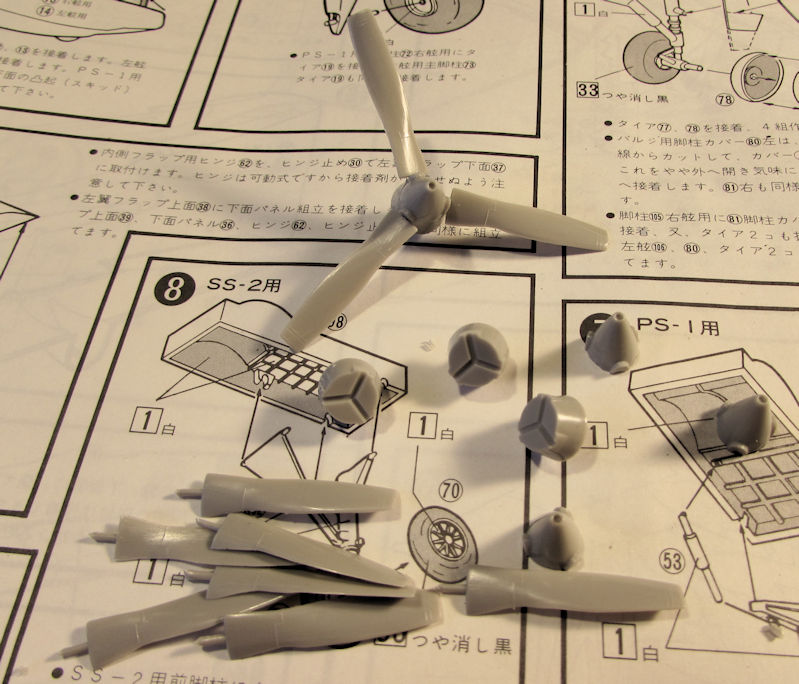
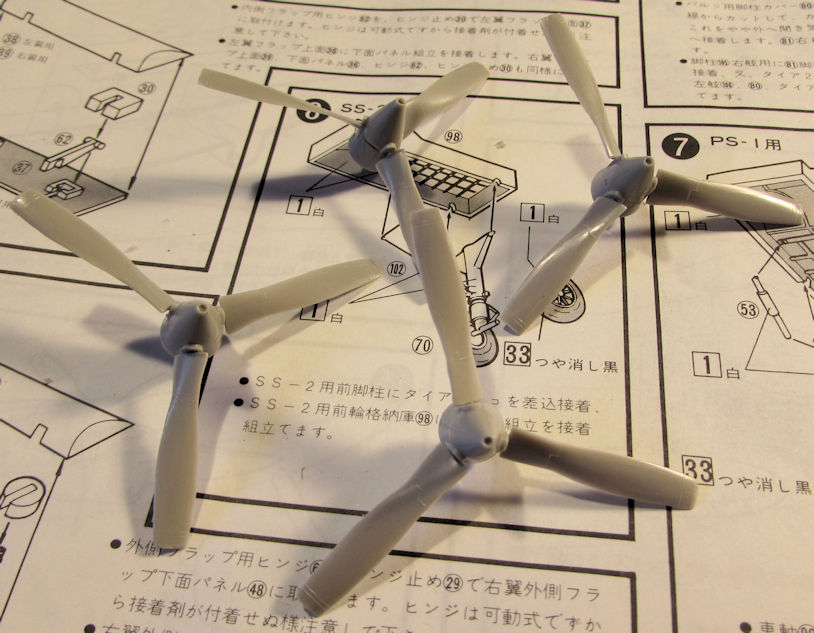
Finally, I got them all done and they are all hopefully the same direction:
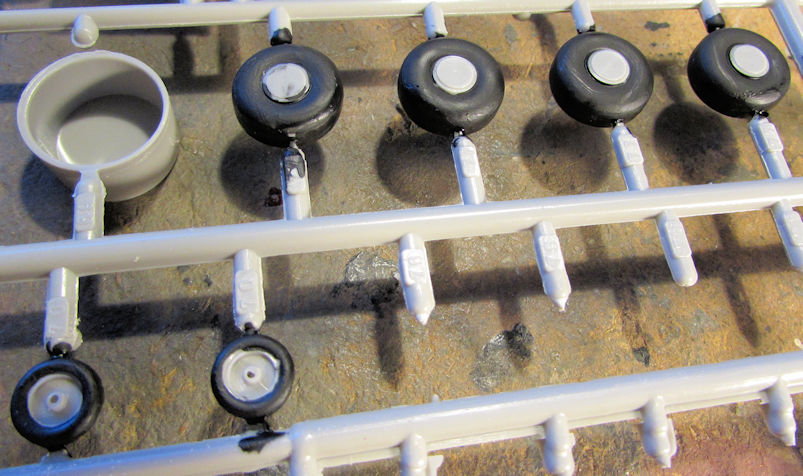
I then went through the kit and assembled everything that was molded in two halves, starting with the wheels which I also painted:
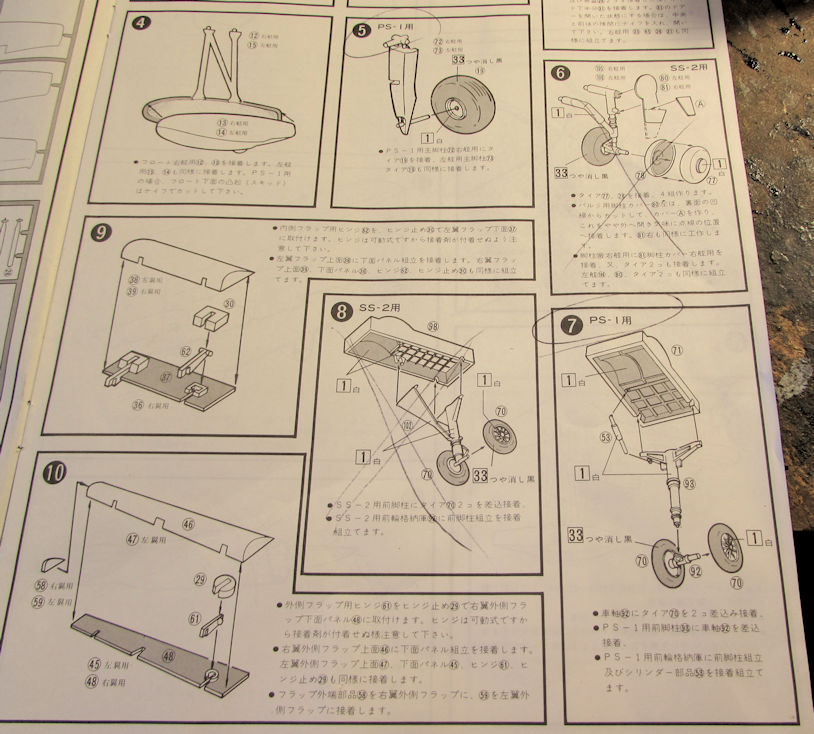
I them realized on the instruction sheet that there were two version options on this plane in the kit. Using Google Translate on my phone, which told me to "paint [certain part} the color of the woman"(?!) I managed to somehow decipher enough "code" to determine which step was for which version. I had to cross certain steps out and edit the sheet to insure I don't mess this up too badly:
Moving on, I then assembled some more parts:
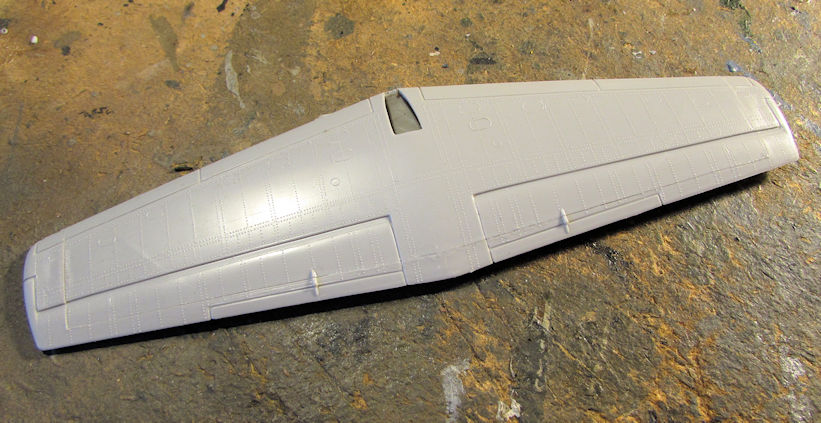
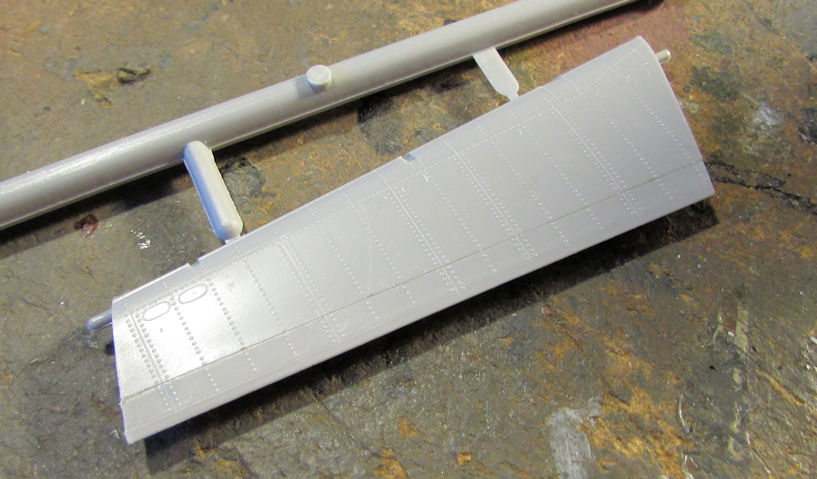
That's as far as I got with that.
I then pulled out my Redstone rocket and masked off the base where it needs to stay black:
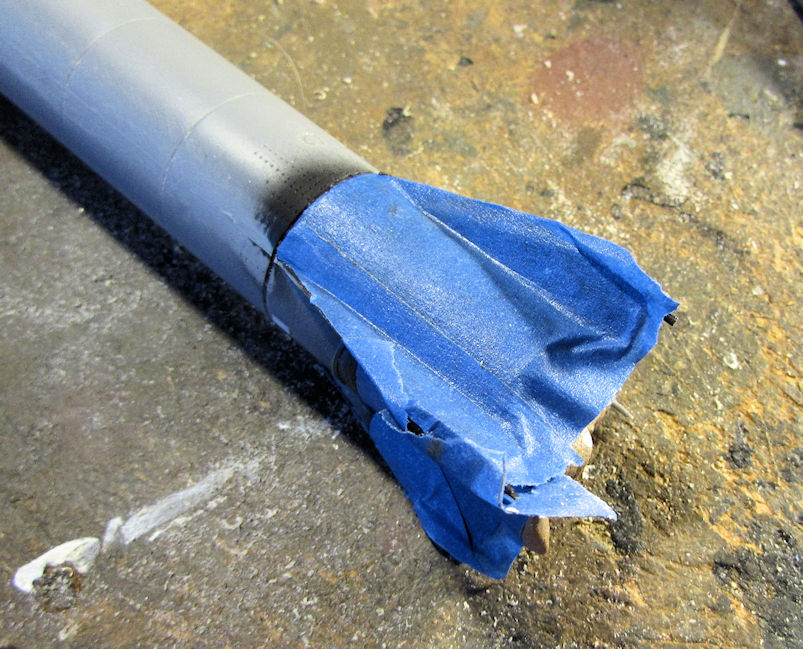
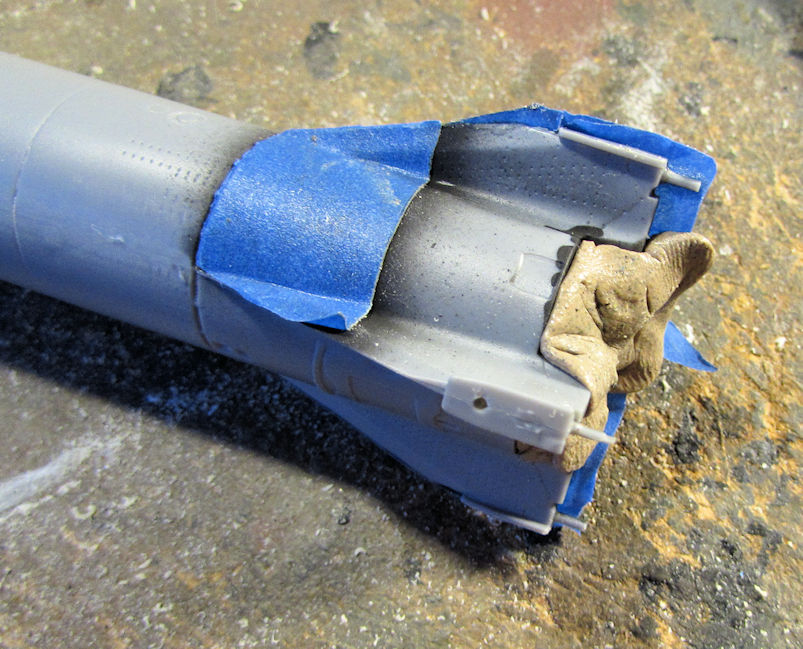
I spent some time trying to polish this as well. Speaking of trying to polish, I spent quite a bit of time sanding the Mr. Surfacer and smoothing out the seams on my Atlas rocket:
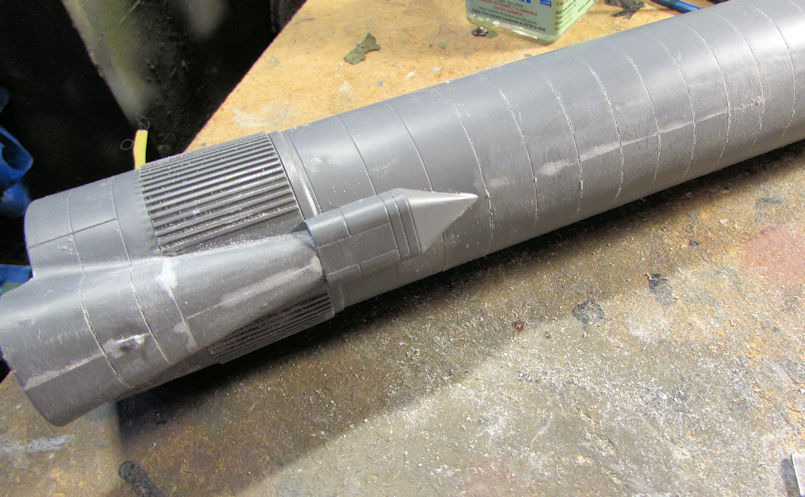
I took some time to make sure the lines were still scribed out:
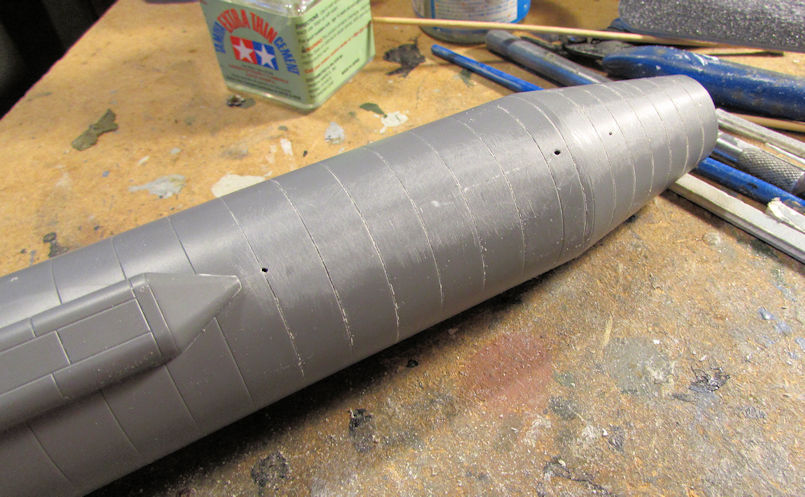
This part was the toughest:
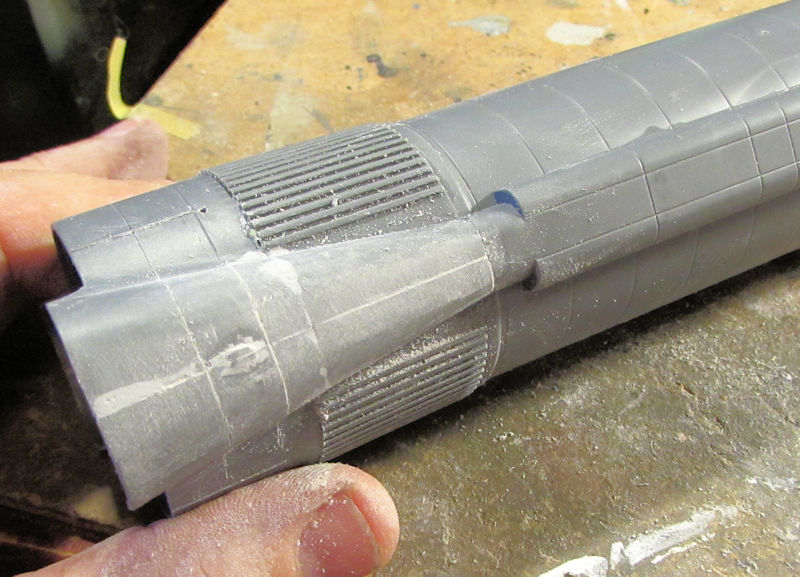
I made some progress in smoothing this out quite a bit, but I still have a long way to go to make this smooth enough for a metal finish:
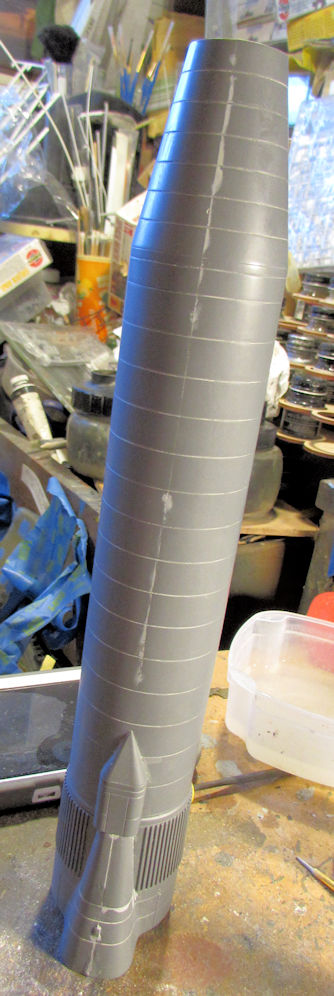
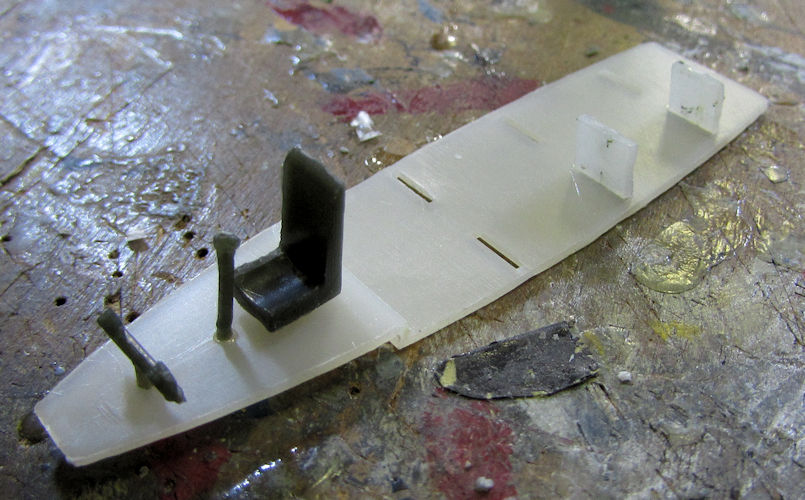
My last little aircraft is an unusual kit I found of a Russian Troop carrying glider. I never knew they had them! I started with the interior. The two upright squares were for holding the benches, but since the benches wouldn't be seen, I decided to leave them off:
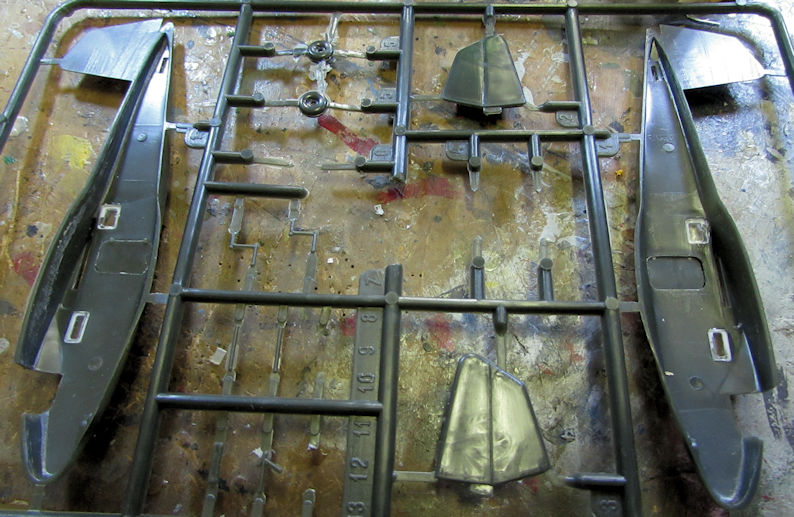
I then added the small windows and side doors to the fuselage halves. Here's a shot of them and the rest of the sprues:
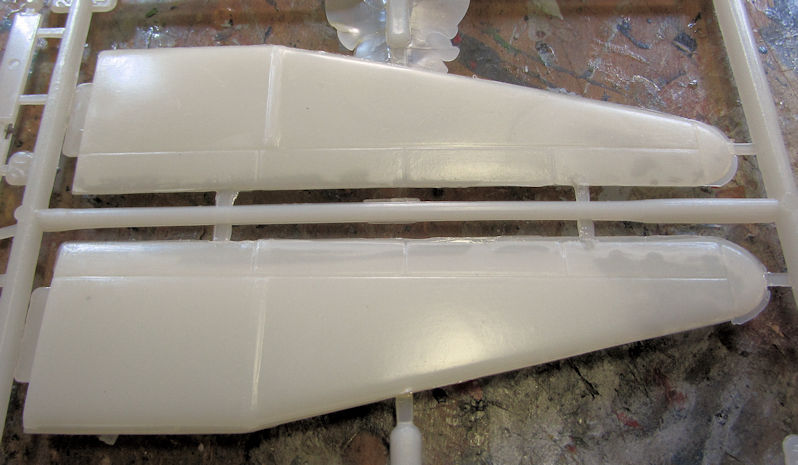
I then assembled the wings. This plastic is interesting; fusing almost instantly with Tamiya Extra Thin. I don't really know why they used two different types of plastic:
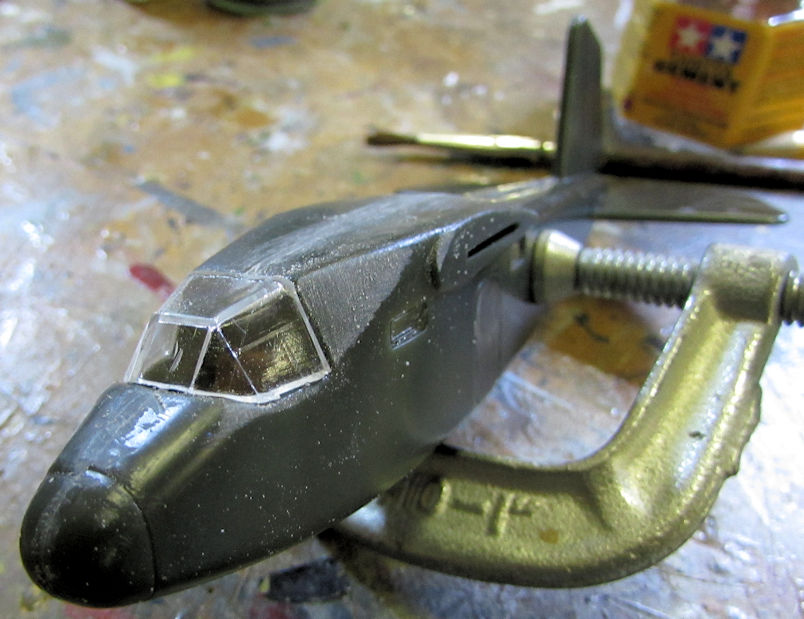
I finally painted the interior of the fuselage and then assembled the fuselage together and added the tail feathers:
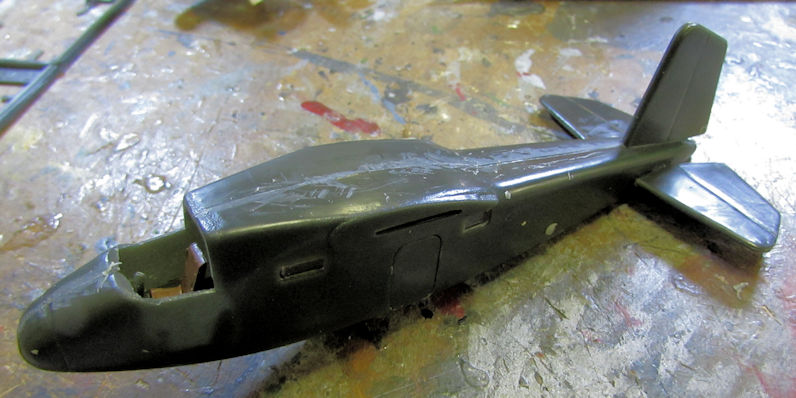
I found that the fuselage halves were molded differently and didn't match the line of the canopy so I sanded it to form:
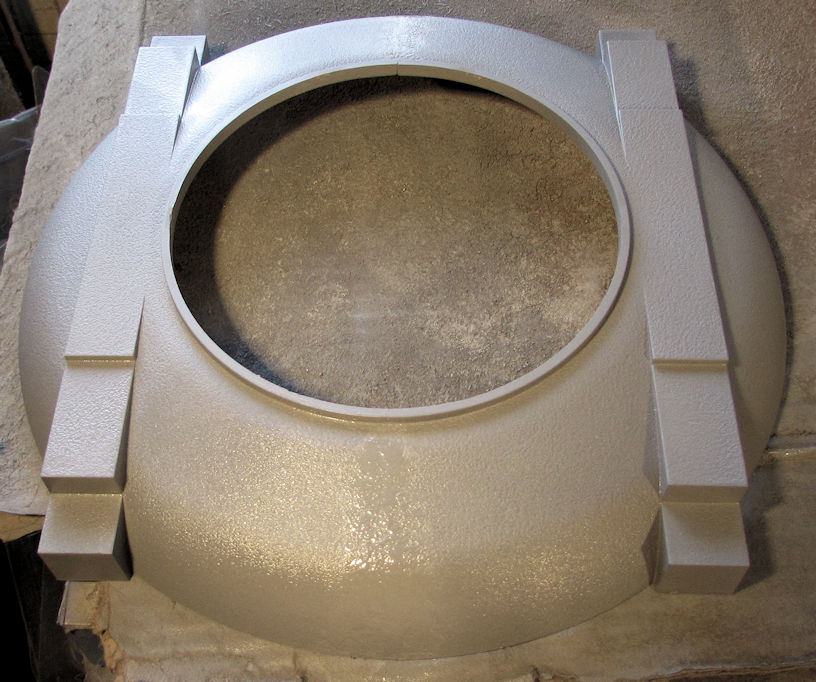
That's all my aircraft progress, now to show my armor. But first, here's some buildings/structures I was working on first. The base of the turret was primed with a grey primer to see how well I covered that seam. I'm not that happy with it:
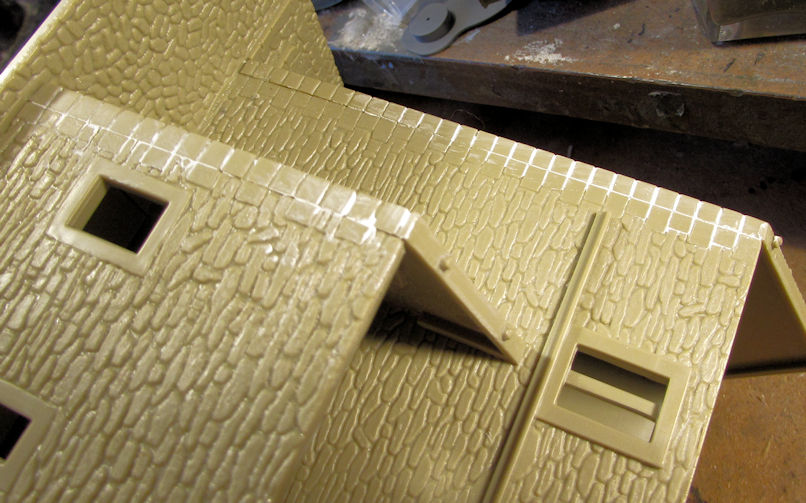
I then pulled out the church and started to seal up the seams along the walls and the base and all the corners with acrylic putty:
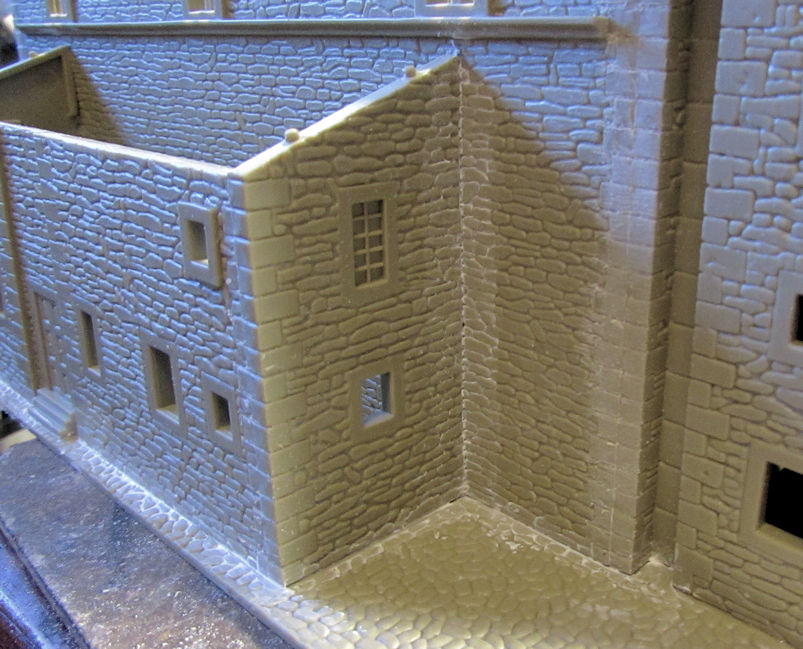
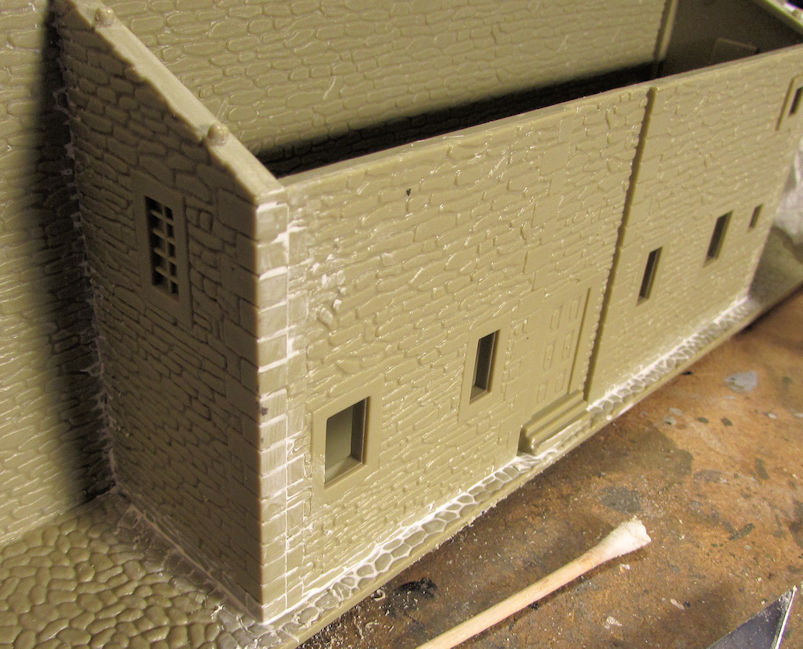
After all of that, I shot a grey primer all over the church too:
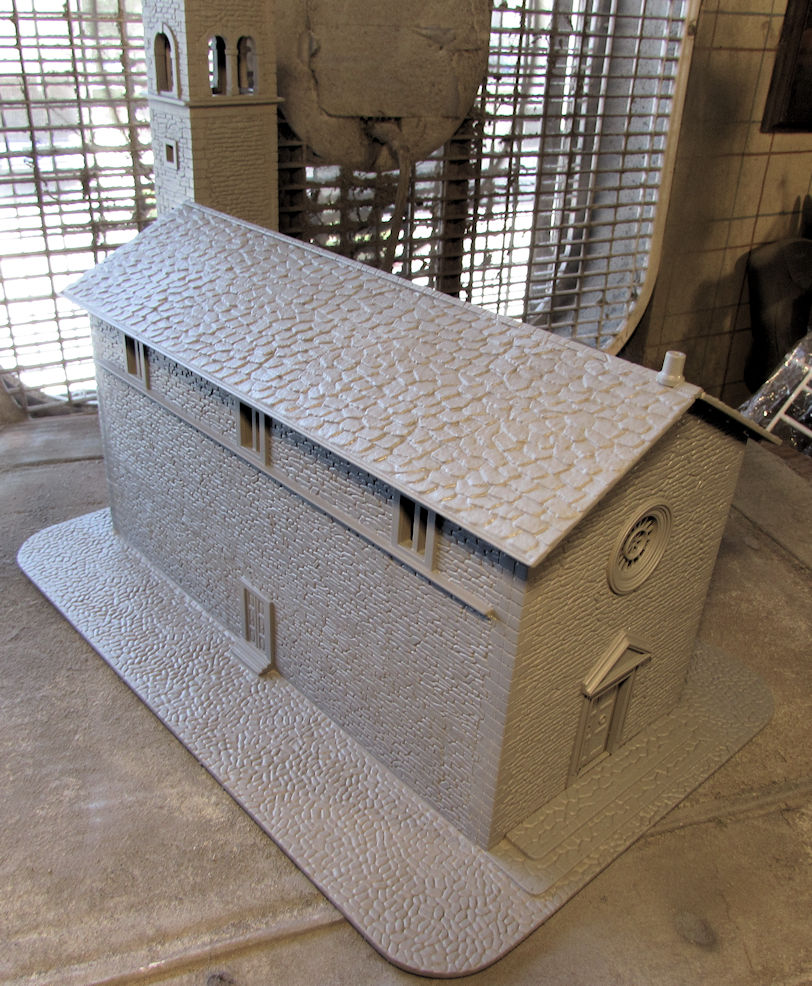
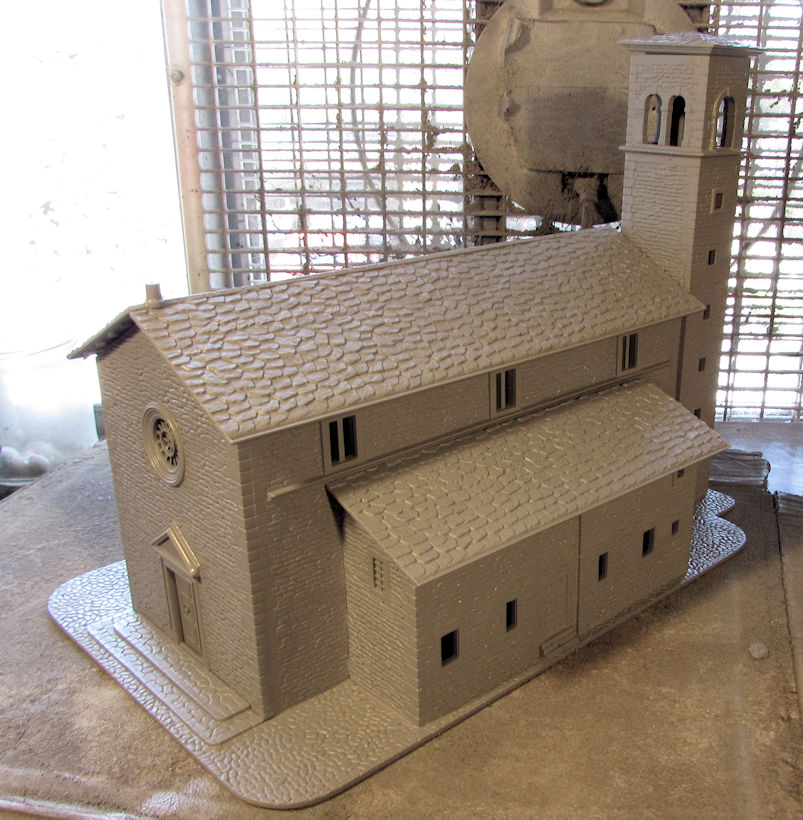
I did notice the roof of the belfry is propped up. That's the let the bats out.
I also ordered a brand new cross for this from my church's bookstore/gift shop. I expect to have it in sometime two weeks from now.
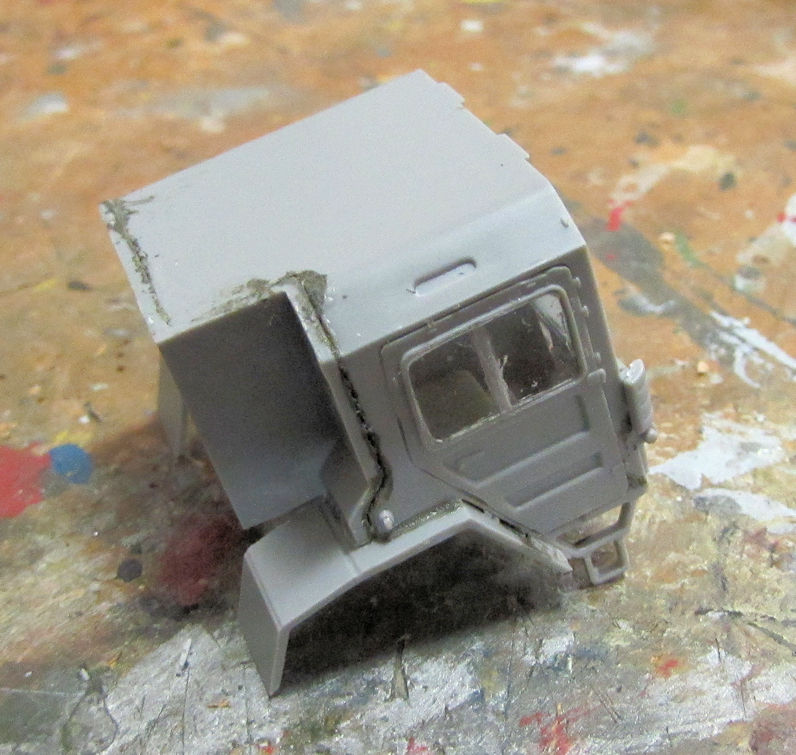
Finally, I decided to make some extensive progress on my George Creed commemorative build. I assembled the cab, adding the photo etch to it too:
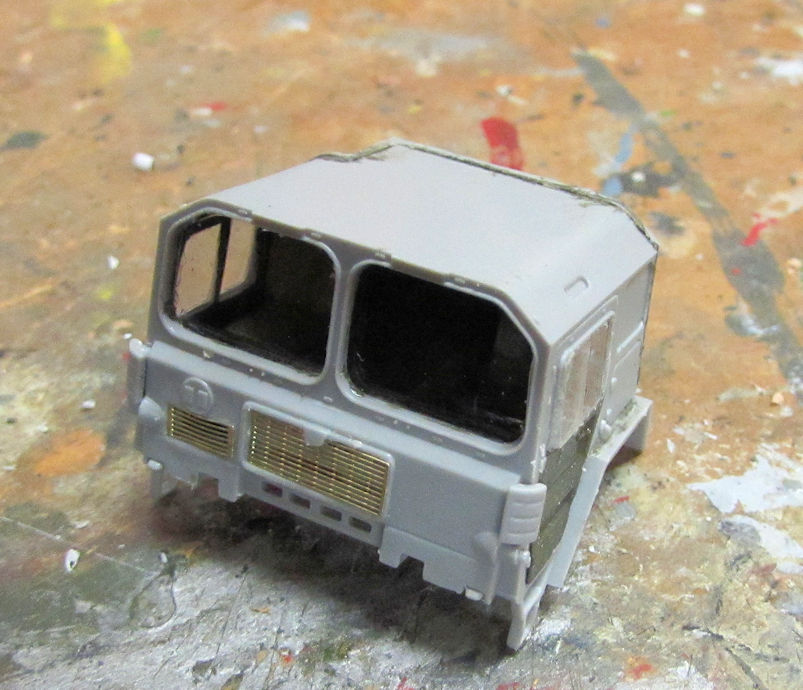
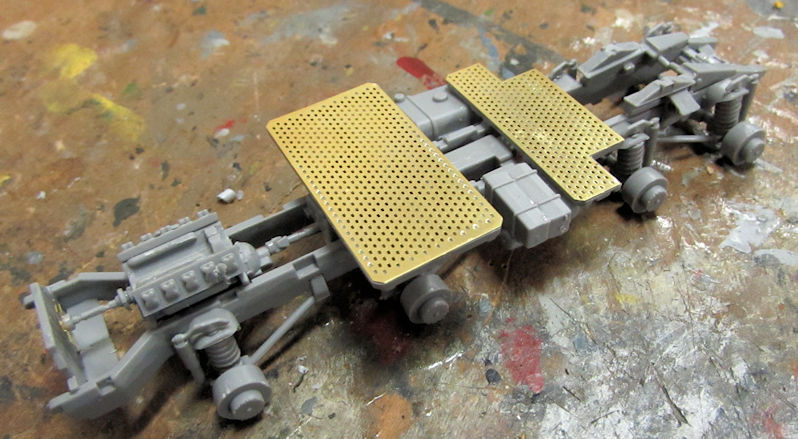
Next I added the photo etch to the chassis and finished with a few more final detail parts:
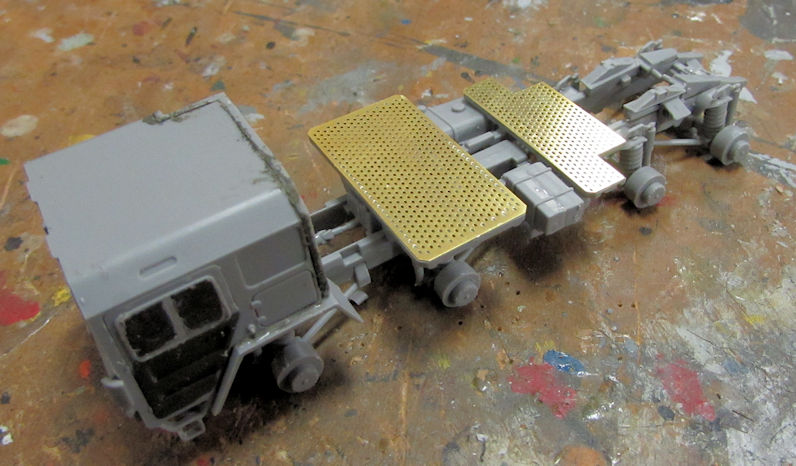
Here's a shot of the cabin dry-fit to the chassis:
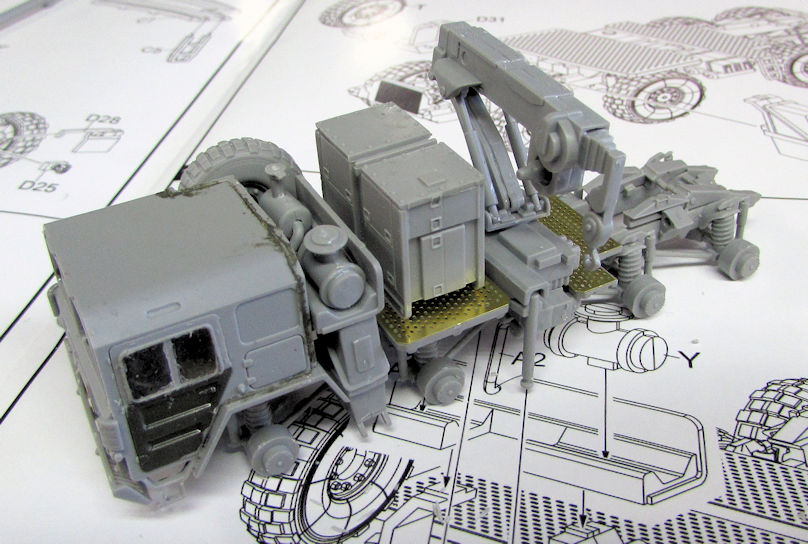
I moved on to assemble the crane for this and later on I added that and other parts to the chassis and cab, dryfitting everything together:
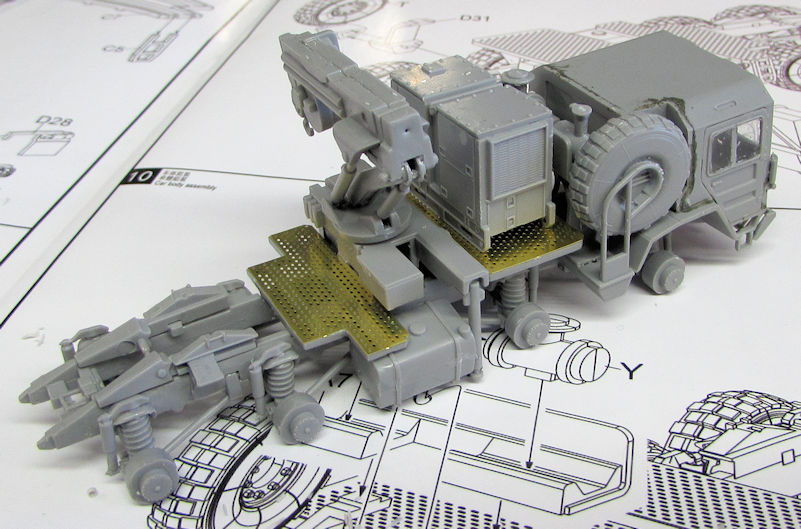
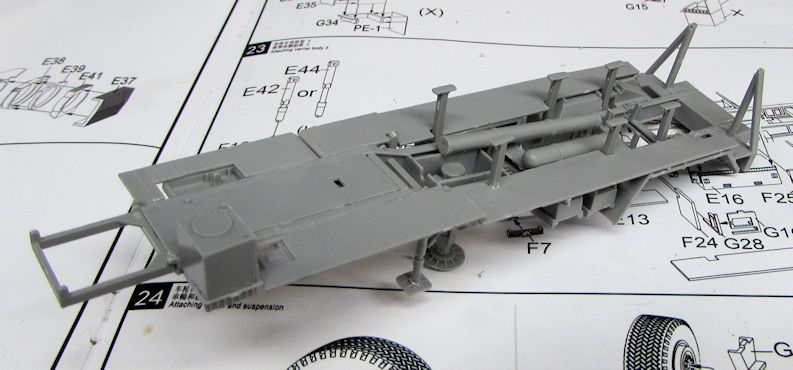
Finally I finished the assembly of most of the trailer; adding the side platforms and other detail parts:
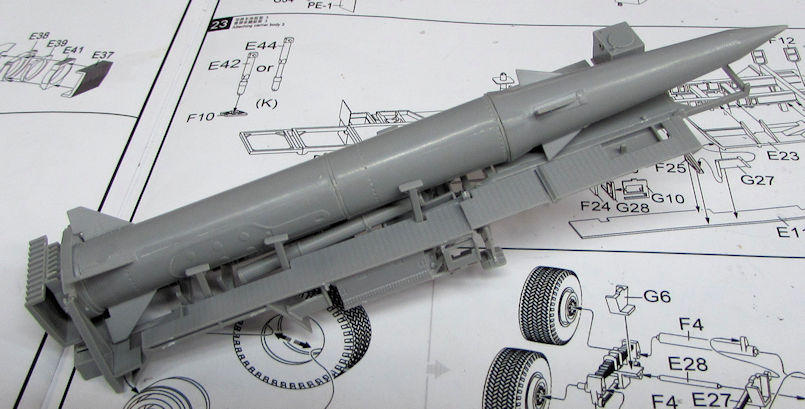
After that I decided to dry fit the Pershing to the trailer to see how it looks:
That's all I had for this week. I don't know if I'll be able to get anything done the next few weeks with all the work I have and the very high temps coming our way.
Thanks for looking in, comments are welcome.


 It sure doesn't look in scale with that turret. And yeah, I'm thinking I need to do a base for this and the two AA guns that go with it. It won't be a diorama per se, but it will look similar enough to your pic, sans Paul Bunyon's table....


